
Where I live old single pane windows are a dime a dozen. I remember coming across a stack of them at an antique store and falling in love. But I didn’t really have a use in mind. What would I do with this adorable window when I got home? So I left it behind, but always kept it in mind.
I have also been obsessed with air plants as of late. I really wanted some around the house, but again I didn’t know what I would do with them; how I would display them. So I just put it in the back of my mind and waited for inspiration to strike.
One day I was visiting Antique stores in Joshua Tree and came upon this adorable little store that made custom terrariums. Glass terrariums to hold air plants, succulents and the like. They had this great way to display their air plants. They had built a frame and then simply strung fishing line back and forth to hold the air plants suspended in the air. I loved the concept. A few stores later I happened upon an antique store with an old zig-zag style window and whammo! I could use this amazing window and build it to hold my air plants with fishing line!
Cautiously I asked the price of the window, fearing it would be way out of budget and already preparing myself to leave empty-handed. To my surprise and delight the window was a bargain $10. Yes! Just $10. Obviously I bought it!
Luckily I had been traveling overnight for the holidays and I had a sheet in the back of the car – because the paint was flaking off everywhere. I kicked off as much of it as I could scrape off with my foot and then wrapped it in the sheet and put it in the back of the car.
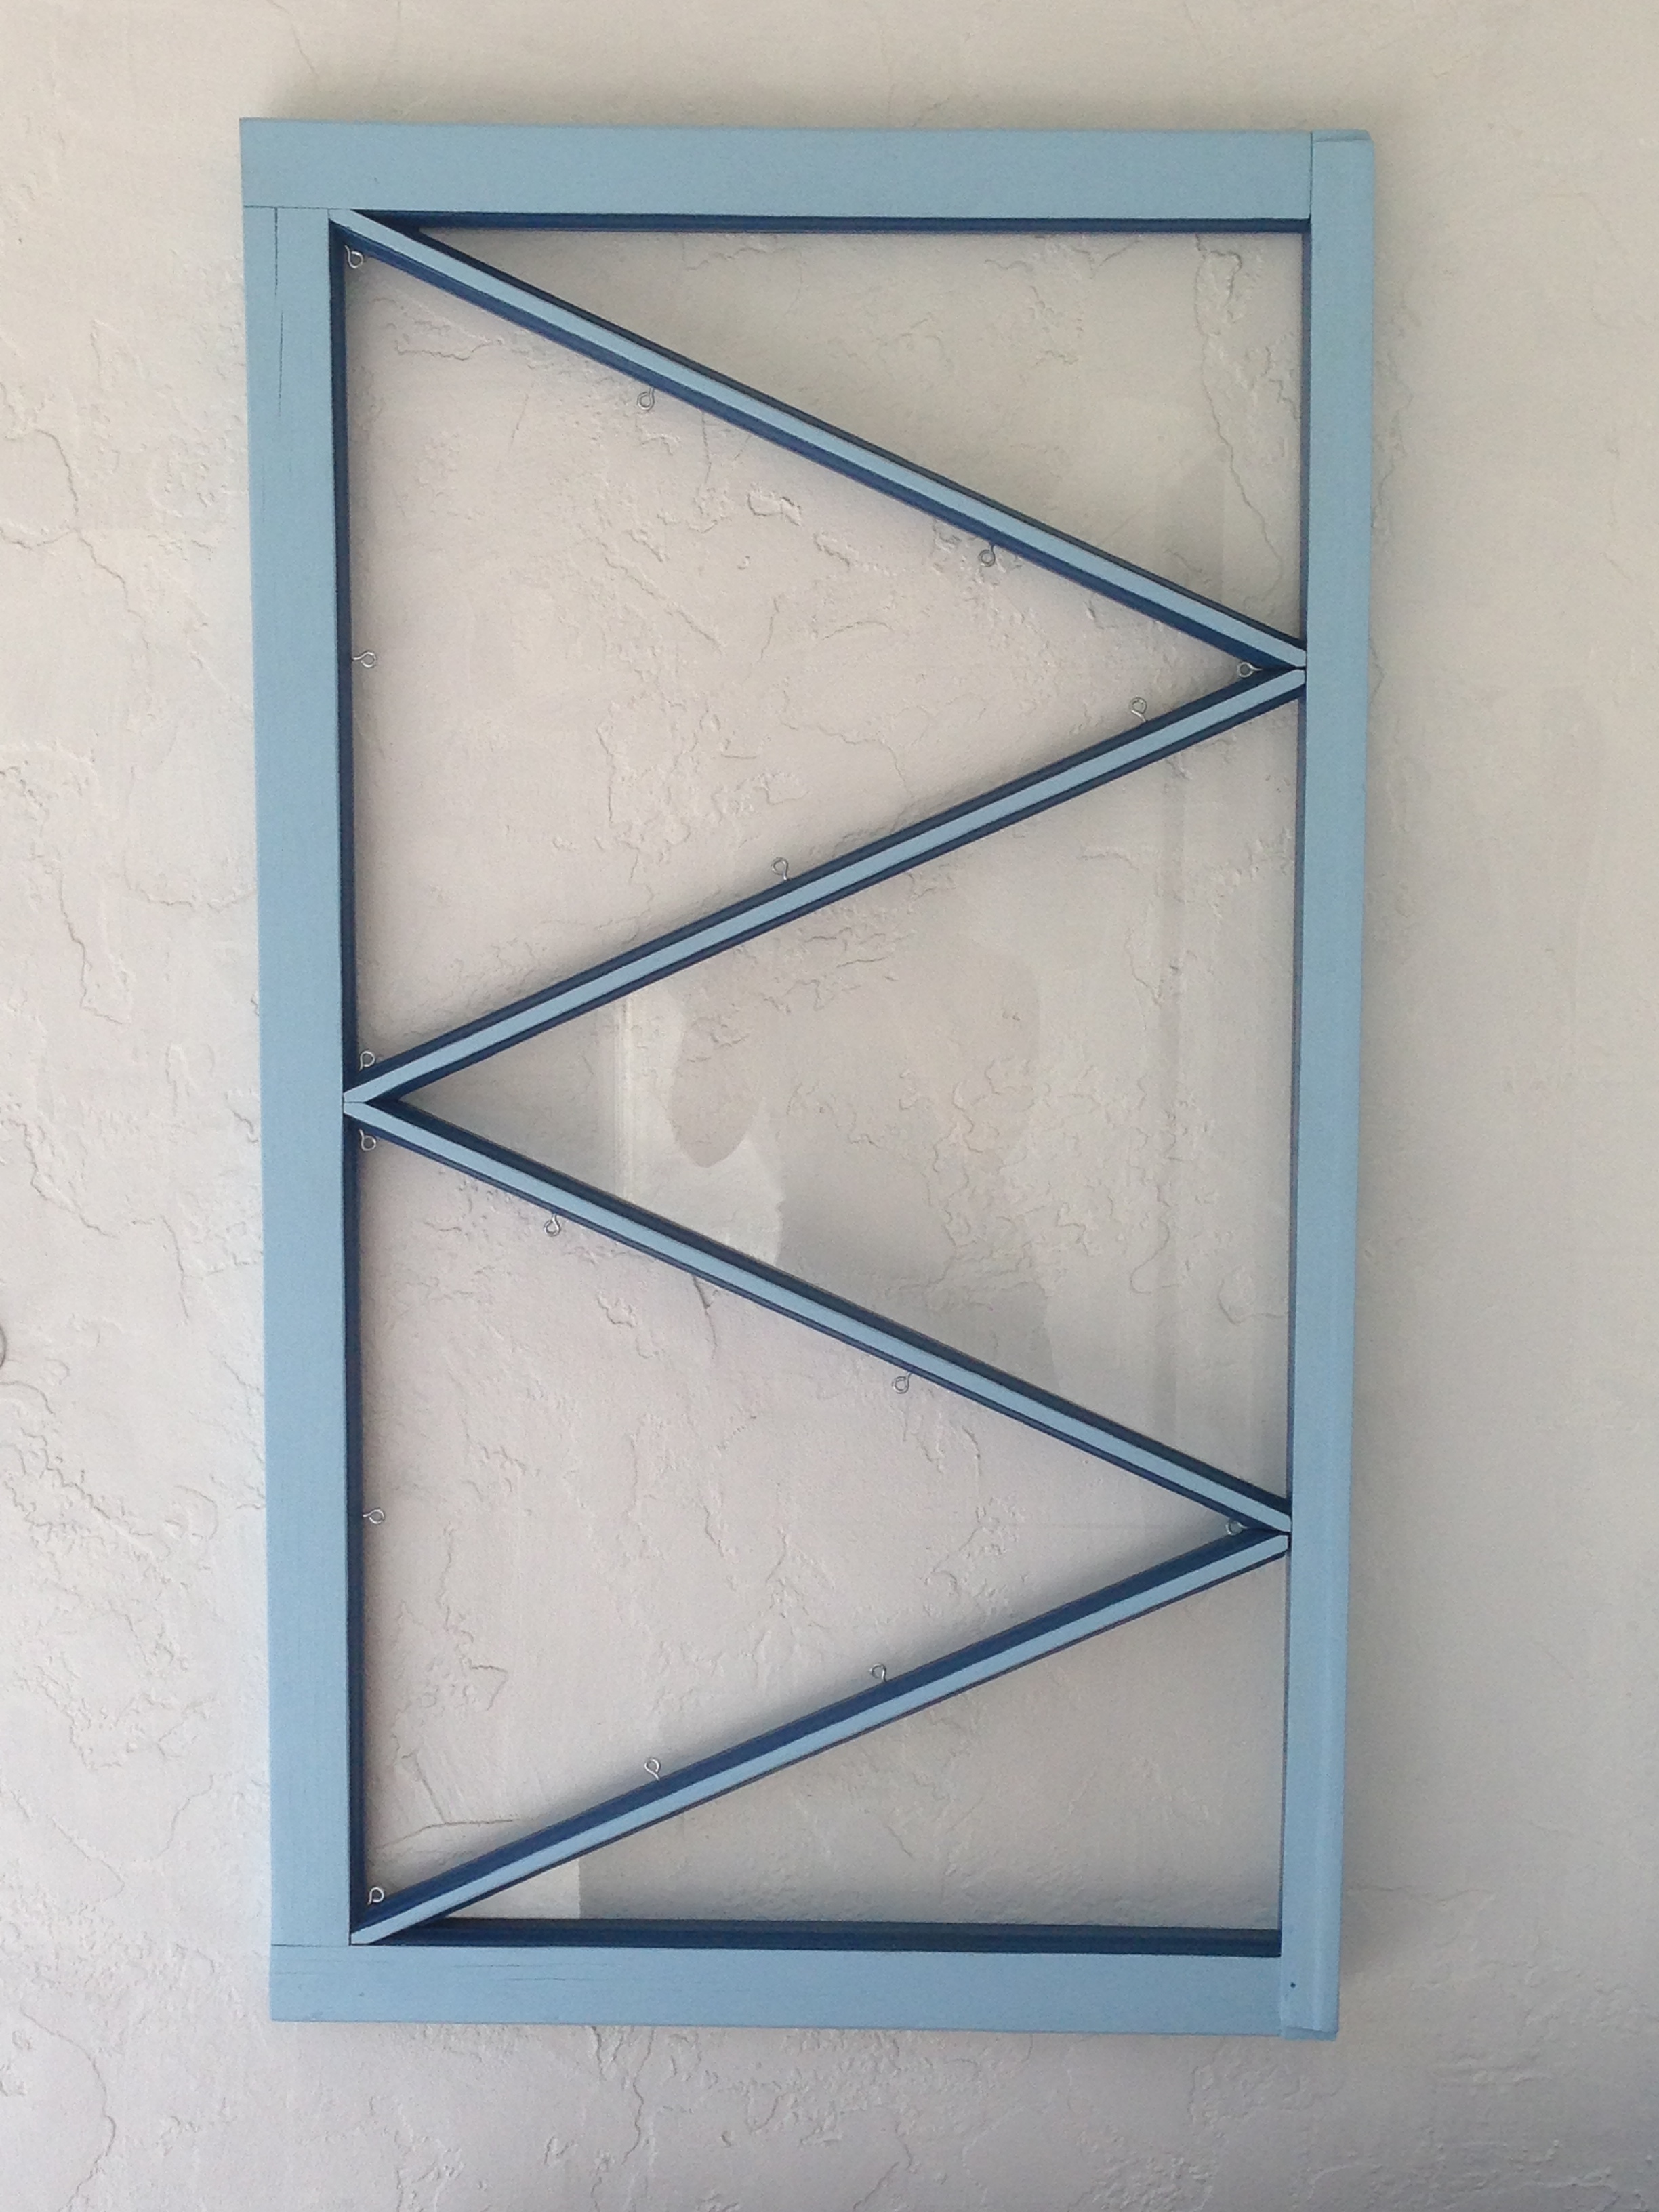
My beautiful and adorable window.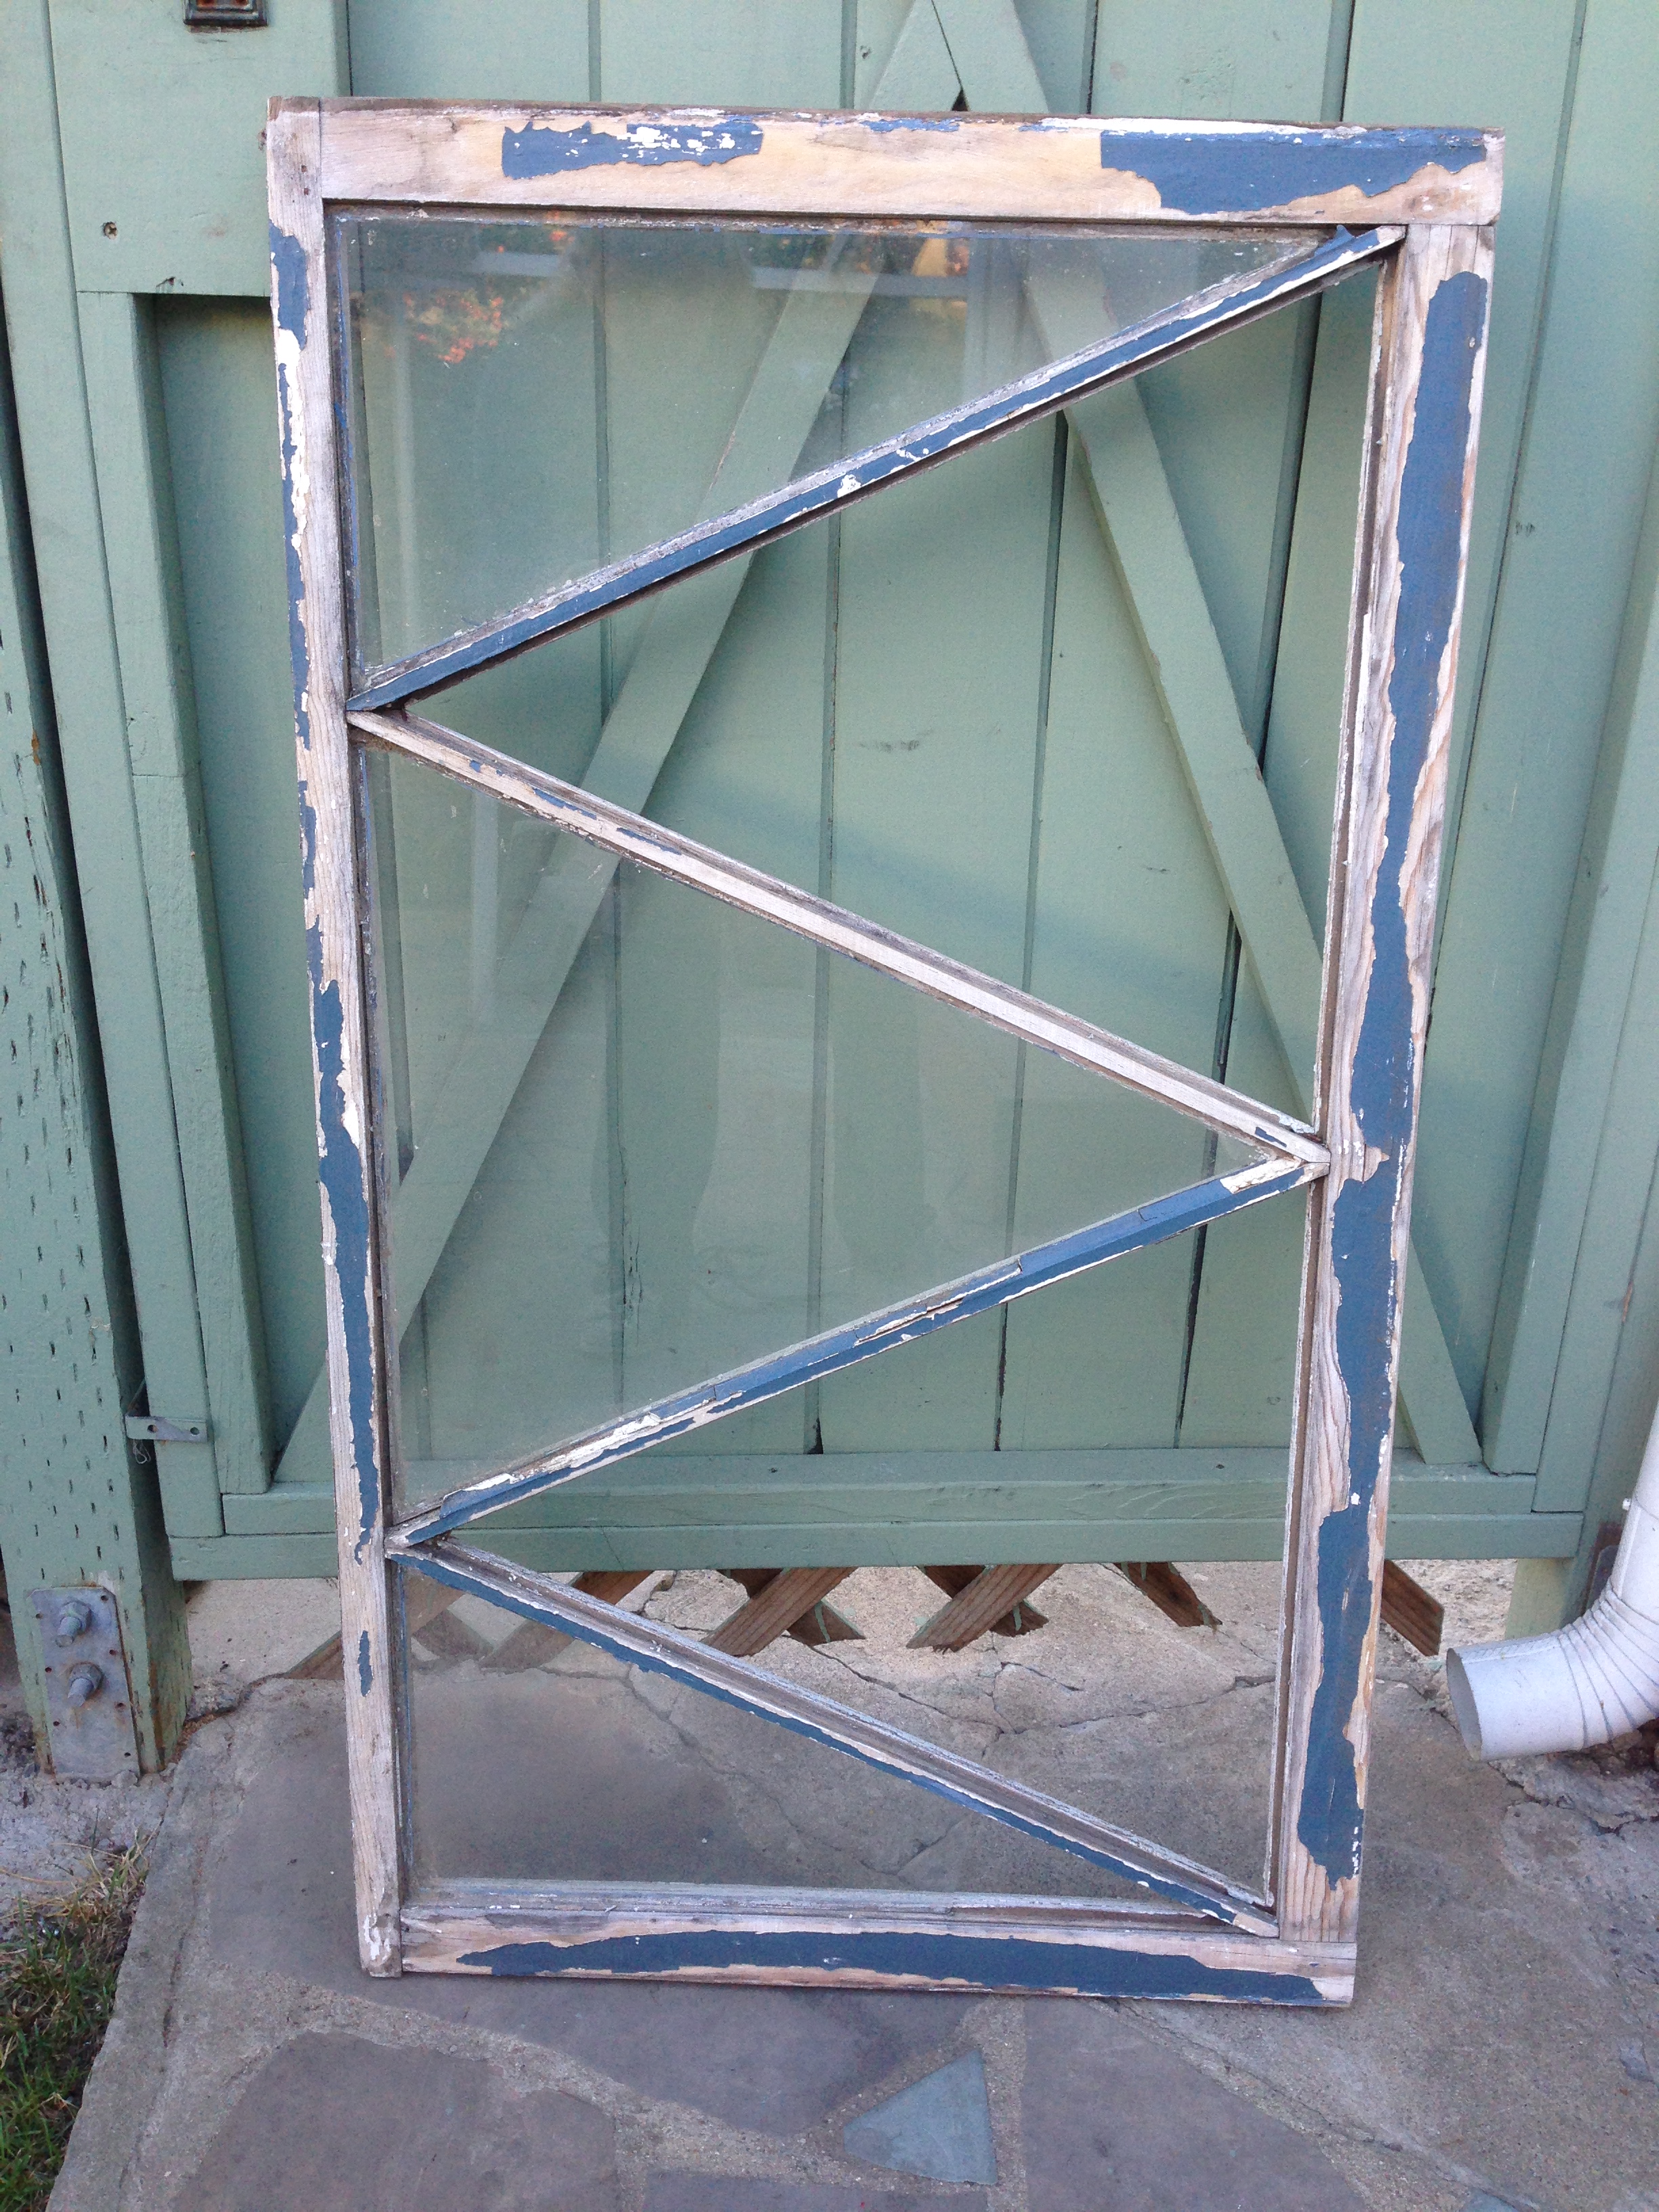
Do it Yourself Steps:
Prepare the area: This will be messy – so use a good, sturdy tarp. Make sure to sand in a well-ventilated area – you never know what kind of paint is on these old windows (lead). Also make sure to wear a mask and safety glasses for this same reason.
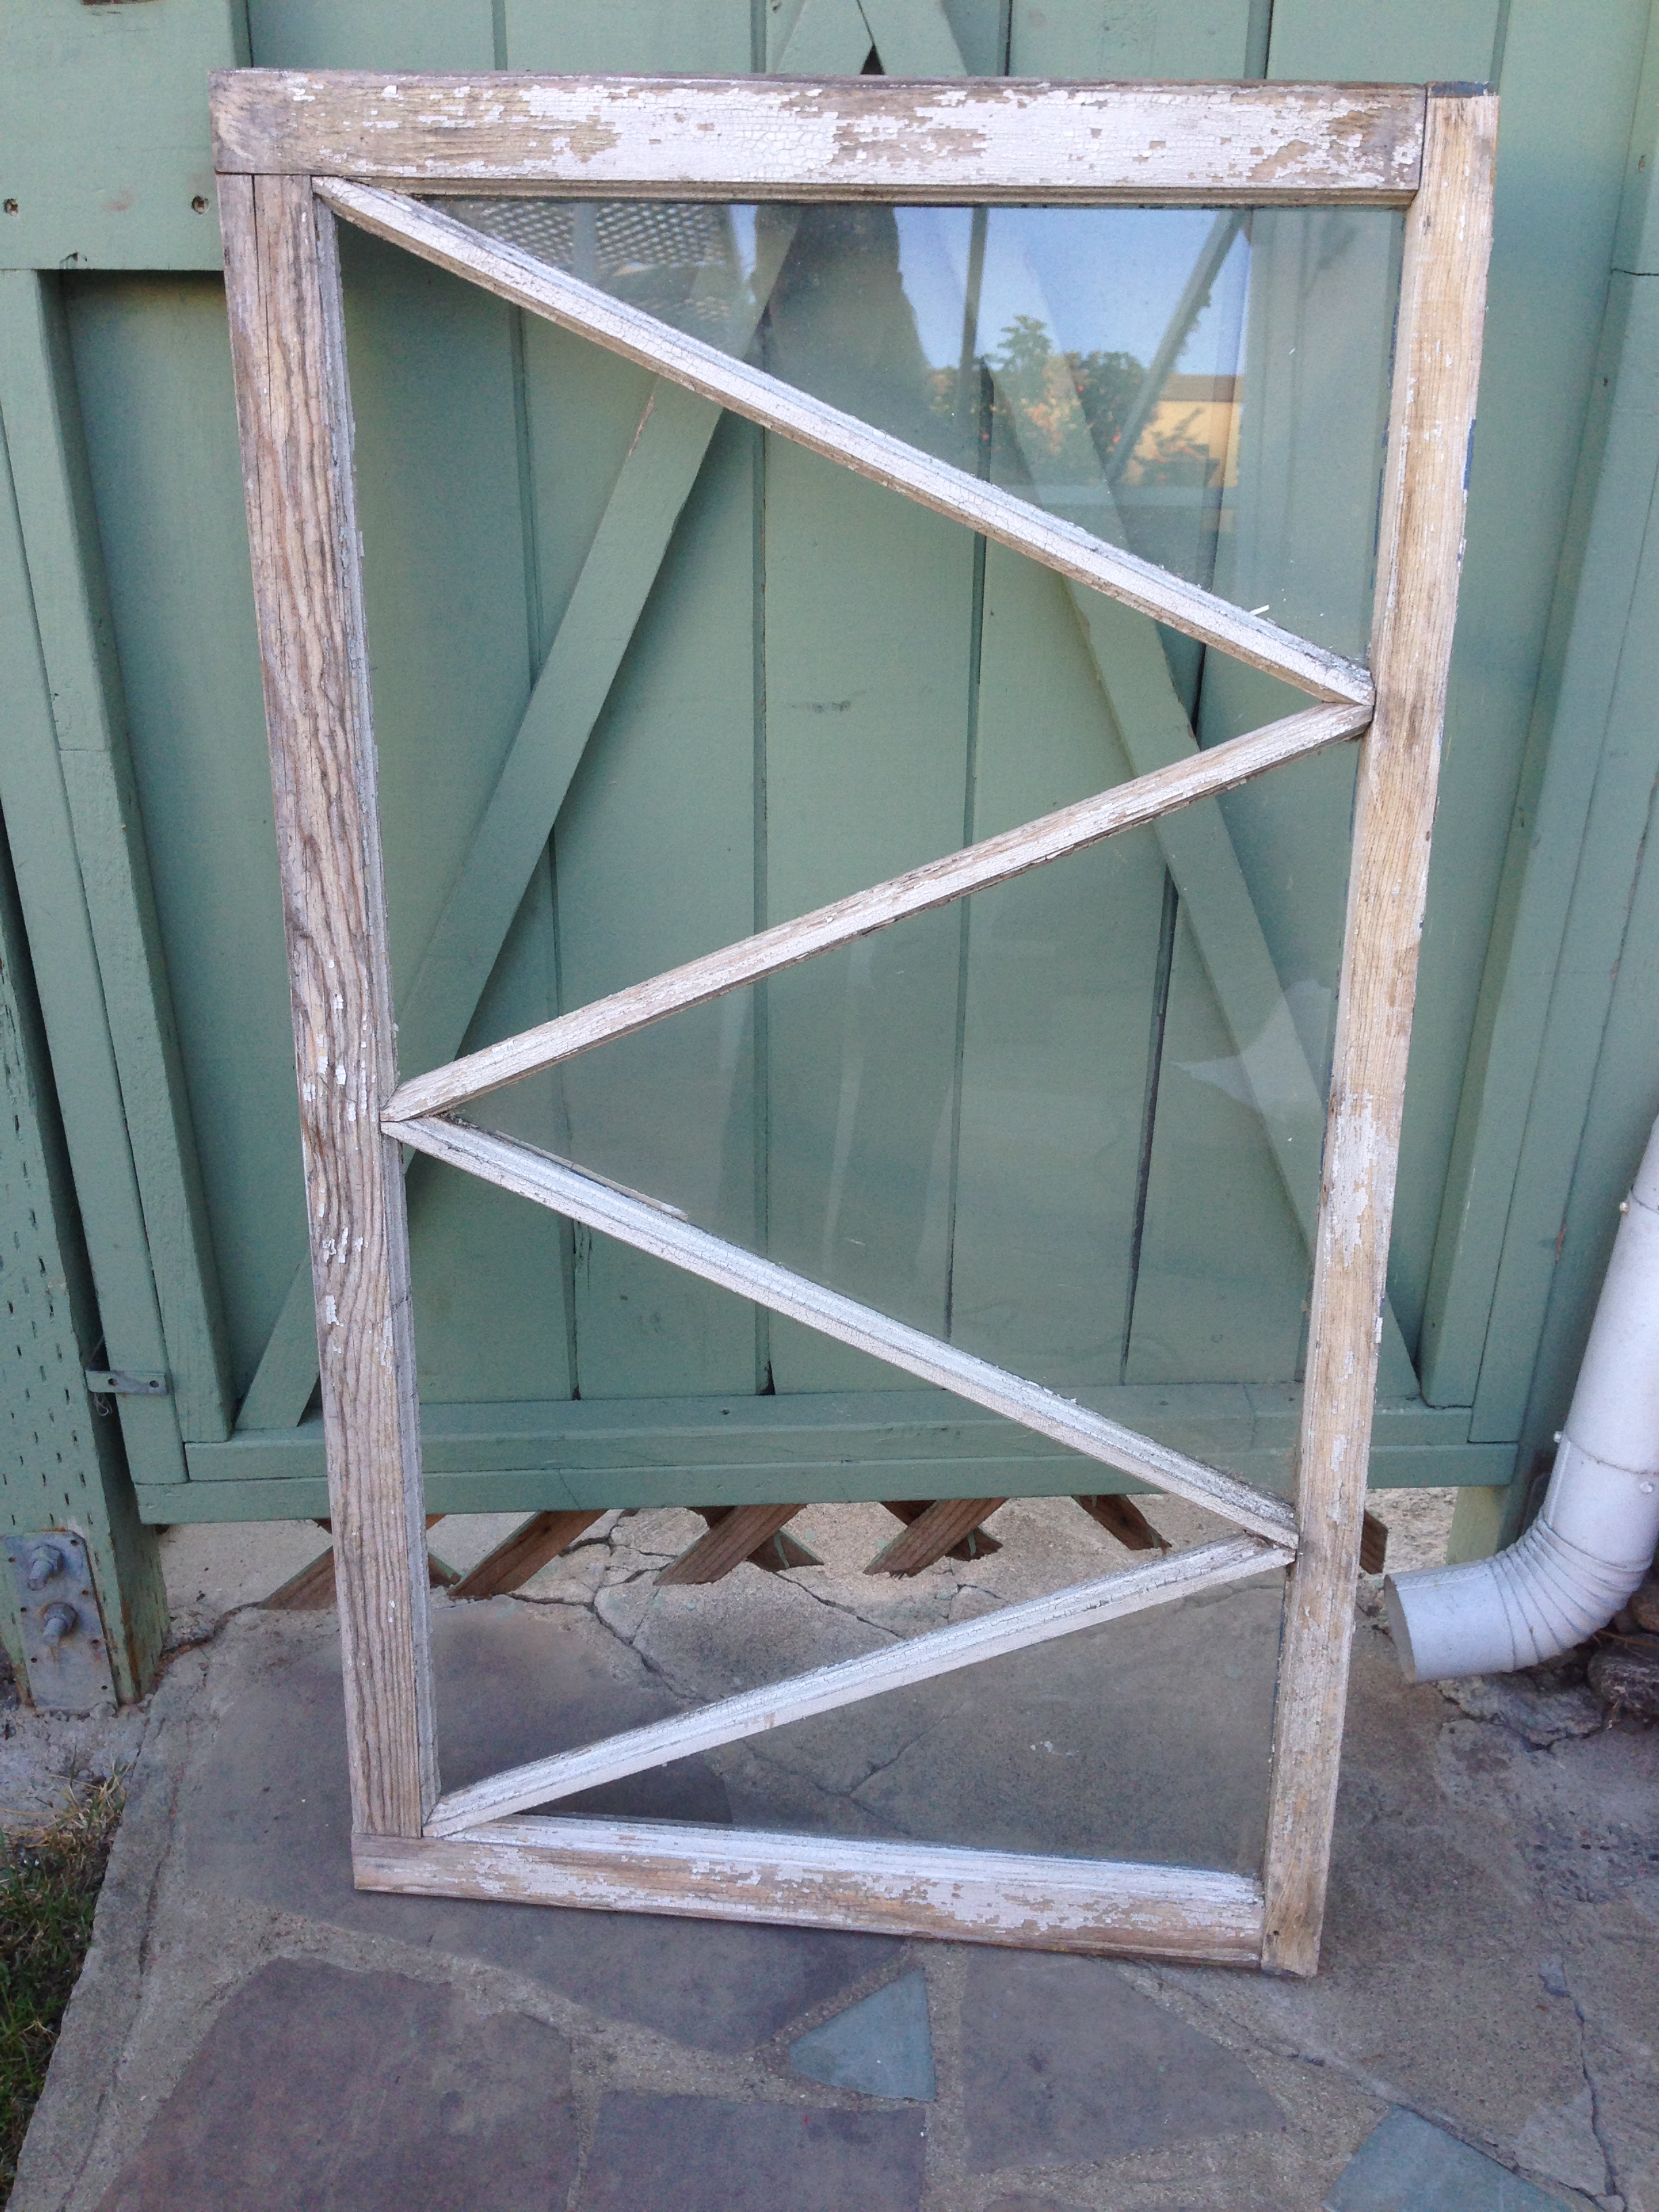
Sanding: I used a power sander for all of the flat areas and a sponge sanding block for all the hard to reach areas. There will likely be several layers of paint – so use lots of pressure and long strokes to make sure you don’t wear deep spots in the wood.

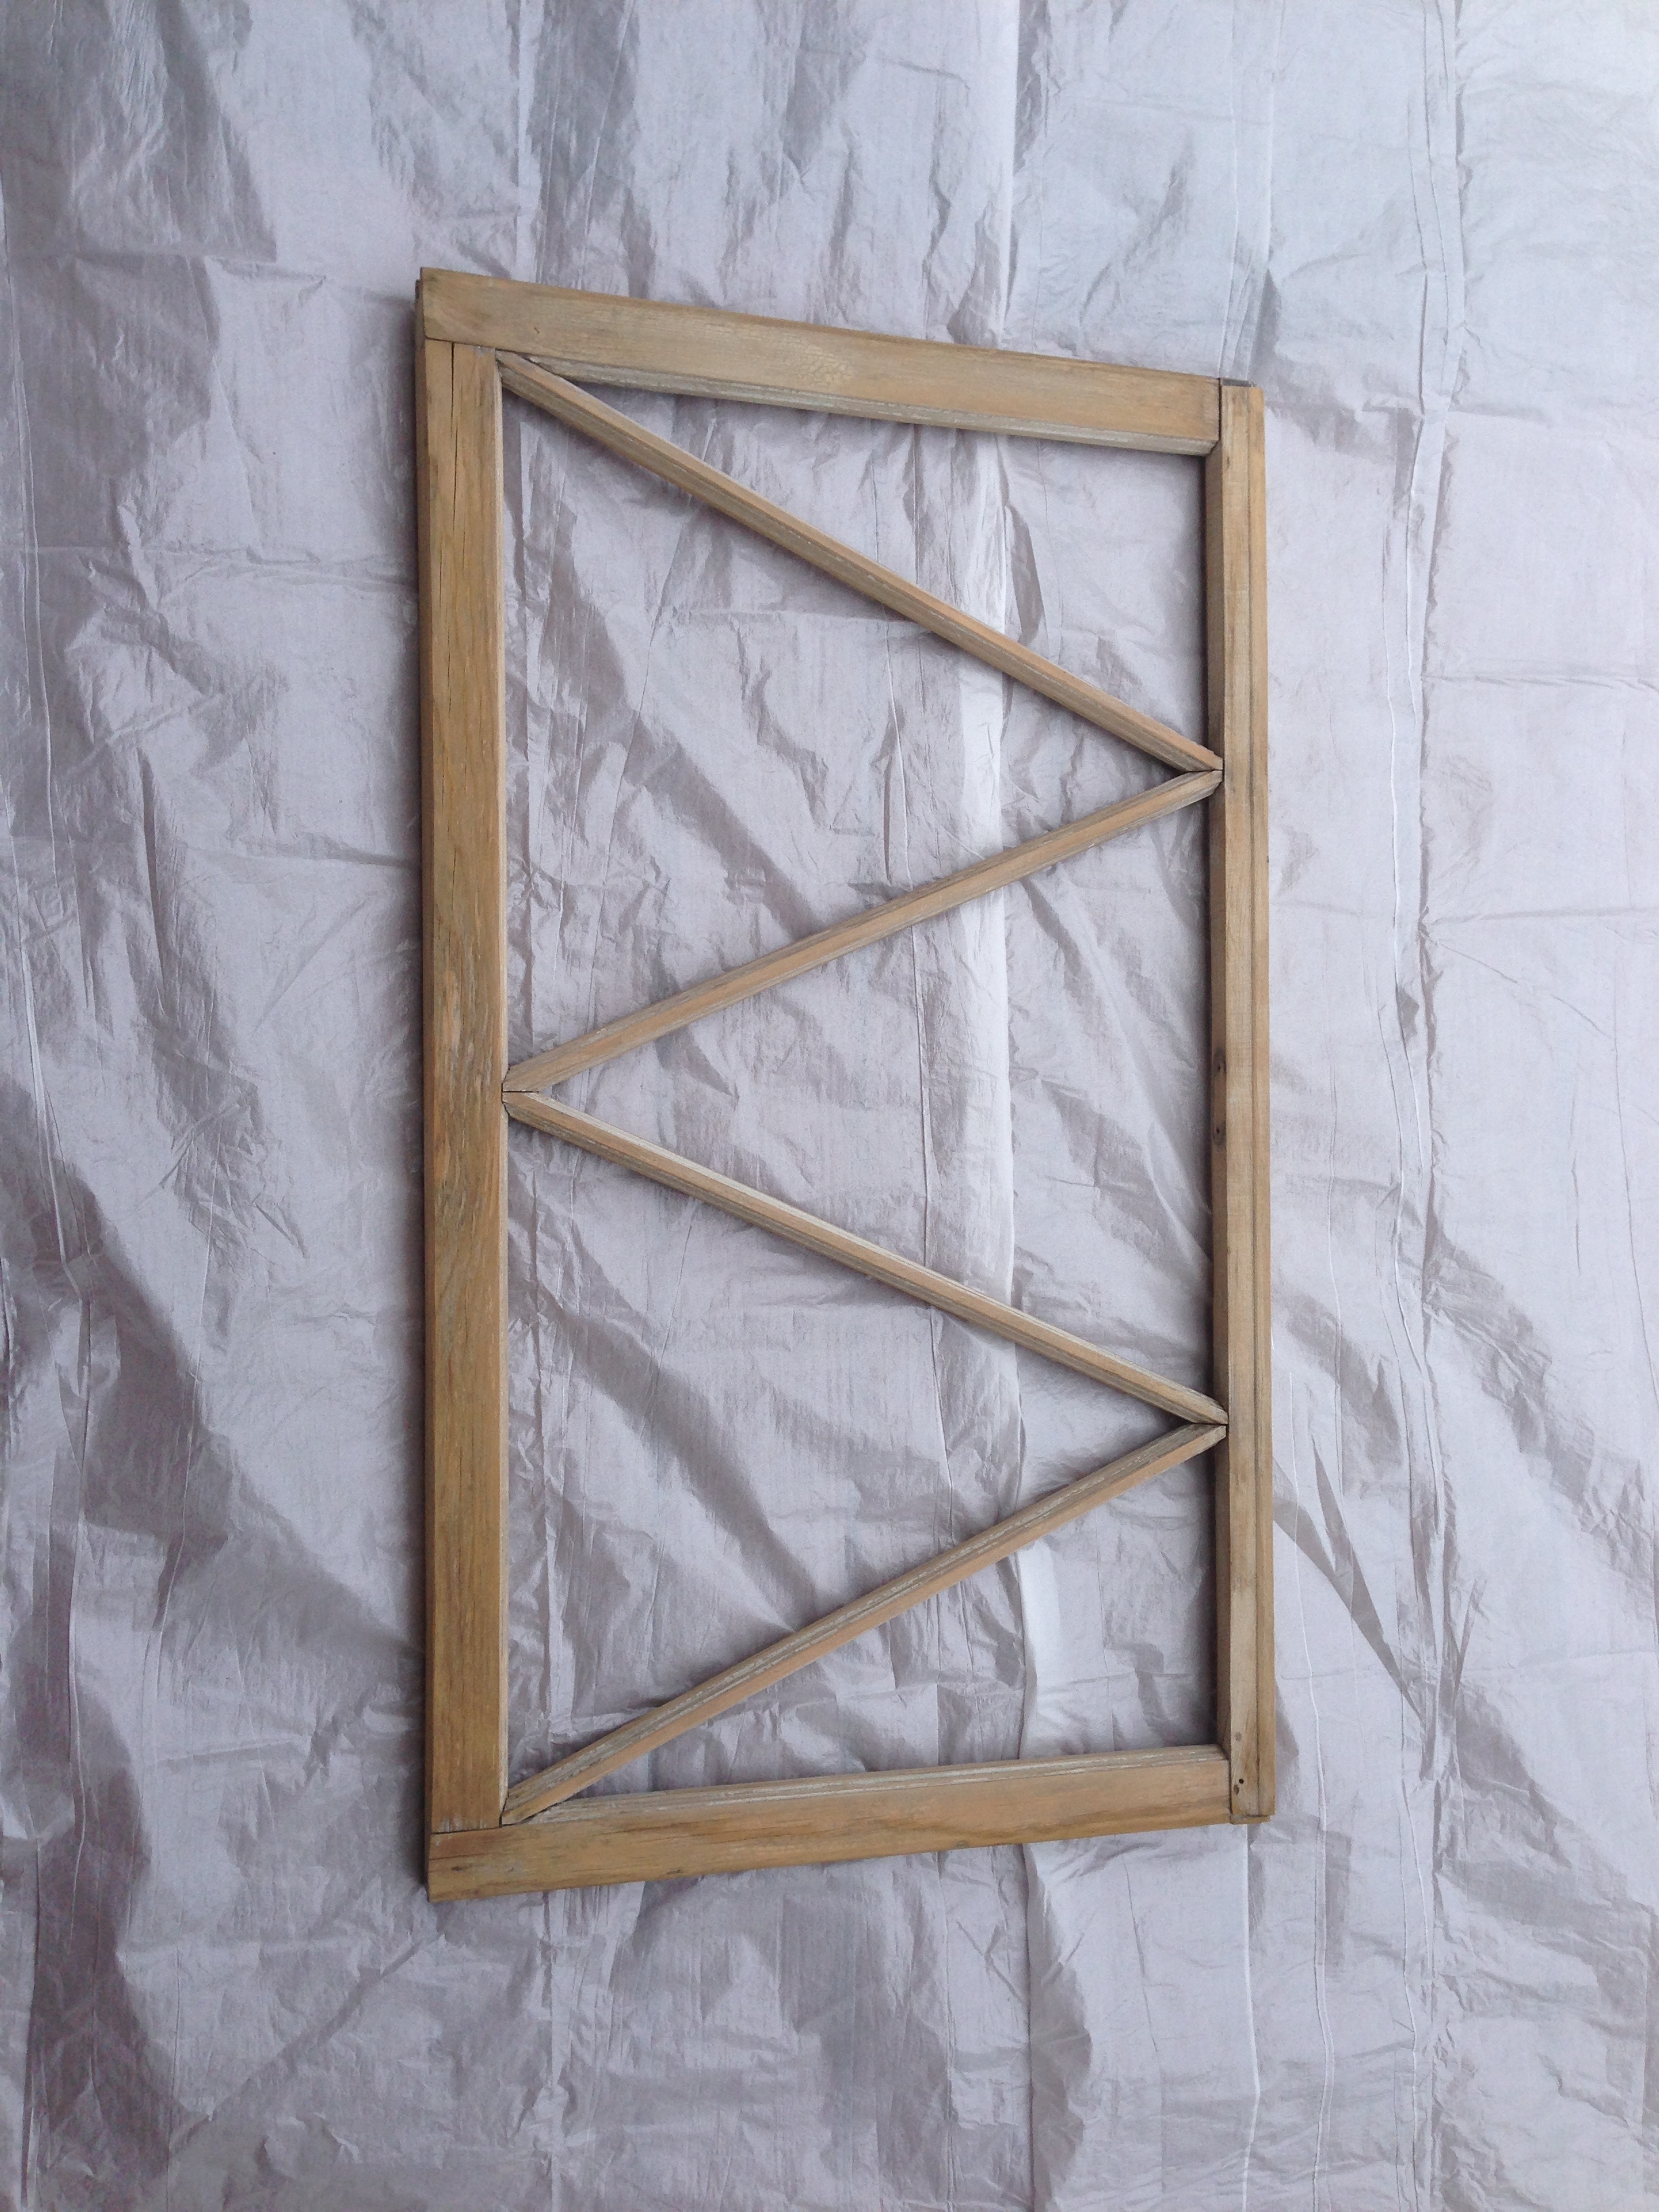
Painting: Once the wood is sanded and prepped you can start painting. Either clean up your tarp and remove as much sawdust as possible, or put down a new tarp. You don’t want sawdust stuck in your paint!
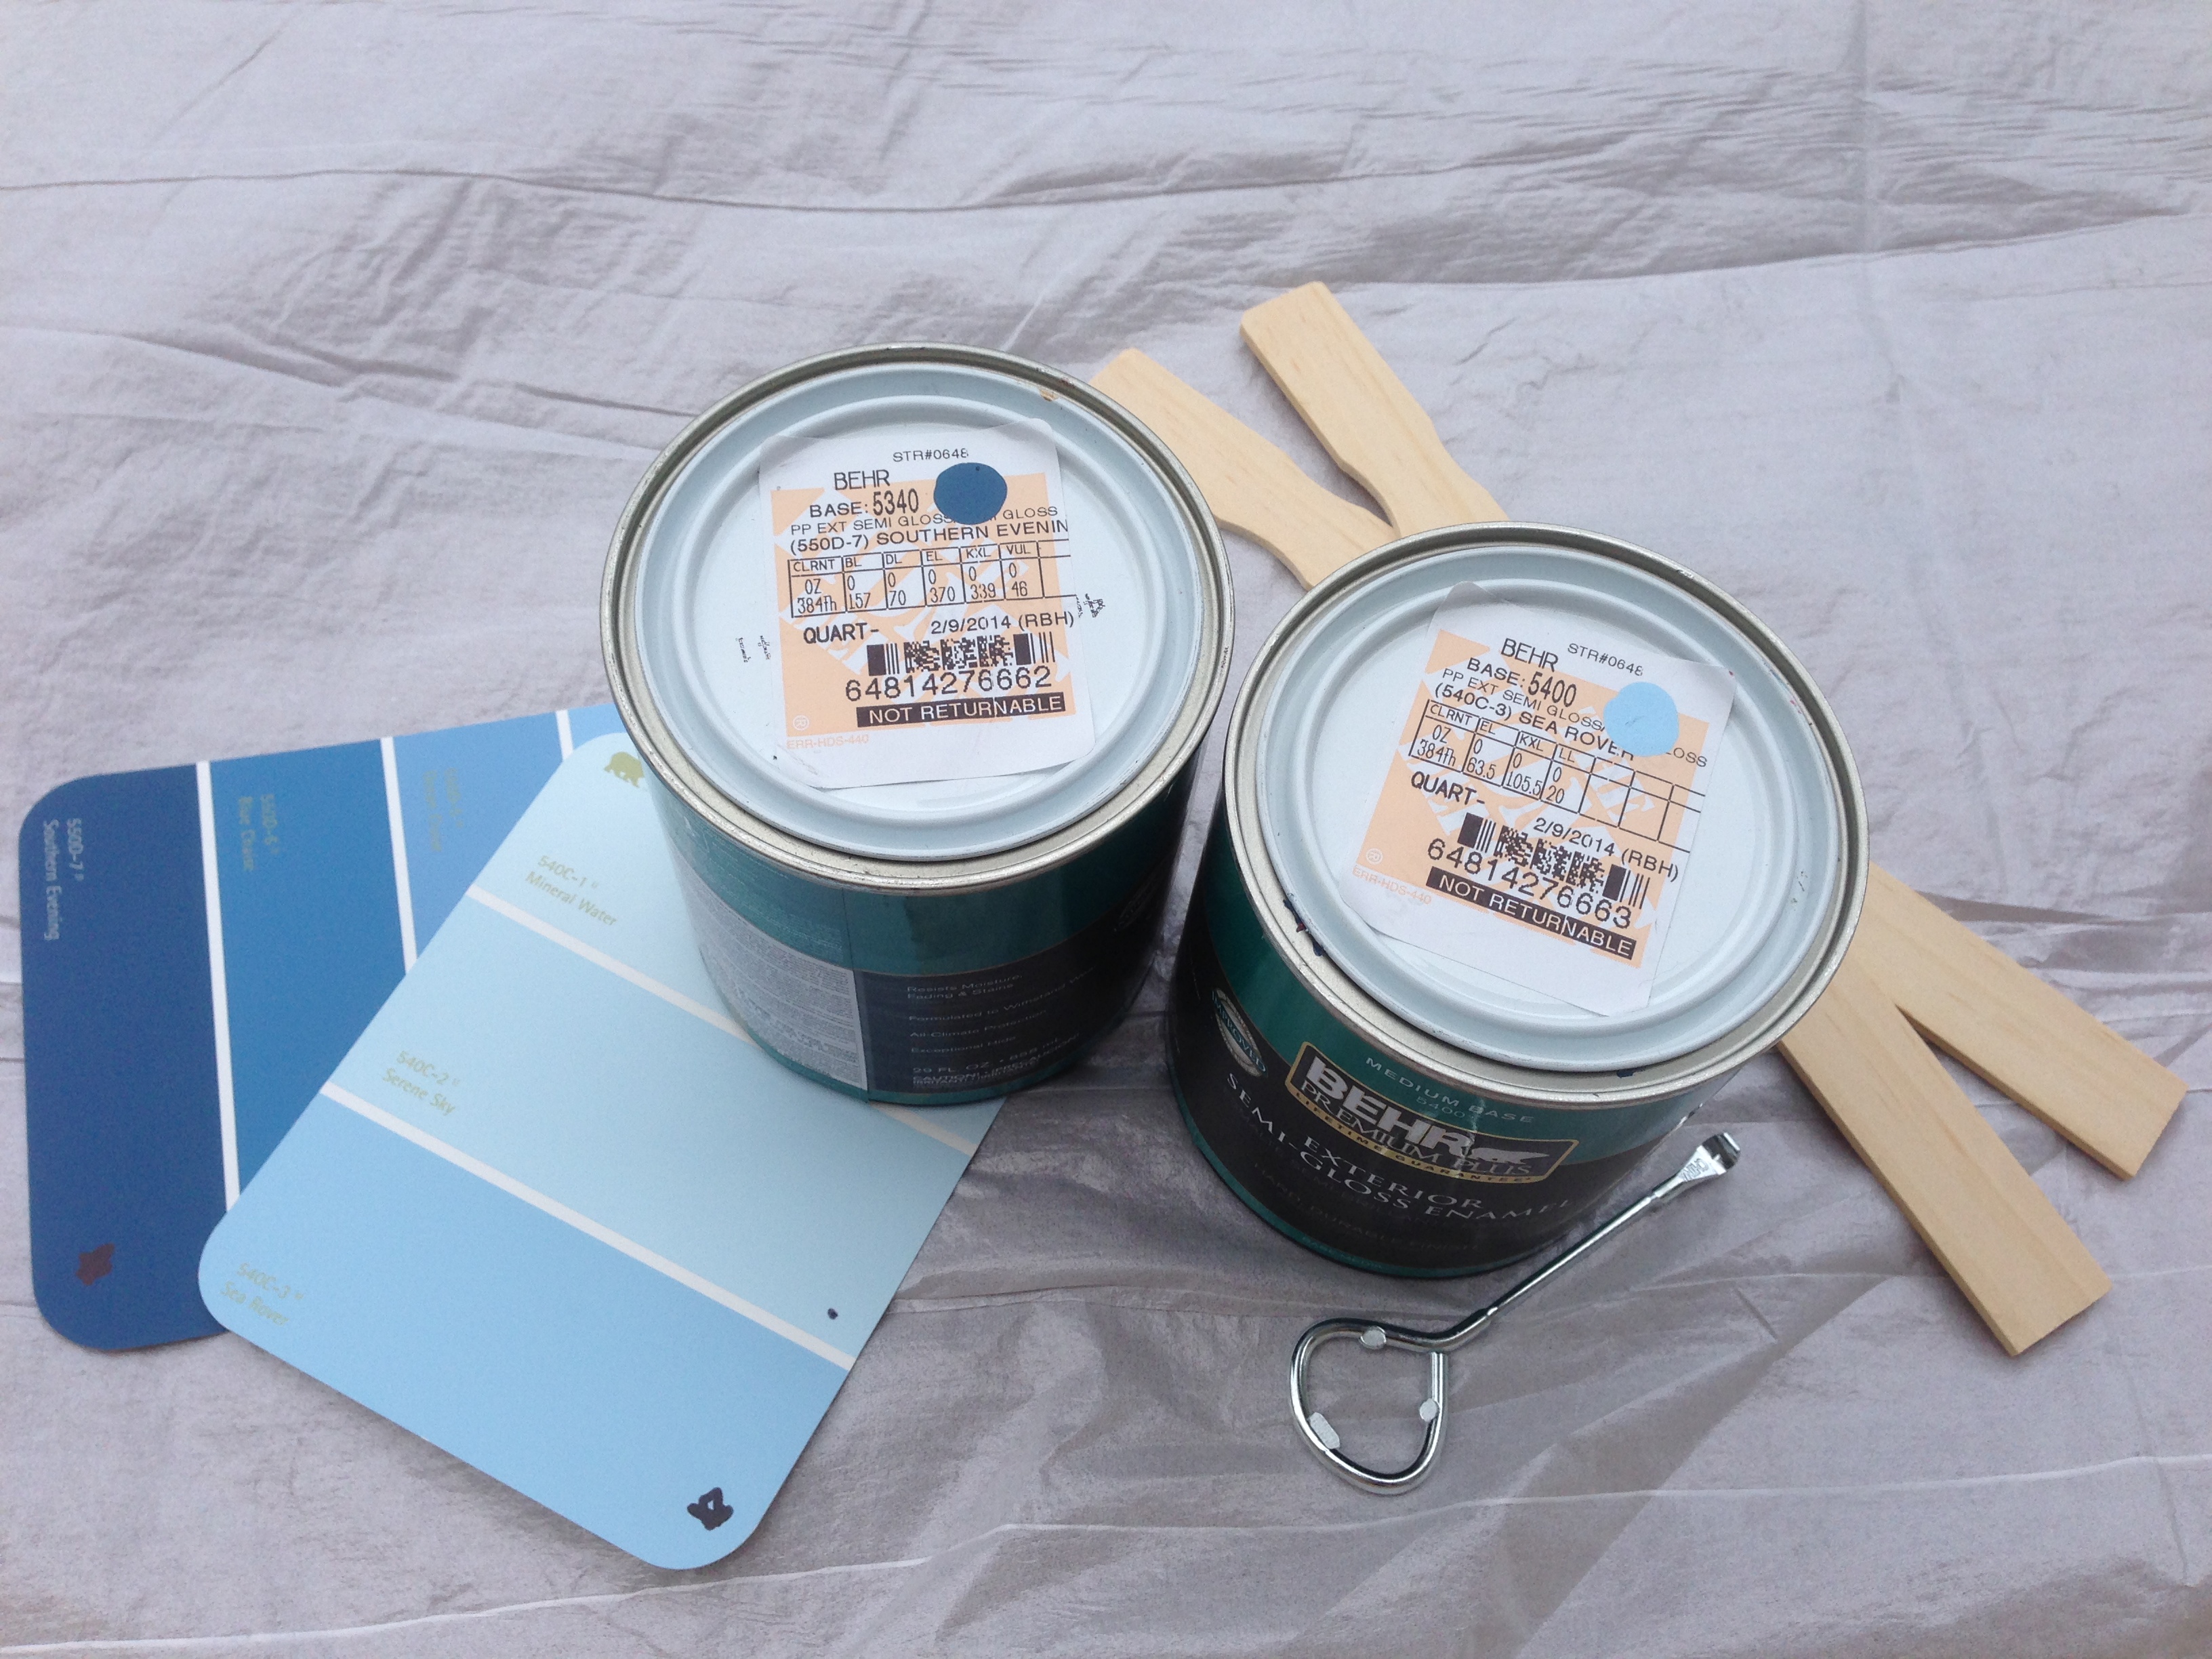
If your window will be displayed outdoors, make sure to use at least a semi-gloss paint so that it will be weather proof. If you’re not sure which finish you should use, ask an associate at your hardware store.
I went for a two-toned look – so I selected two different shades of blue. Darker to line the inside of the windows and lighter for the main frame. I chose blue since that was the most recent paint color of the window – I wanted to honor the piece.
I painted the darker color first with a brush, then used a small roller to carefully add the light blue to the main part of the frame. I didn’t use tape as that would take too long. Some of the paint may bleed over to the darker blue if you use too much pressure or have too much paint on your roller. I think this imperfection actually adds character – and honestly it looked weird when I tried to fix it.


Hooks: Once the frame is completely dry, using an appropriate sized drill bit, drill the holes in the frame through the panes and screw in the eye hooks. You’ll want to space them out and make sure you use enough that you will have a pretty cool pattern once you string the fishing line.
Fishing Line: I pre-cut a long length of fishing line. Starting with one eye hook, tying the end in multiple knots on one end. Then with the other end, stringing the fishing line across and zig-zagging it through the eye hooks. In order to ensure the line stays tight I put the line through, then circled through again to make a tight loop each time I looped it through an eye hook. When you’ve finished and you’re happy with the pattern, tie off the end on an eye hook and use multiple knots so that it will stay.

Finishing: Put the windows back into the frame using the clips or window stays.
Hanging: Add a picture frame hanger to the back of the frame. Hang on the wall.
Once your air plants have arrived – place them loosely into the fishing line, stand back and enjoy!
(I ordered my plants on ETSY)

Project Cost:
Window: $10 – Antique Store
Paint: $24 – Home Depot ($12/pint)
Fishing Line: $3 – Sporting Goods Store
Eye Hooks: $5 – Home Depot
Glass: $5 – Local Window Replacement Company
Window Stays: $25 – Local Window Replacement Company
Air Plants: $10 – Etsy – ordered online and shipped USPS
TOTAL: $82.00

One thought on “Air Plant Window”