
I was so in love with how the first window came out I decided to do another one. I thought it would be super cute to do a horizontal window and incorporate a chalkboard. So I set out on a mission to find the perfect frame.
I happened to find the frame while hanging out with a friend at the Orange, CA traffic circle. There are tons of cute antique shops and one in particular that usually has old windows. I dug through the pile to find the perfect one, with a divider down the middle this time. Not as much of a score at $20, but I’ll take it.
I wanted this piece to be able to be used as an entryway piece, so I incorporated a chalk board as well as some very on-trend boat cleats for hooks. (So on-trend I had to order the boat cleats online as they were out of the small size at the local marine store.)
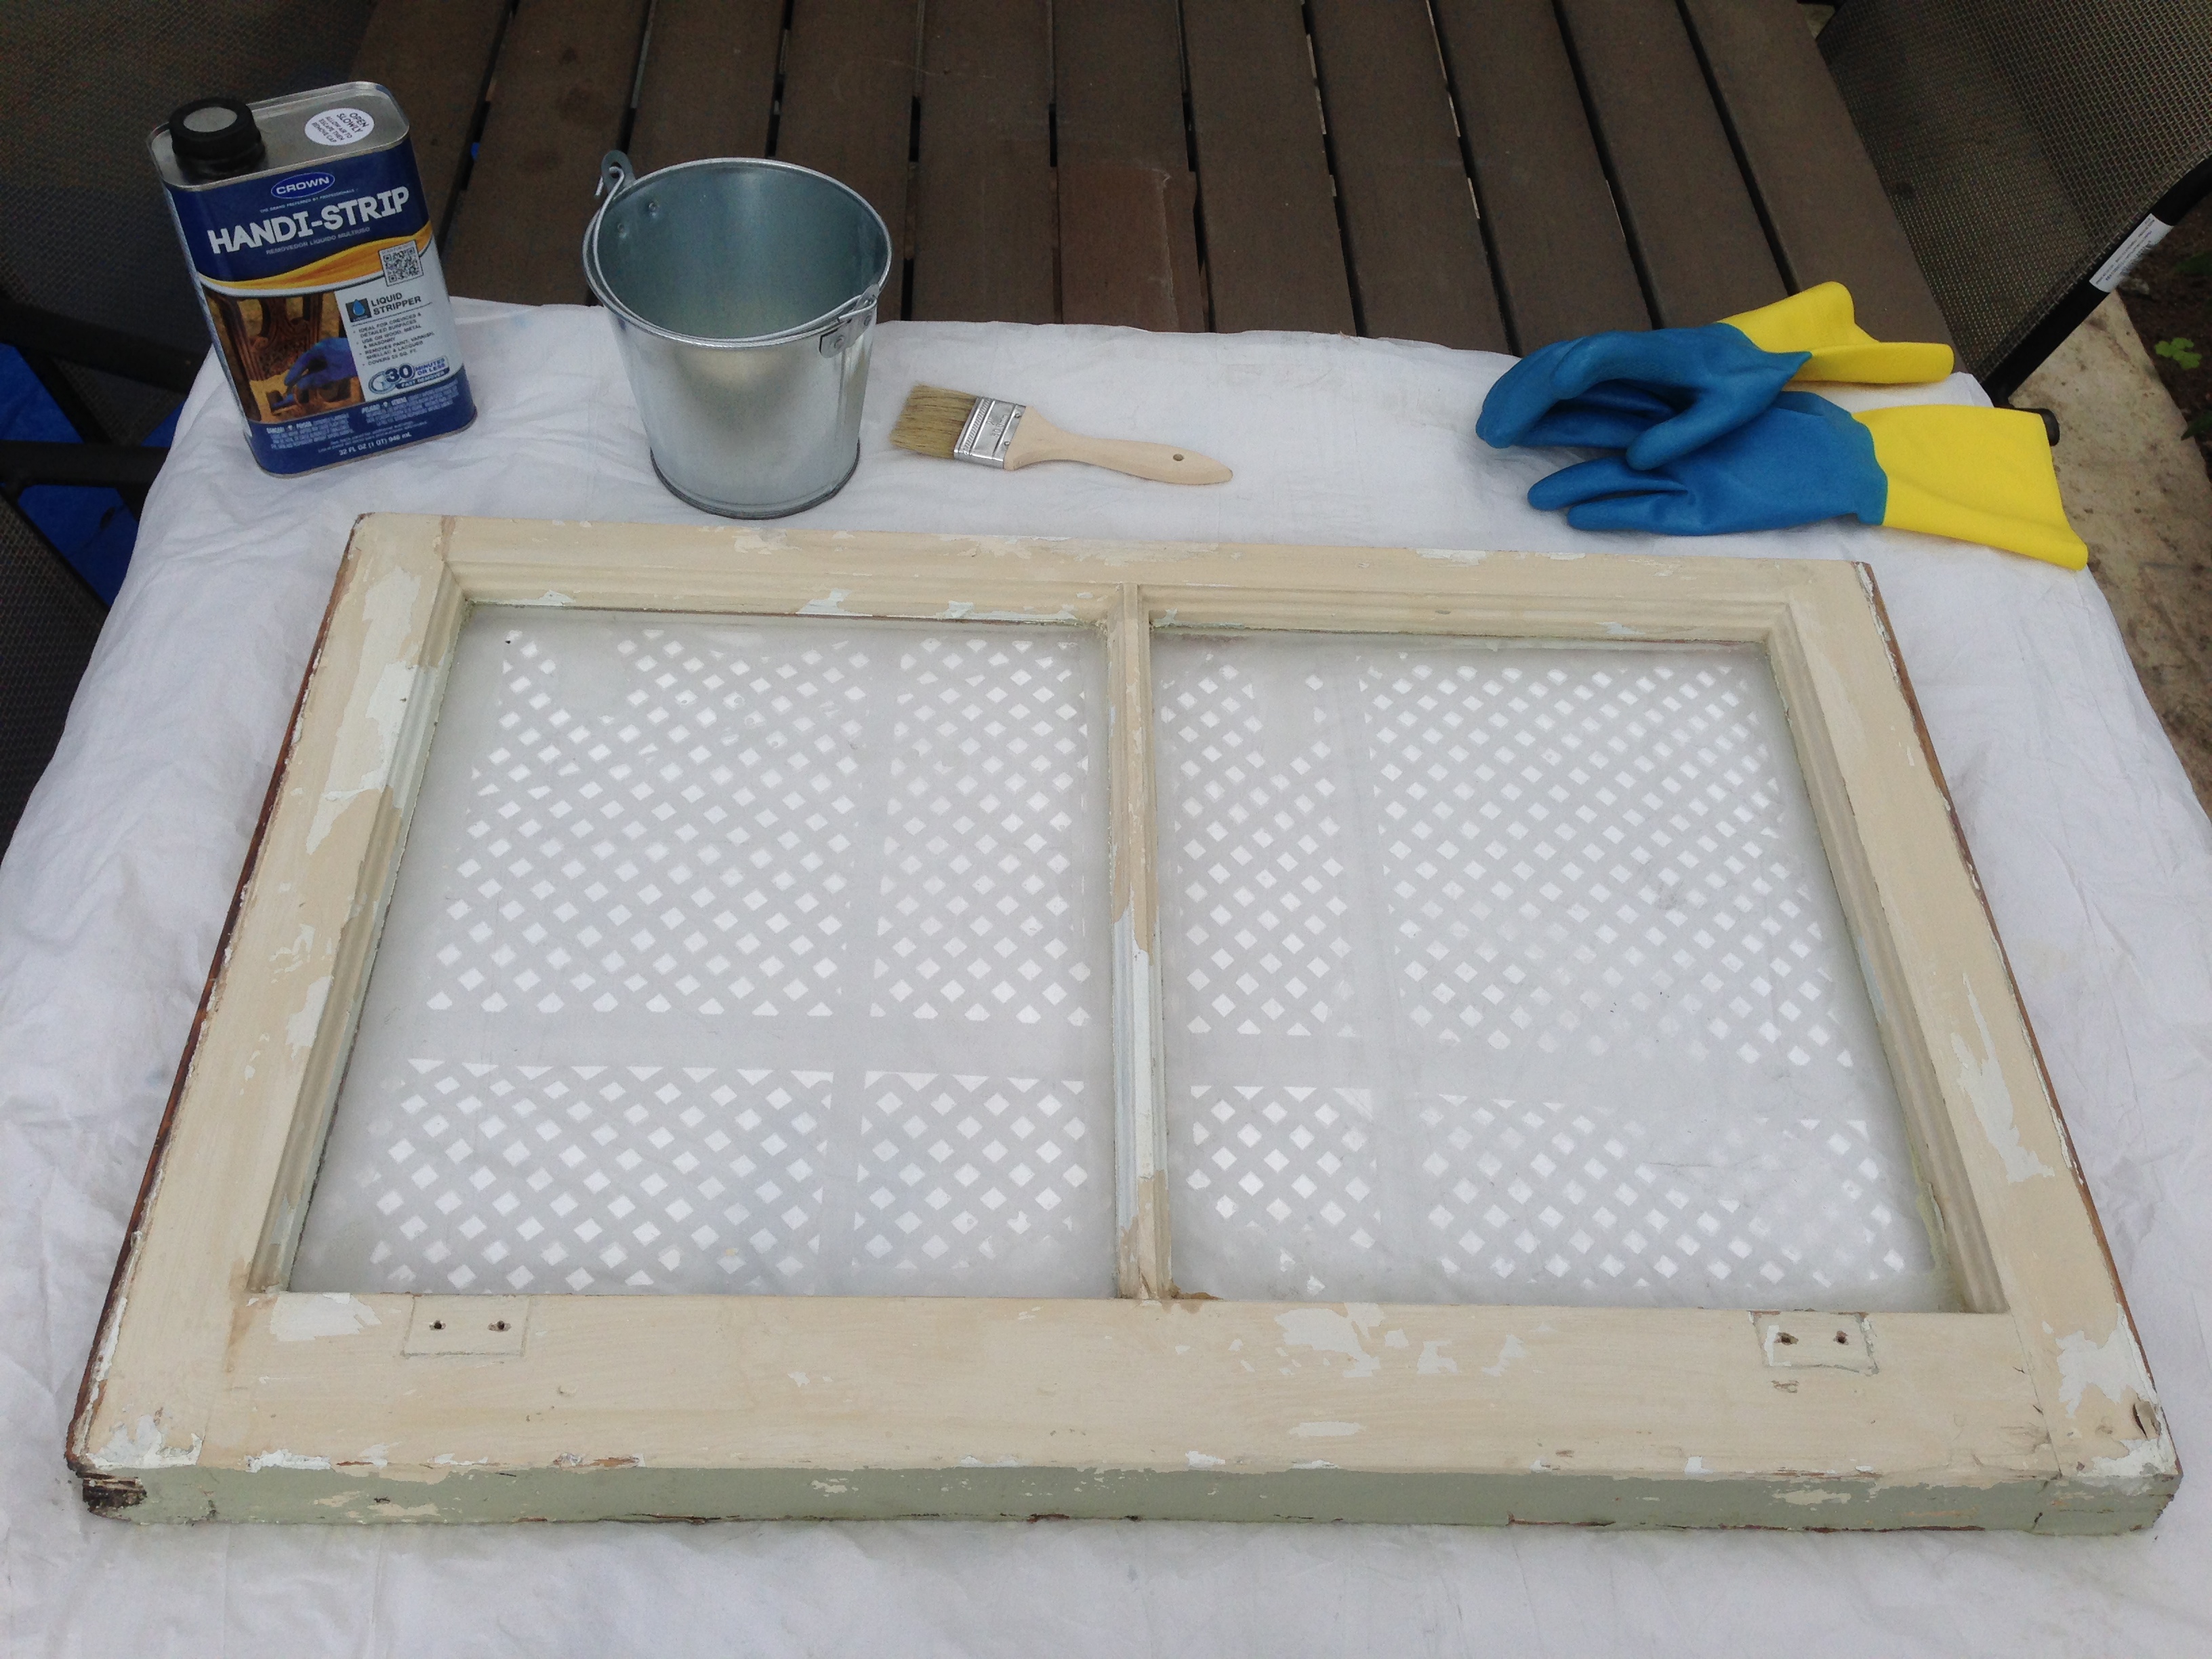
This time around I thought I would give paint stripping a go. They make it look so easy on HGTV, and quick. None of which this process actually was. I think I tried 3 different types of stripper and 2 different brands before I was through. This was a messy, messy process.
Command Center/Airplant Holder
Prep: Prep the area. Make sure to use a plastic drop cloth, and maybe even folded for more than one layer, so that you don’t have the stripper seep through. I would also do this on the ground over grass or cement in the event that there is any damage.
Stripper: At first I used the liquid type as I had fine woodwork details that I wanted to get at, but there were just too many layers of paint to make a dent. Then I went out and bought the gel kind. This was much more effective, but also took forever and multiple layers. I probably had 10 layers of paint to eat through. I got it as clean as I could and then moved on.
Sanding: Once the piece is free of paint, give it a good sanding. You’ll want a clean, smooth surface.
Polyurethane: This time around I spent so much time and effort getting all that paint off, the last thing I wanted to do was add paint. So I applied a clear polyurethane in order to keep the wood looking nice and make it easy to wipe clean.

Chalkboard: If I did this over again, I would definitely just use Chalkboard Contact Paper Cut to size and cover the glass. I got fancy and used chalkboard paint directly onto the glass, but it was difficult to get the paint smooth.

Air Plant Holder: Using the same method as the Outdoor Airplant Holder, I used leftover eye hooks and fishing line to create a patterned net to hold the air plants in place.
Hooks: I measured and drilled holes for each of the boat cleats. These are actual marine boat cleats that are sold at Marine Boating Stores. Using matching screws, I affixed each cleat to the bottom of the window.
Add a picture frame hanger to the back of the frame.
Hang on the wall.
Once your air plants have arrived – place them loosely into the fishing line.

This particular item doesn’t have a spot in the house yet. I ran out of wall space, so it’s in a closet for now until I move. I think this would be great in a laundry room also.

One thought on “Air Plant Window Round 2”