
I have traveled the globe and collected a lot of small trinkets, tickets and denominations along the way. These memories were shoved in a drawer and I didn’t really know what to do with them.
I had seen some travel boxes on pinterest, but I didn’t really want to display a bunch of huge clunky boxes, especially with the limited space that I have. I started researching different boxes, cigar boxes, etc. I had originally set out to buy something large enough for an 8.5 x 11 sheet of paper for my documents and to fit maps, but then I fell in love.
I found these adorable boxes that look like books. This would solve my display and storage problem in one. I could just put them on the bookshelf and they would be like a hidden treasure.
I ordered the books online. Then I had to decide how I was going to add the destinations I had been to them. I thought about paint and decoupage, or wrapping the box in a map from the area. I didn’t really like any of my options and then I thought I would try to make them looks like old books, which are wrapped in fabric.
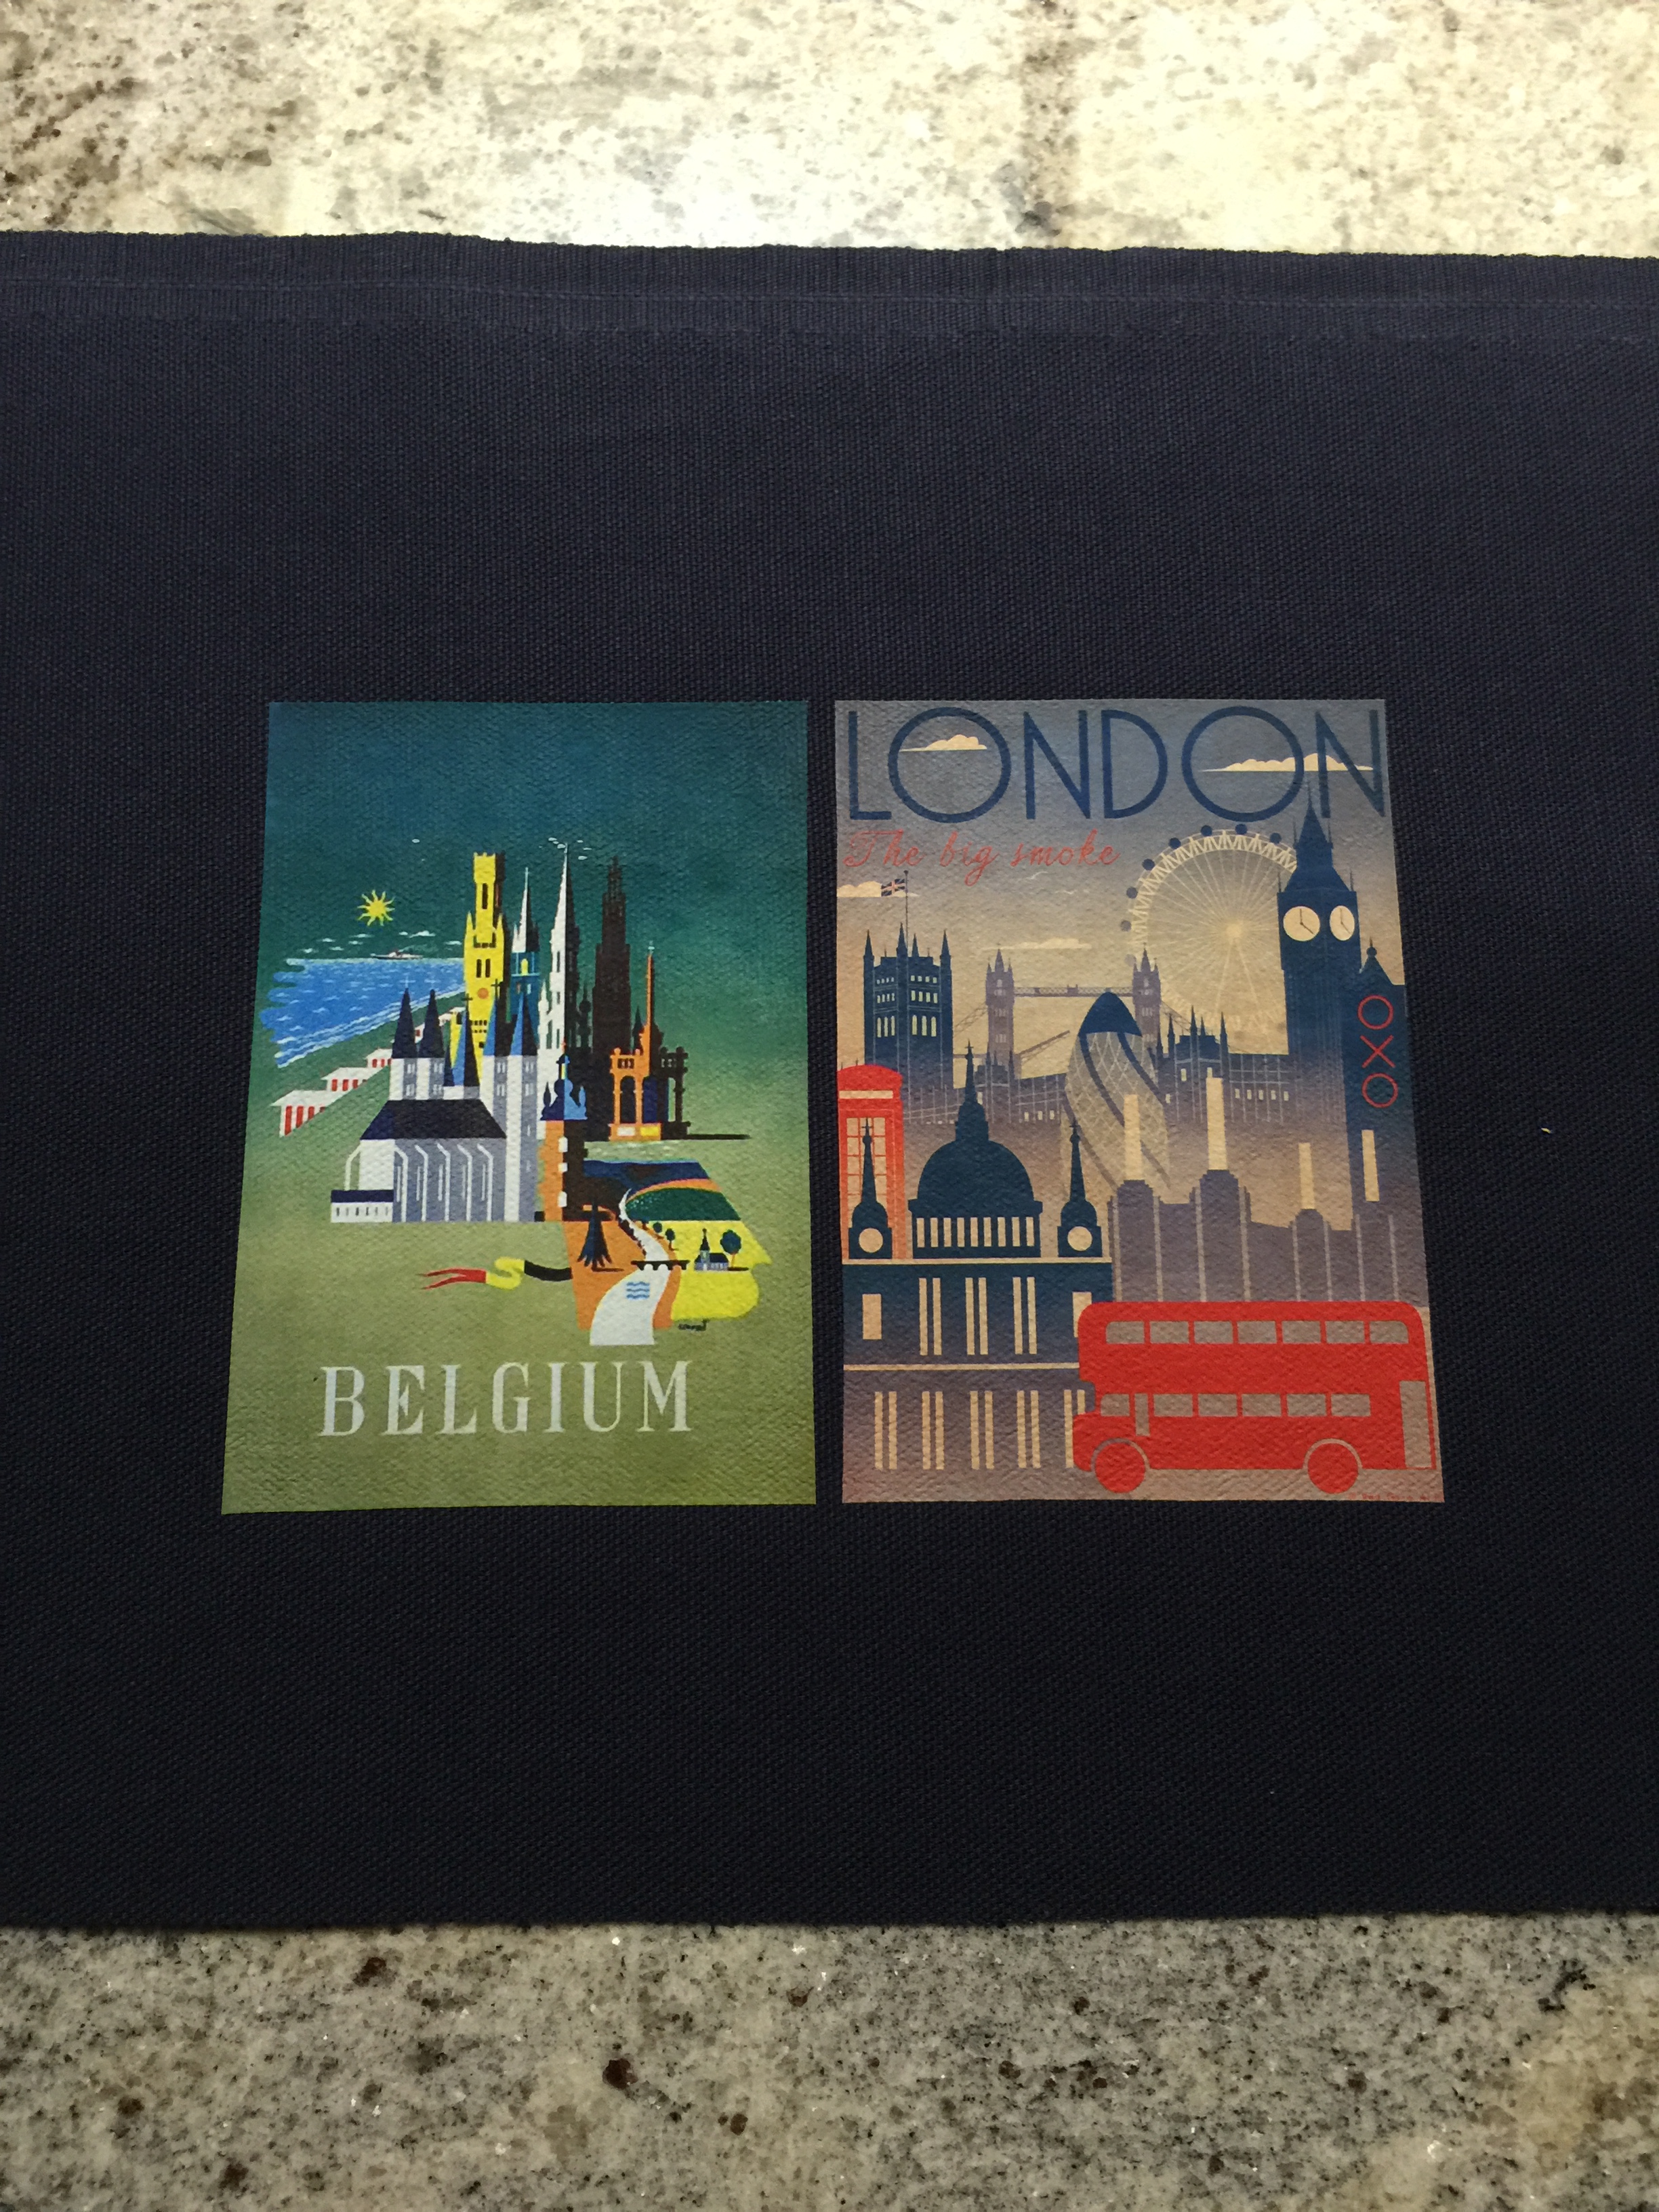
I decided to buy canvas duck cloth in various colors, matching the vintage travel poster art I found to use as the covers. I printed the art onto iron on transfers for dark colors.


For the backs of the books that didn’t have art, I ironed a similar size of blank material.
Prepping the Boxes: I started out by sanding the boxes by hand with a light grit sand paper. Just to make sure the surface was smooth and the edges were clean.
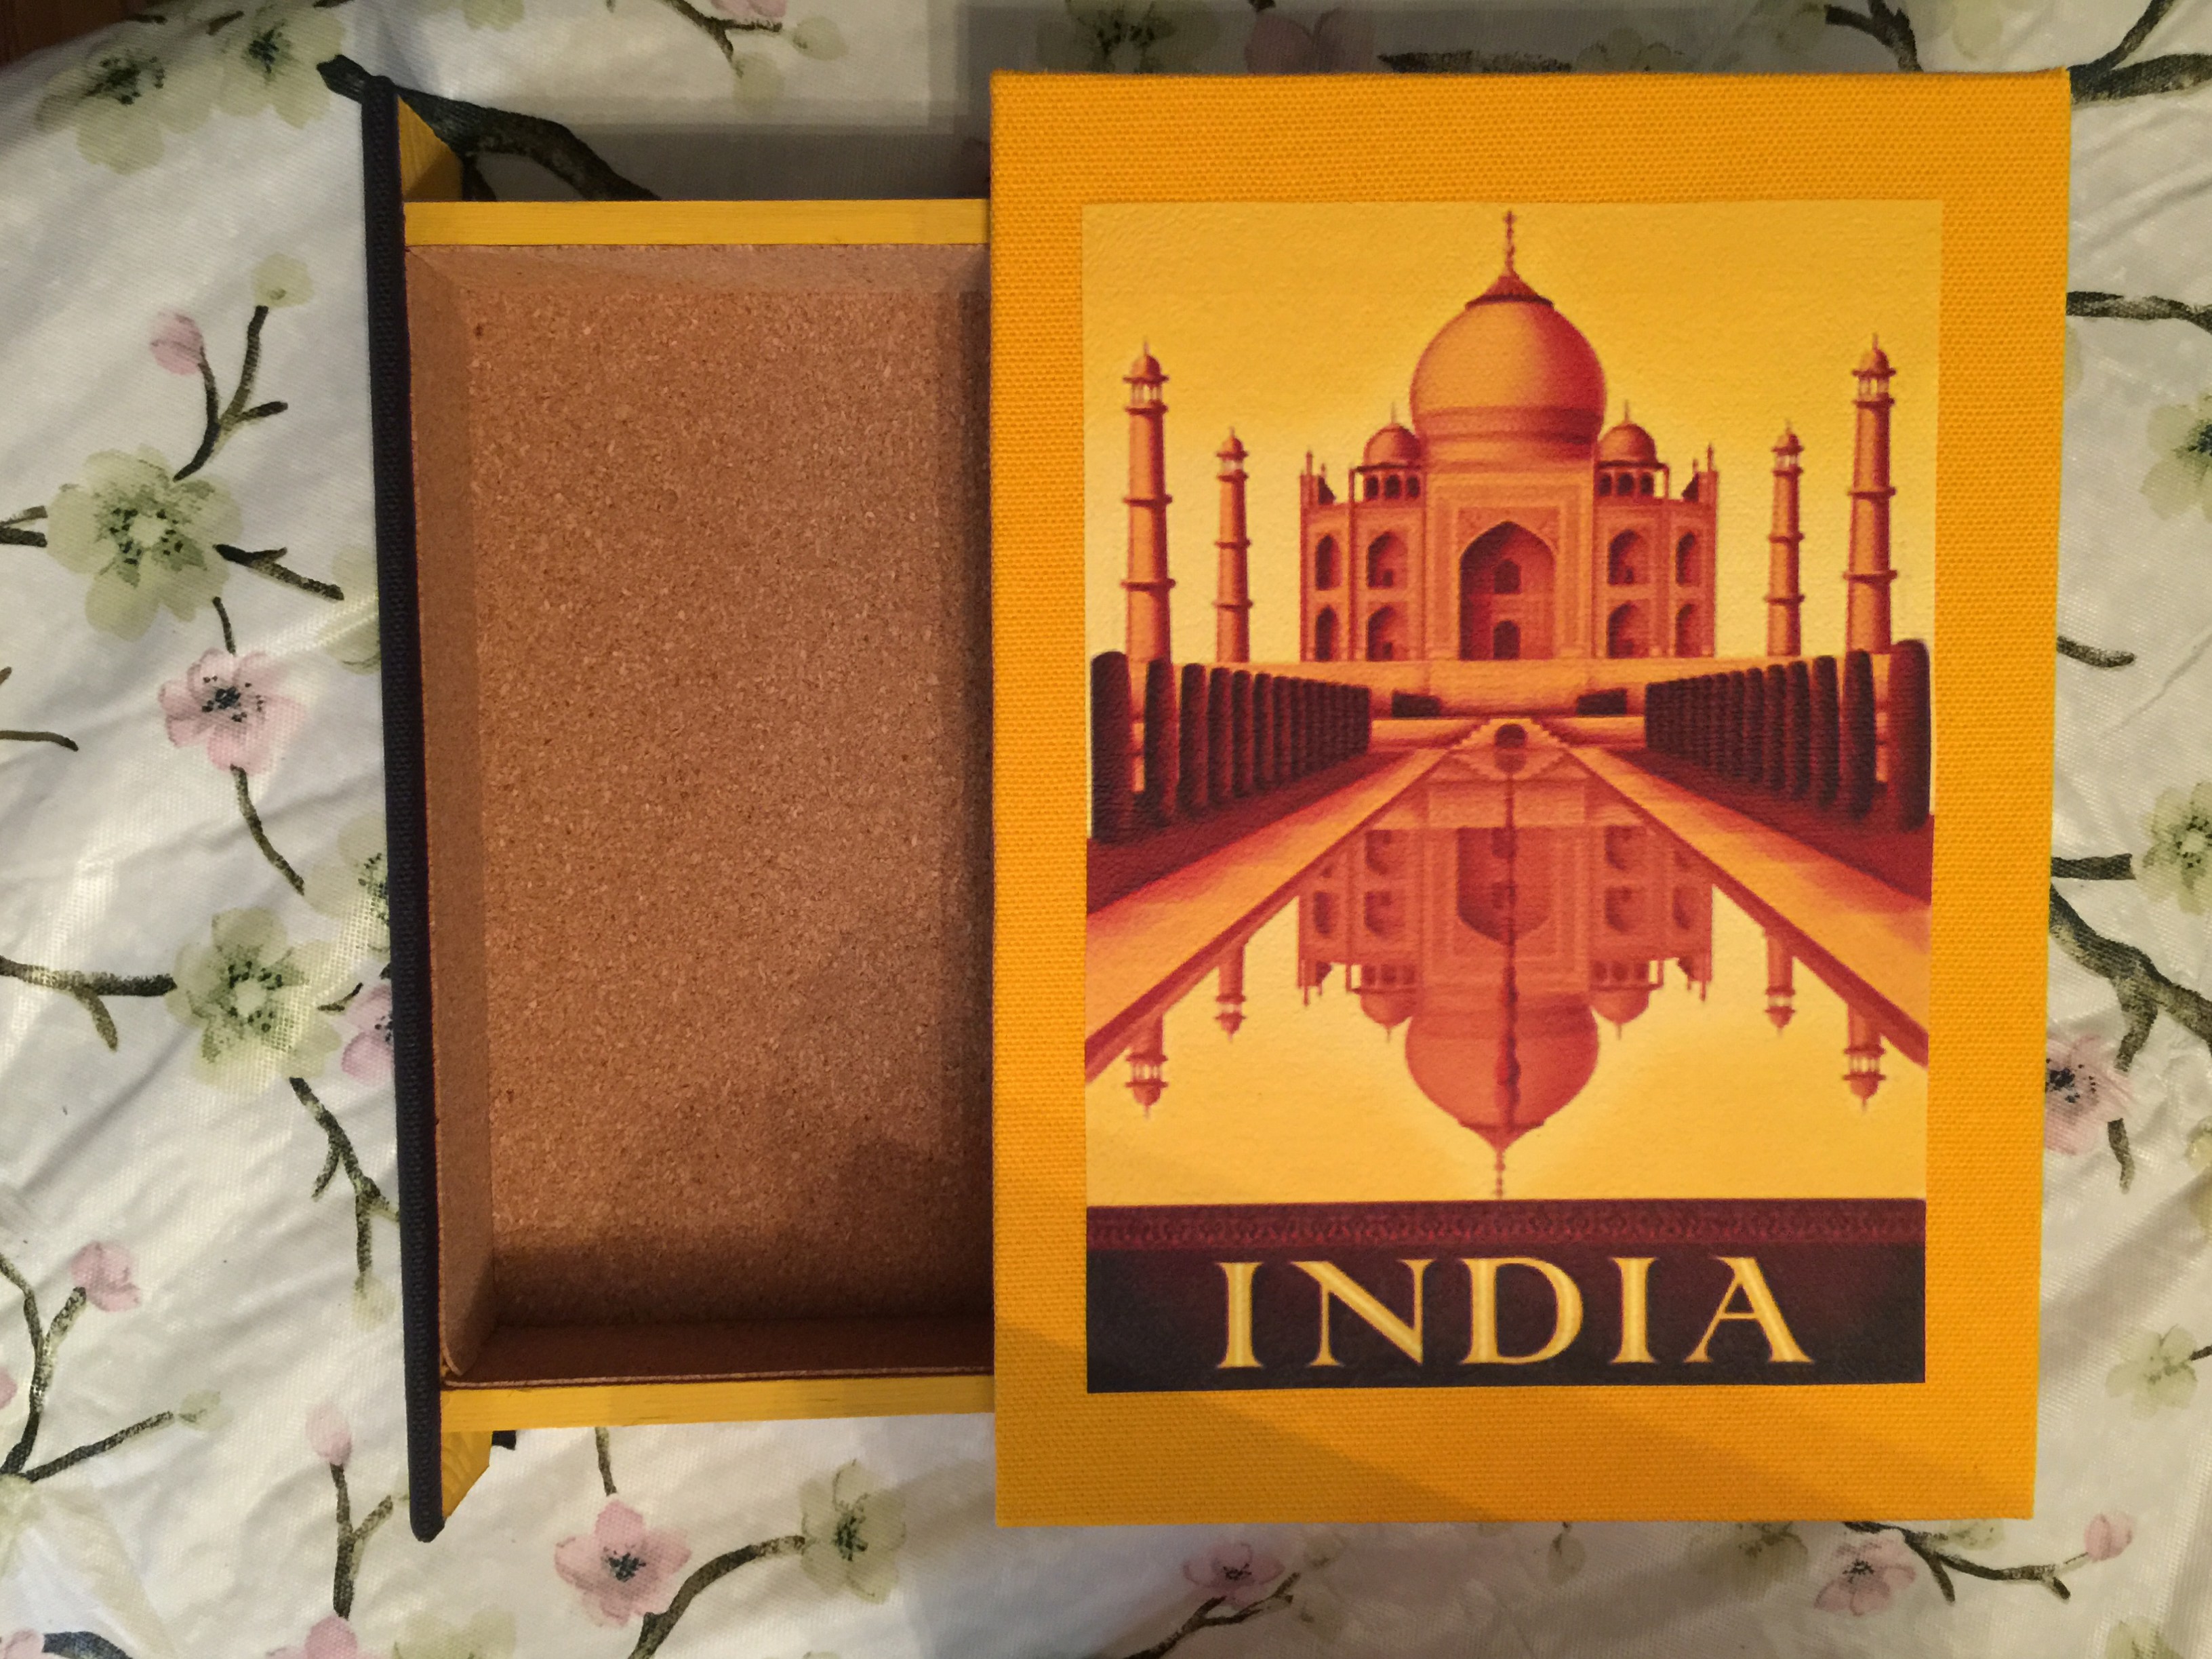
Painting the Drawers: When the drawers are extended you see the bottom and sides and I wanted that to go with the theme for each box as well. I painted the outside of the drawer and about a .5″ down from the edges on the inside. I used a shade similar, but not matching to the cover color – just for some contrast.

Drawer Liner: I really wanted to finish the inside of the drawers to give them a rich feel, but all the paper or material I was finding didn’t really go well with the cover material or color. I ended up using super thin cork paper that was in a large pad for scrapbooking. These were not cheap, but I lucked out and they were buy one get one free at $20/each and a friend wanted one for her own project, so we were able to split the cost, $10!
Using an Xacto knife, I cut 4 strips of cork for the edges and one large one for the bottom. I used Tacky Glue and painted it on the surface and then adhered the cork to the inside of the drawer.

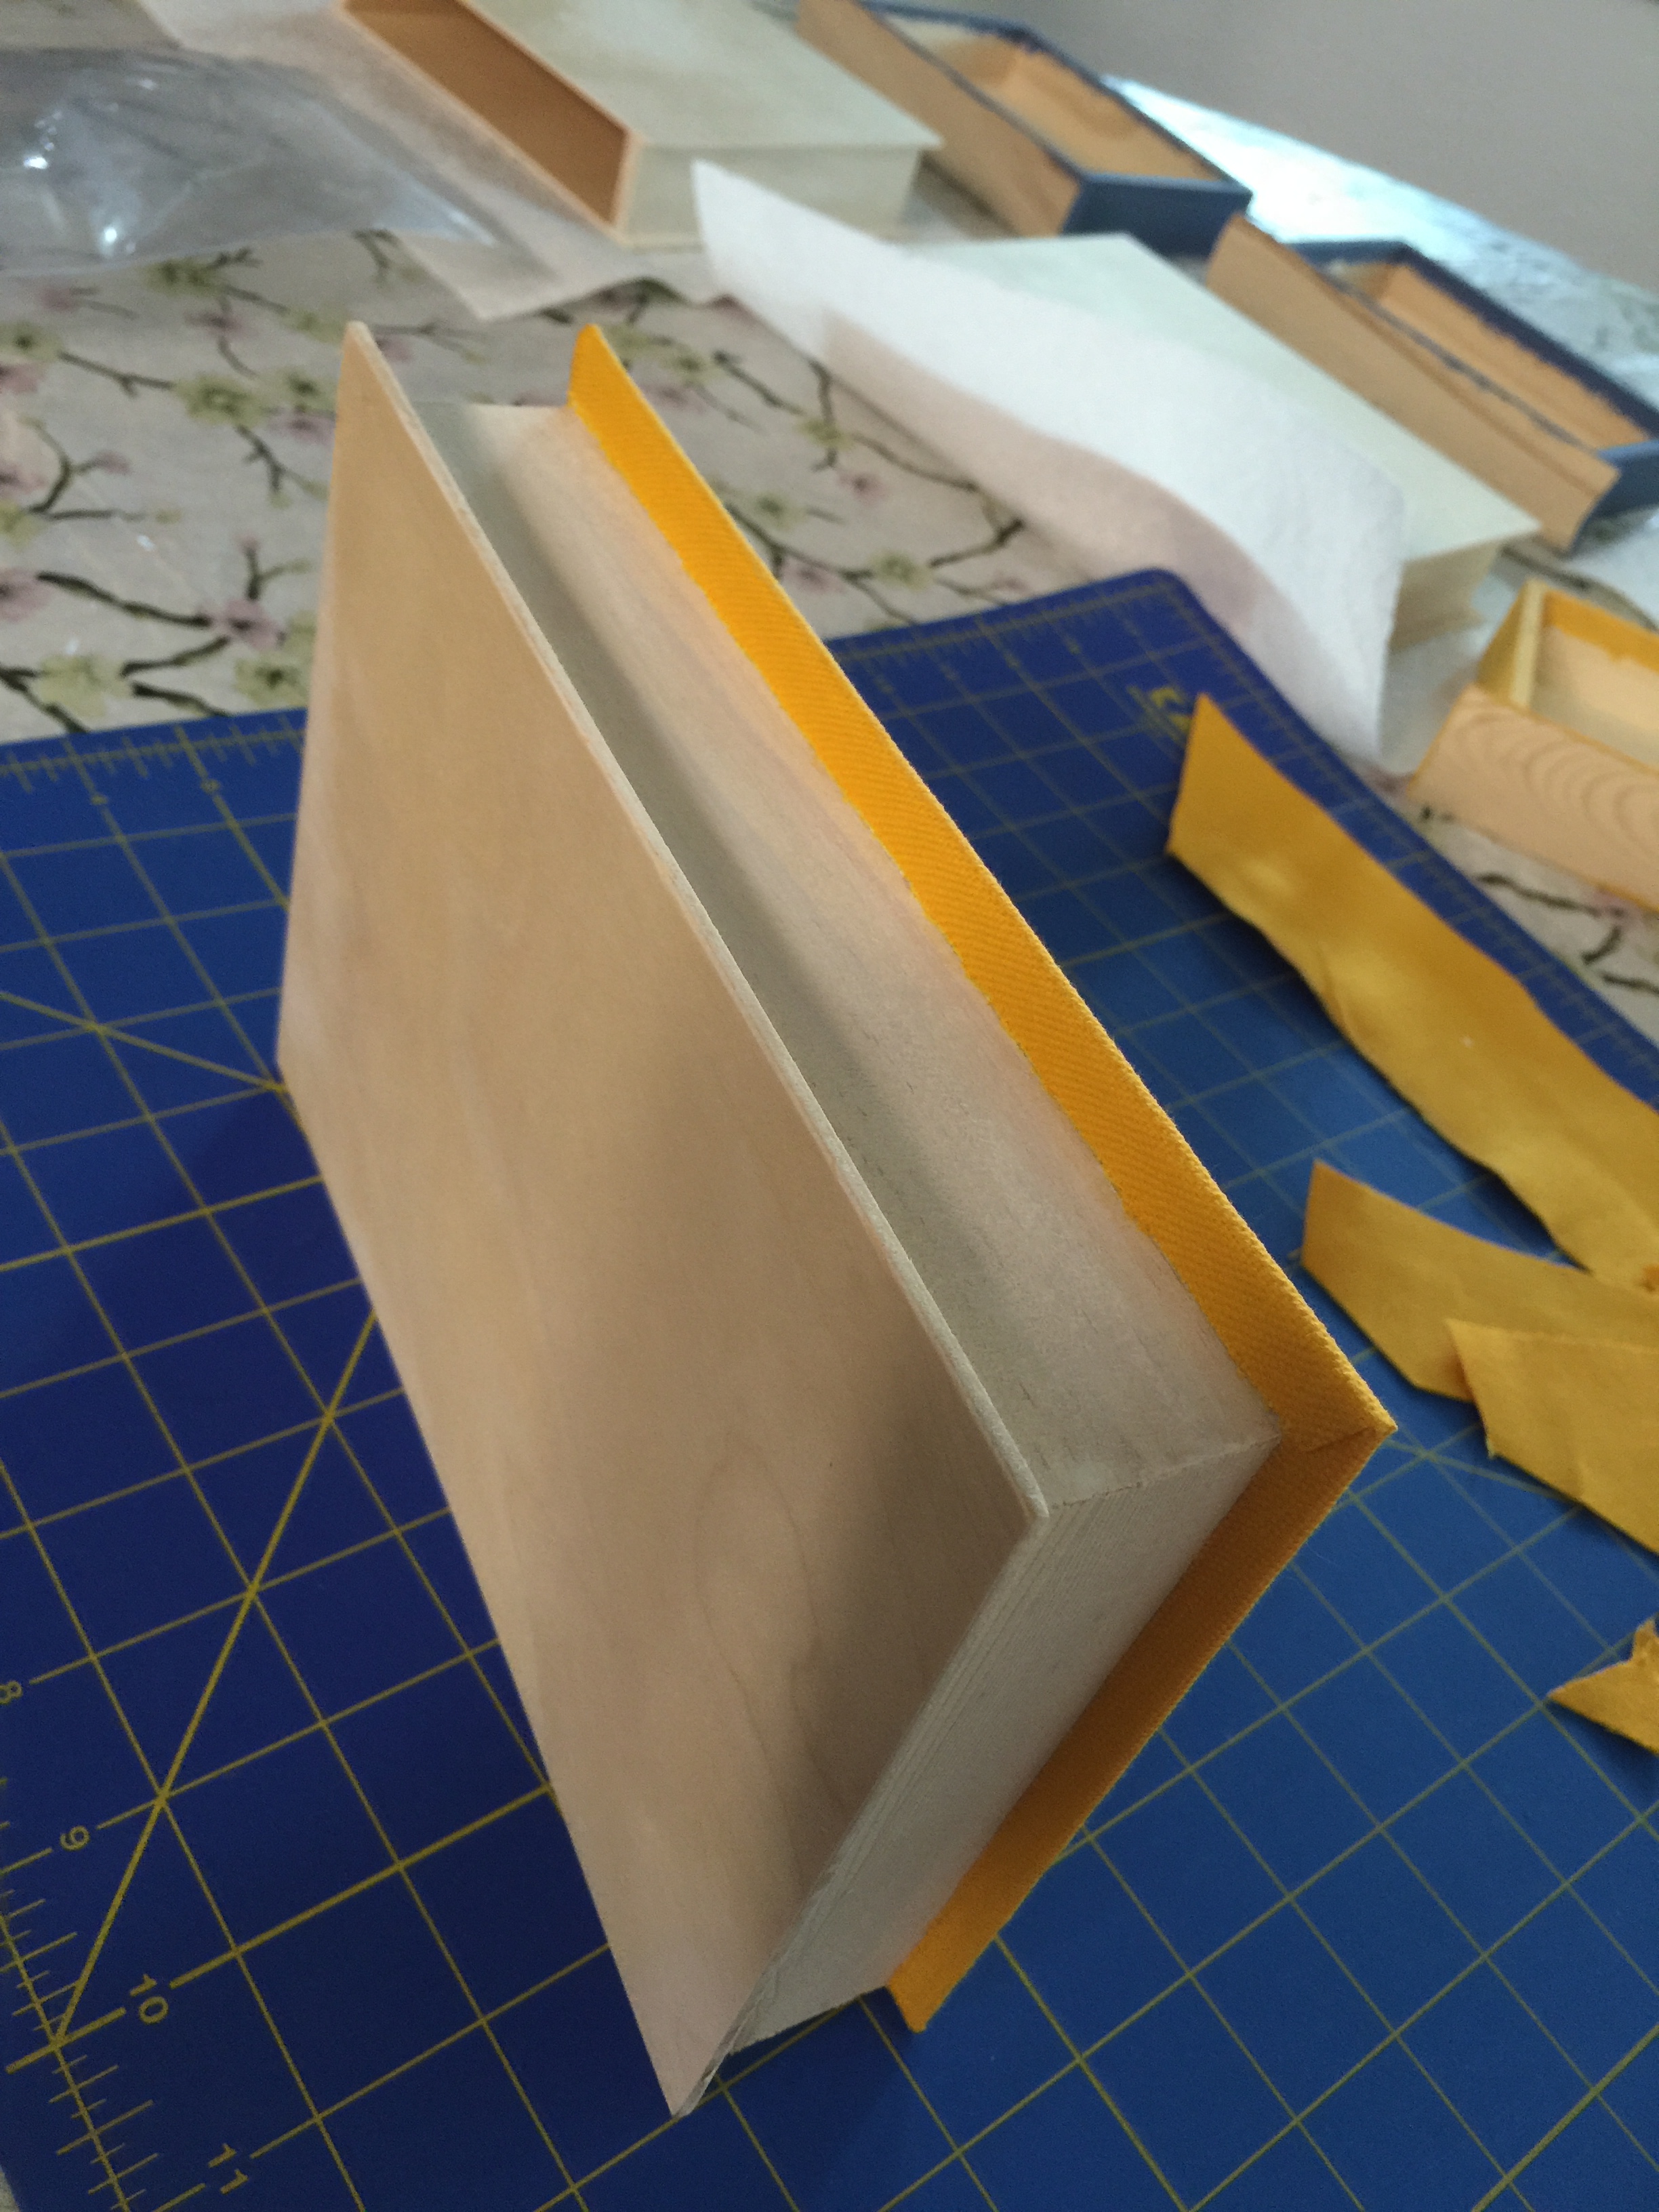
Faux Paper: I wanted the “pages” of the book to look somewhat like paper. In order to achieve the effect I basically just watered down white paint and whitewashed the paper area in long strokes. When it dried it looked like paper.
Wrapping the covers: This was a lengthy and time consuming process. First I would paint the surface with Tacky Glue, then affix the material – centering the artwork. Then press firmly and smooth out the material so it was 100% stuck down and not wrinkled. Then for the edges. I cut off any major excess first. Then starting at the corners, fold over the corner and glue down. Then glue and fold the whole edge all the way across, pushing into the crease. Once dry, I would then take a sharp Xacto knife and run along the edge to cut off the excess material, leaving a clean finished edge.


Continue this process until all covers are wrapped, you’ll get into a groove after a couple.
Spines: This took some trial and error, and had I had the resources, I would have used a Cricut to cut out the vinyl lettering for the spines, but I don’t have one – so alternate methods were used. I ended up just printing them on the iron on material with a black background and ironing them on to black canvas duck cloth. I glued these on the same way, wrapping around into the drawer.

Final Product: These are majorly adorable and look professional.


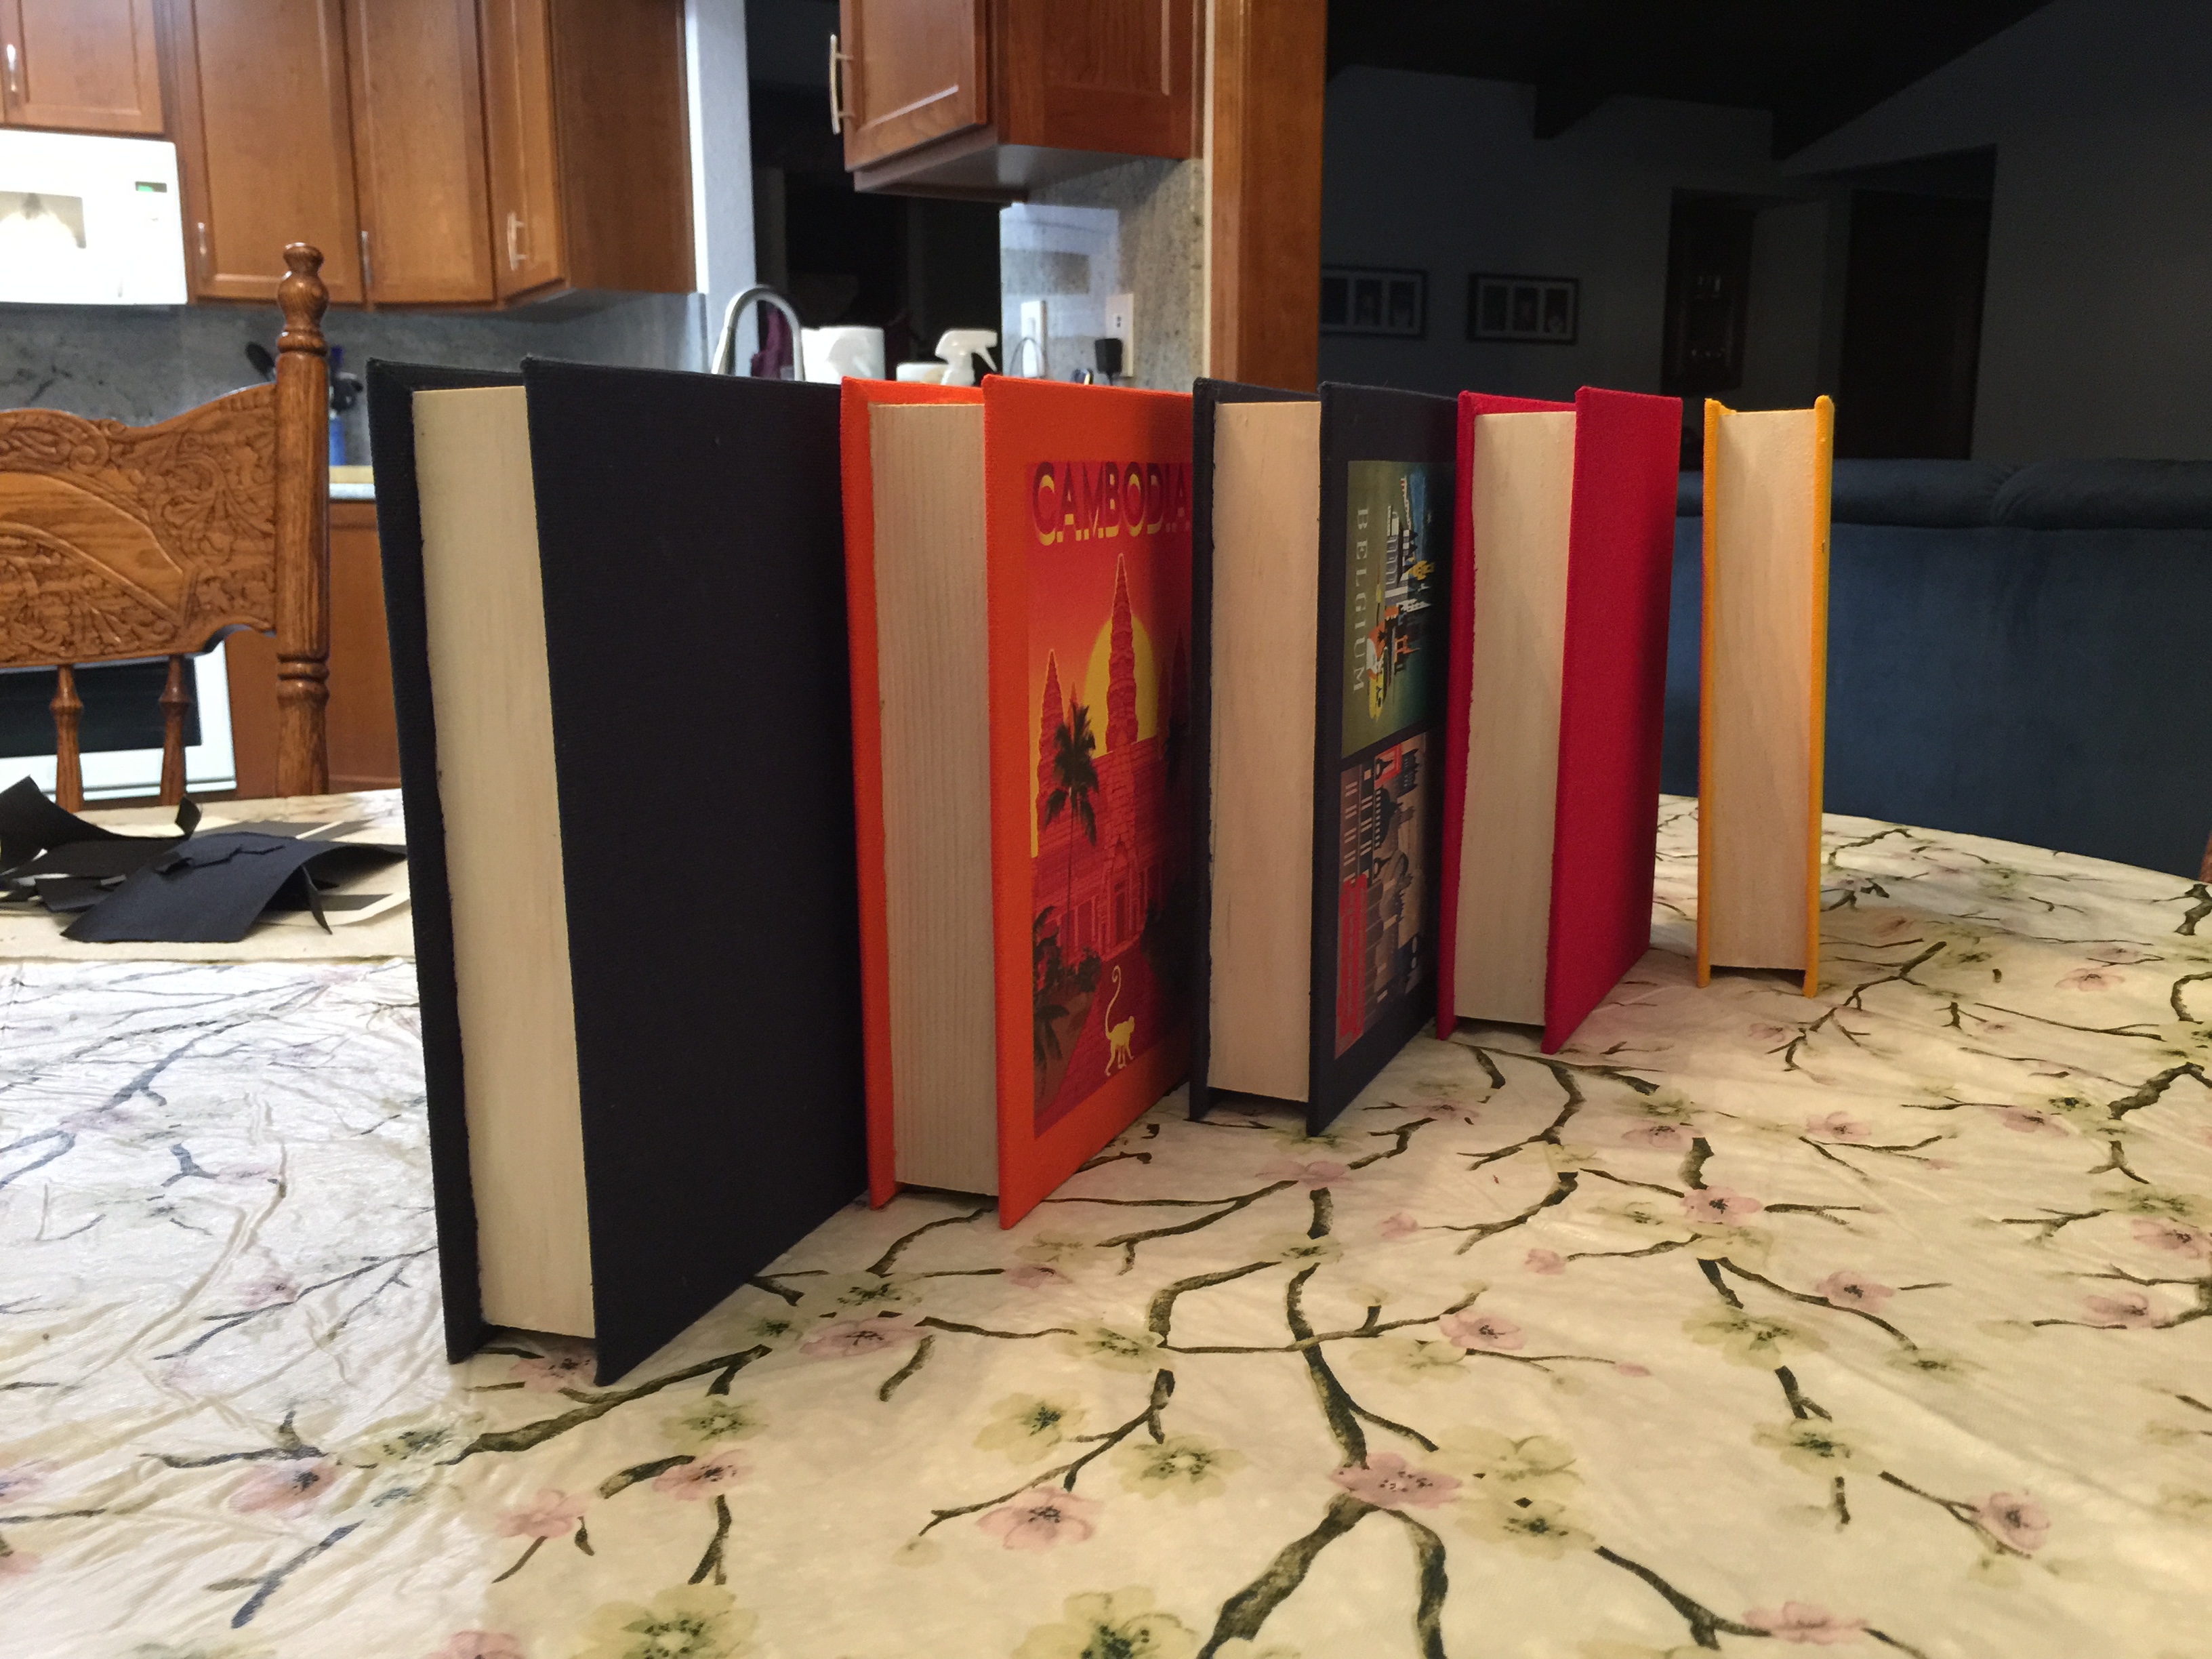
When it came time to put them on the bookshelf I couldn’t bring myself to hide them. I ended up re-arranging the entire bookshelf to display and highlight them instead.
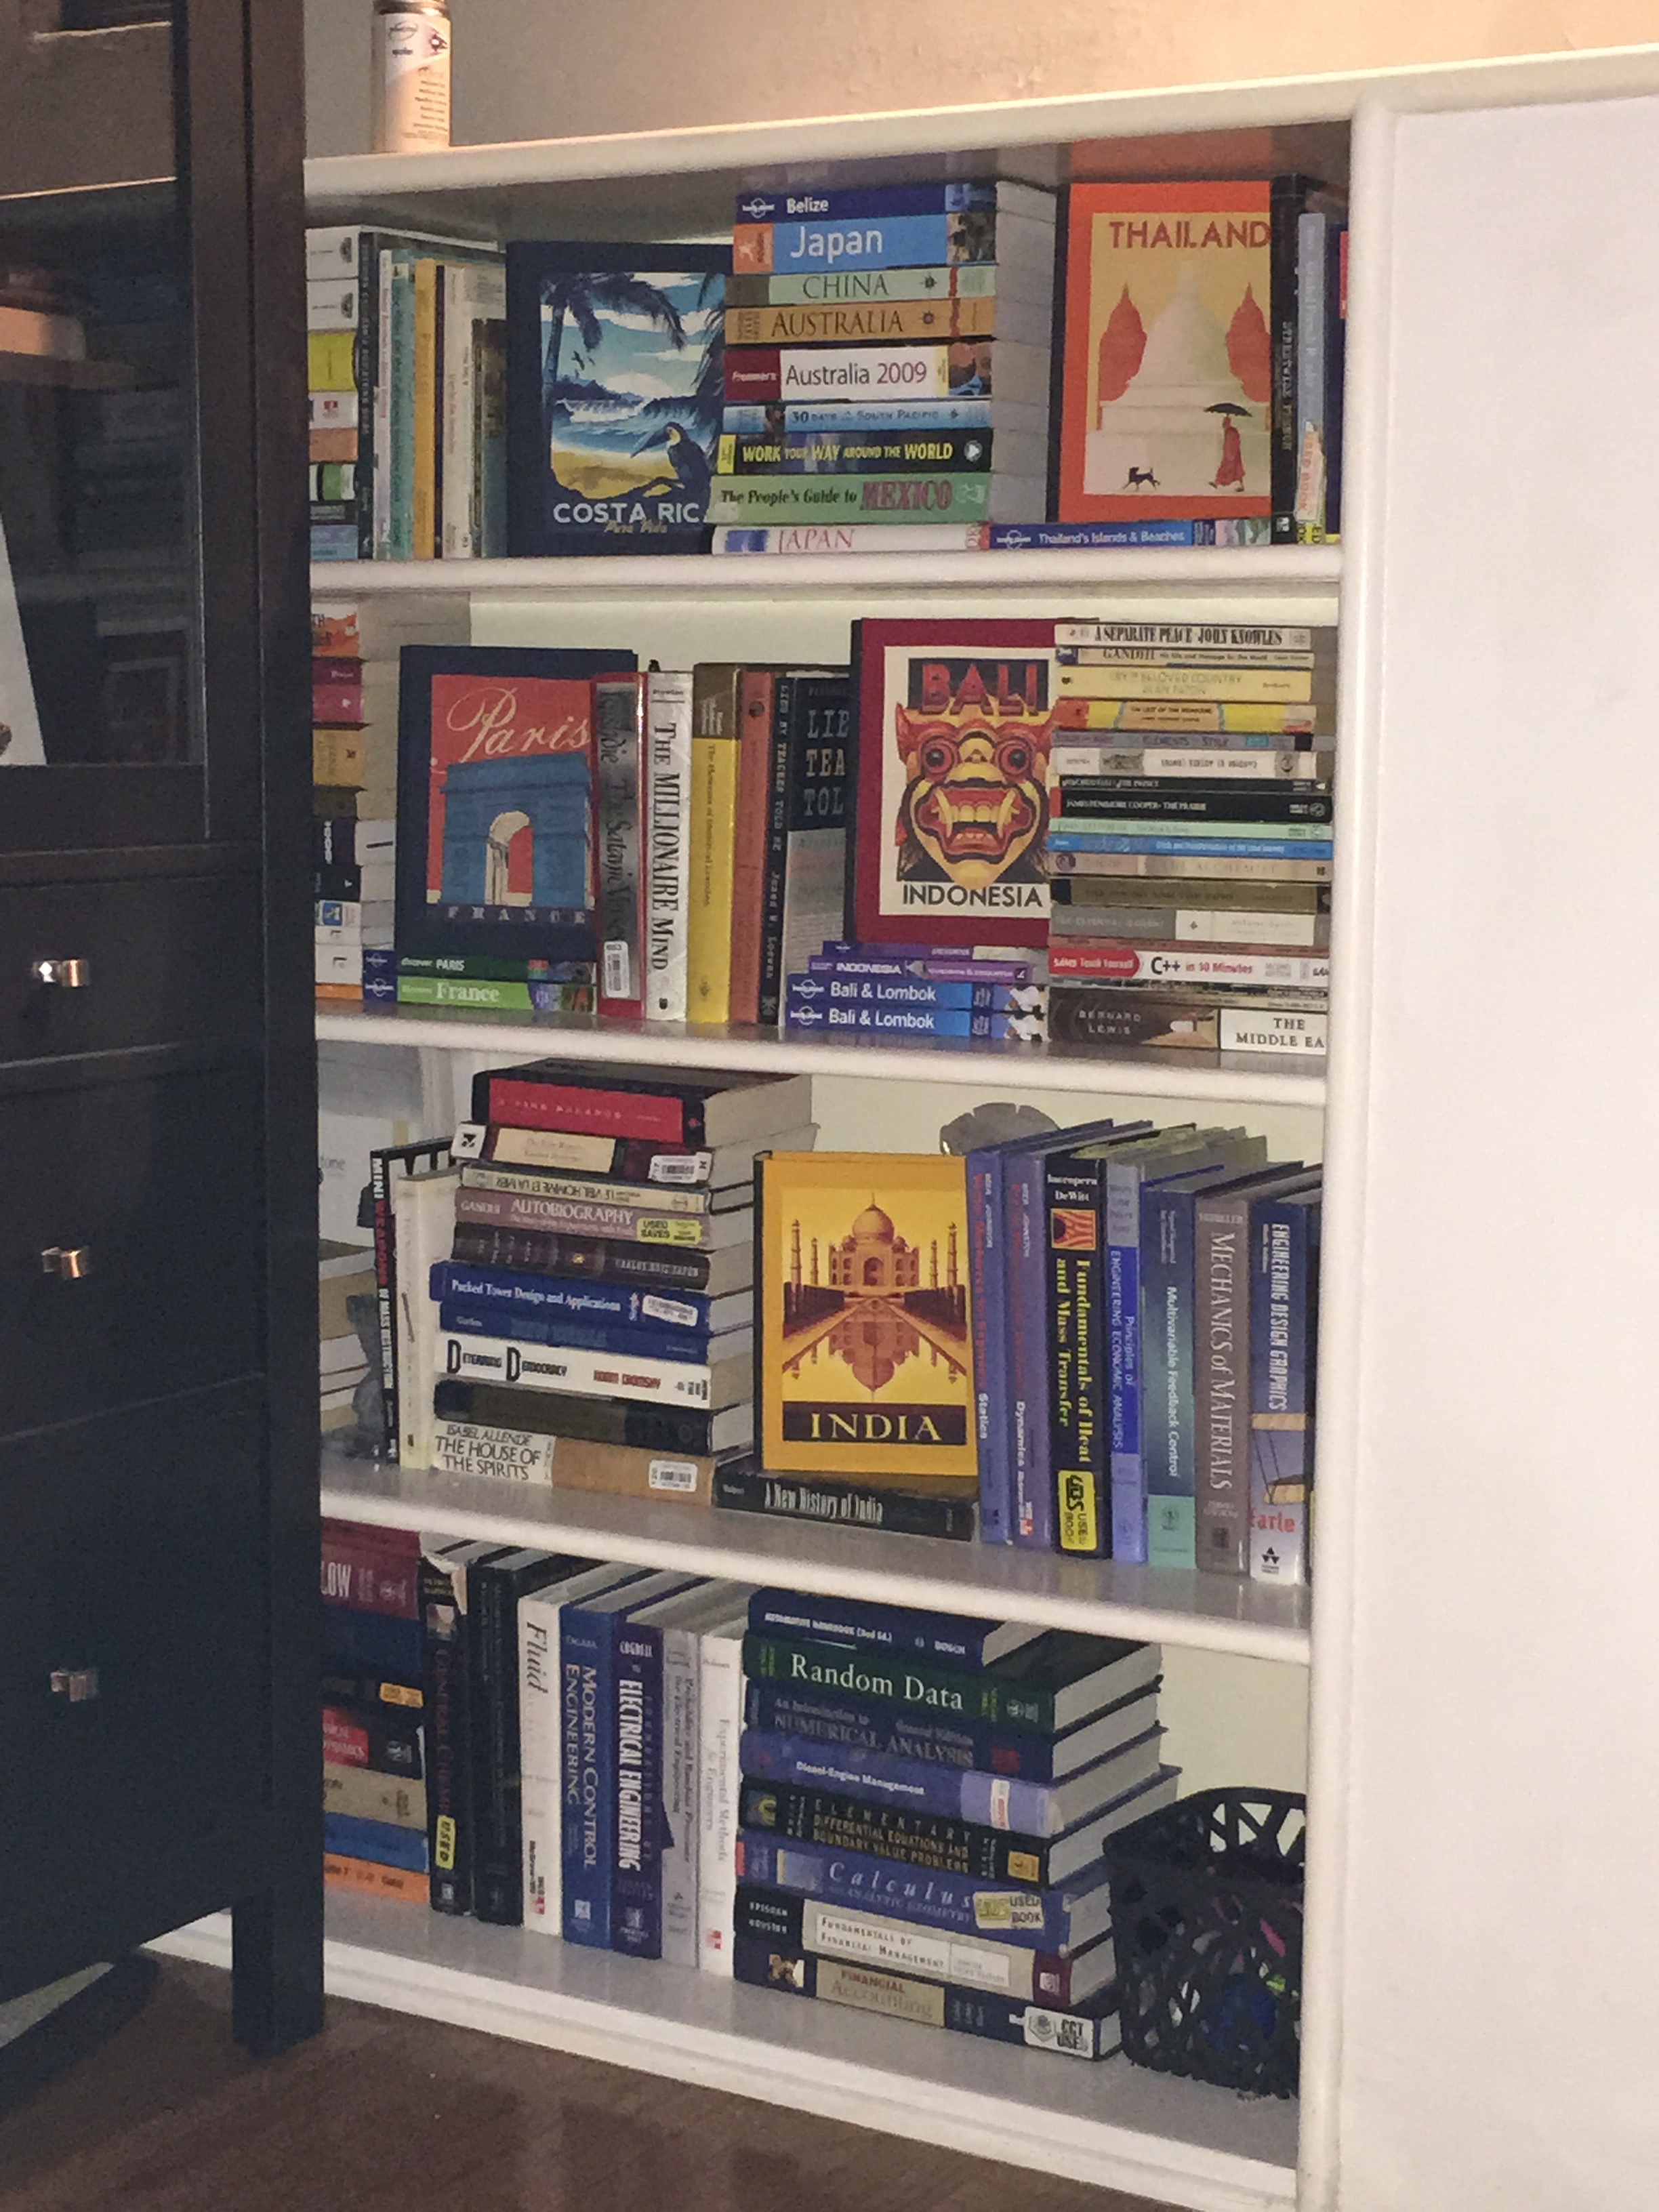

I just love these! And they look great on your bookcase. You may be helping me make some in the not so distant future! 😉