I had wanted a kitchen blowtorch for-ev-er! I just hadn’t found a project that necessarily required one to justify it, until I stumbled on a recipe for S’mores Cupcakes. You must also know that S’mores are considered the house dessert in my family and they aren’t reserved for summer campfires. We travel with our S’mores. We’ll make them over any heat source we can find, including tea light candles if it comes down to it. So this was a double score. S’mores and blowtorches!
I bought my torch and butane from the only kitchen store there is as far as I’m concerned; also know as heaven, Sur-la-table!

To make the cupcakes I combined a few recipes.
Crust: It’s always better to make your own, and it’s really easy. You can throw some graham crackers into a blender or food processor and add some sugar and butter. Or my favorite new discovery is to buy a box of graham cracker crumbs, as this is a little less mess, especially if you don’t have the proper machines.
Once the crust is mixed, spoon a little bit into the bottom of each cupcake liner and press with the bottom of a flat shot glass. Once pressed, pop them into the oven to toast the graham crackers, following your recipe.
Cake Batter: Prep the cake batter per the recipe. Before adding to the cupcake liners, add 3 mini marshmallows to each cupcake liner/crust as well as some chopped chocolate chunks. Then top with the batter. Note the marshmallows will float to the top – just let ‘em. Pop them into the oven to bake. Set aside to cool once done.
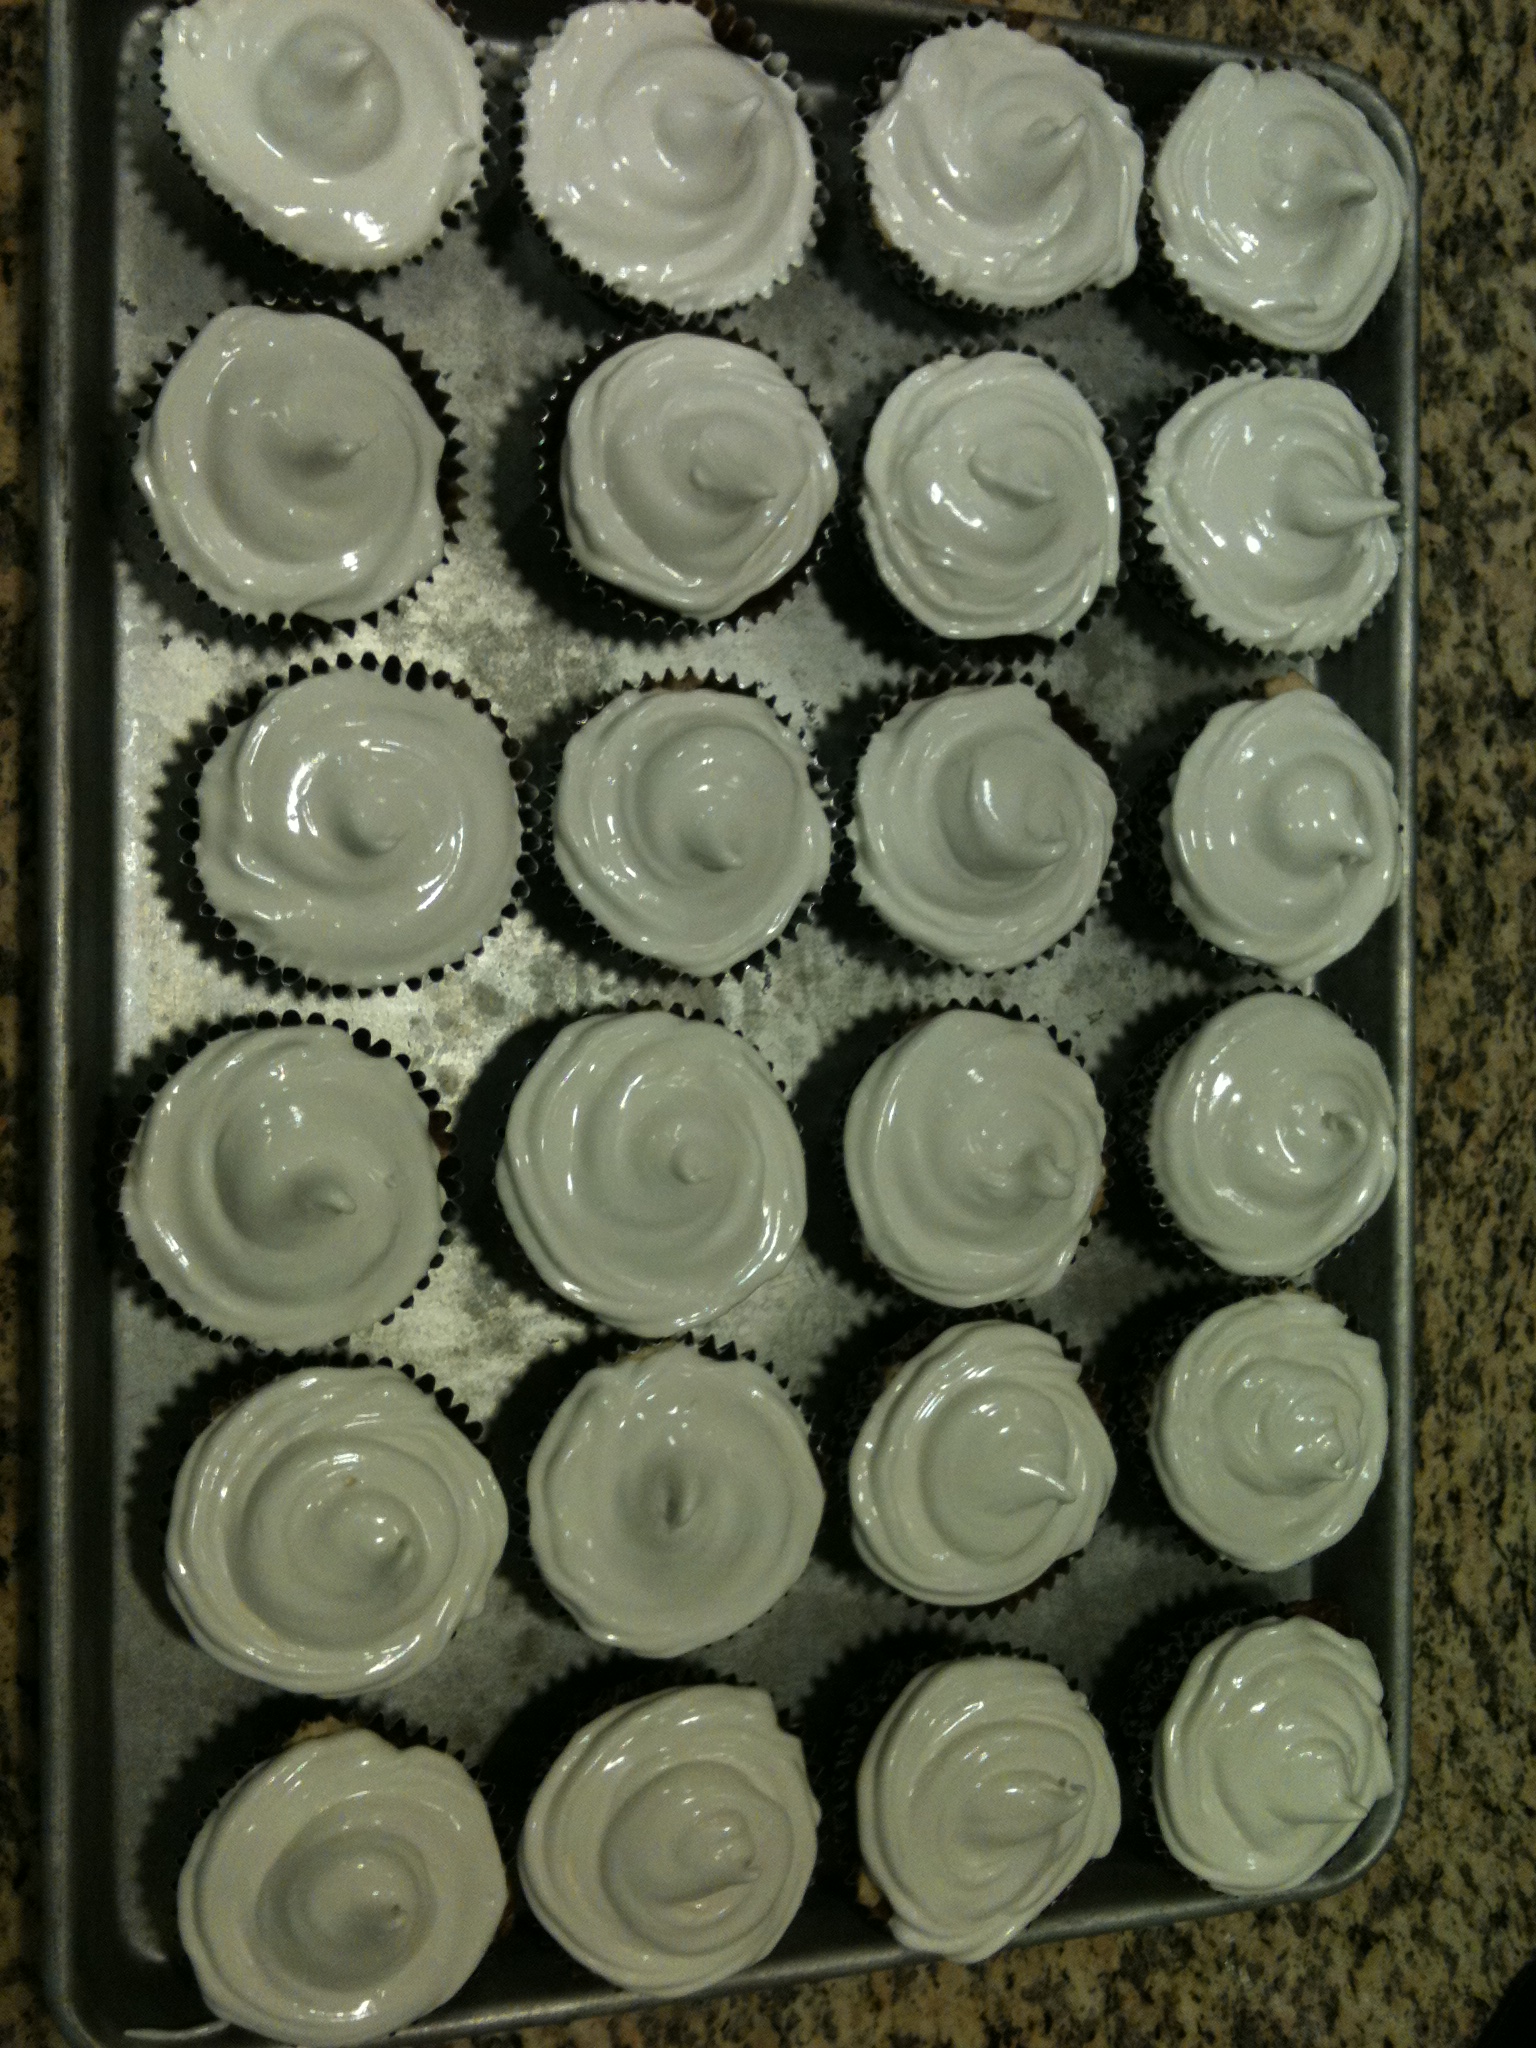
“Frosting”: Now the first time I made this I had no idea what I was really making – marshmallow crème. Did you just get excited? Cause you should have. You really do need a handheld or preferably a stand mixer for this. Add all ingredients per the instructions and blend, forever… Stiff peaks will start to form and you’ll know it’s done. You just made marshmallow!
Decorating: I used a regular piping bag to neatly get the marshmallow crème onto the cooled cupcakes. It might be a little runny, but do the best you can to keep it in the middle and make a pretty swirl. Now the fun part – that you’ve been waiting for – TORCHING!
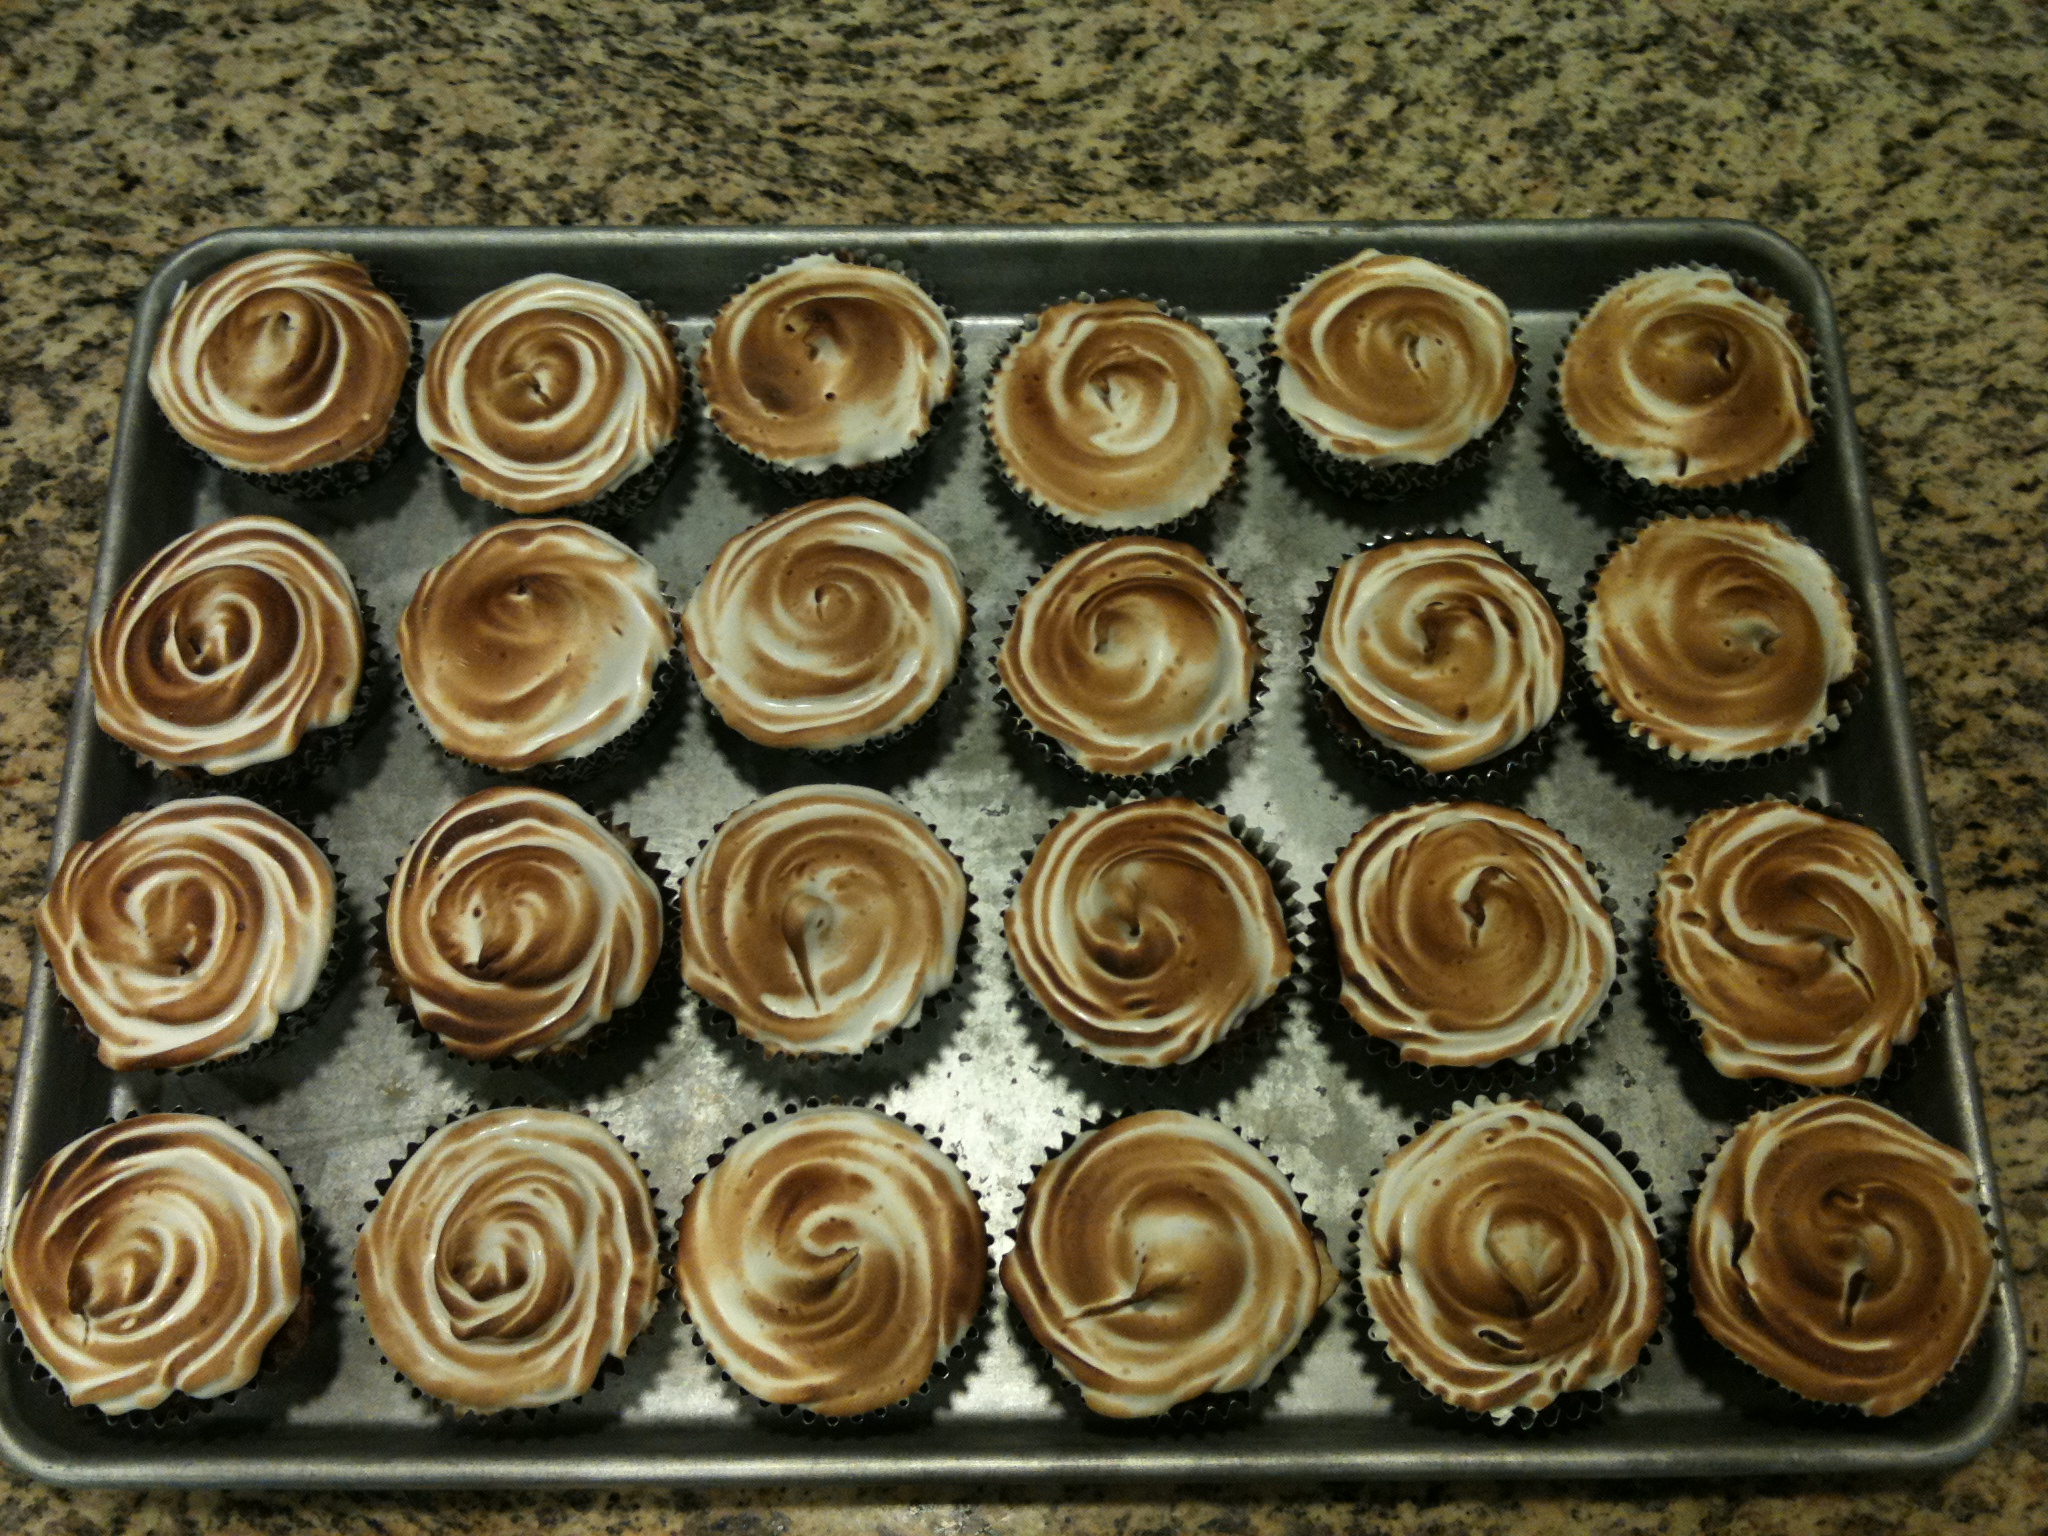
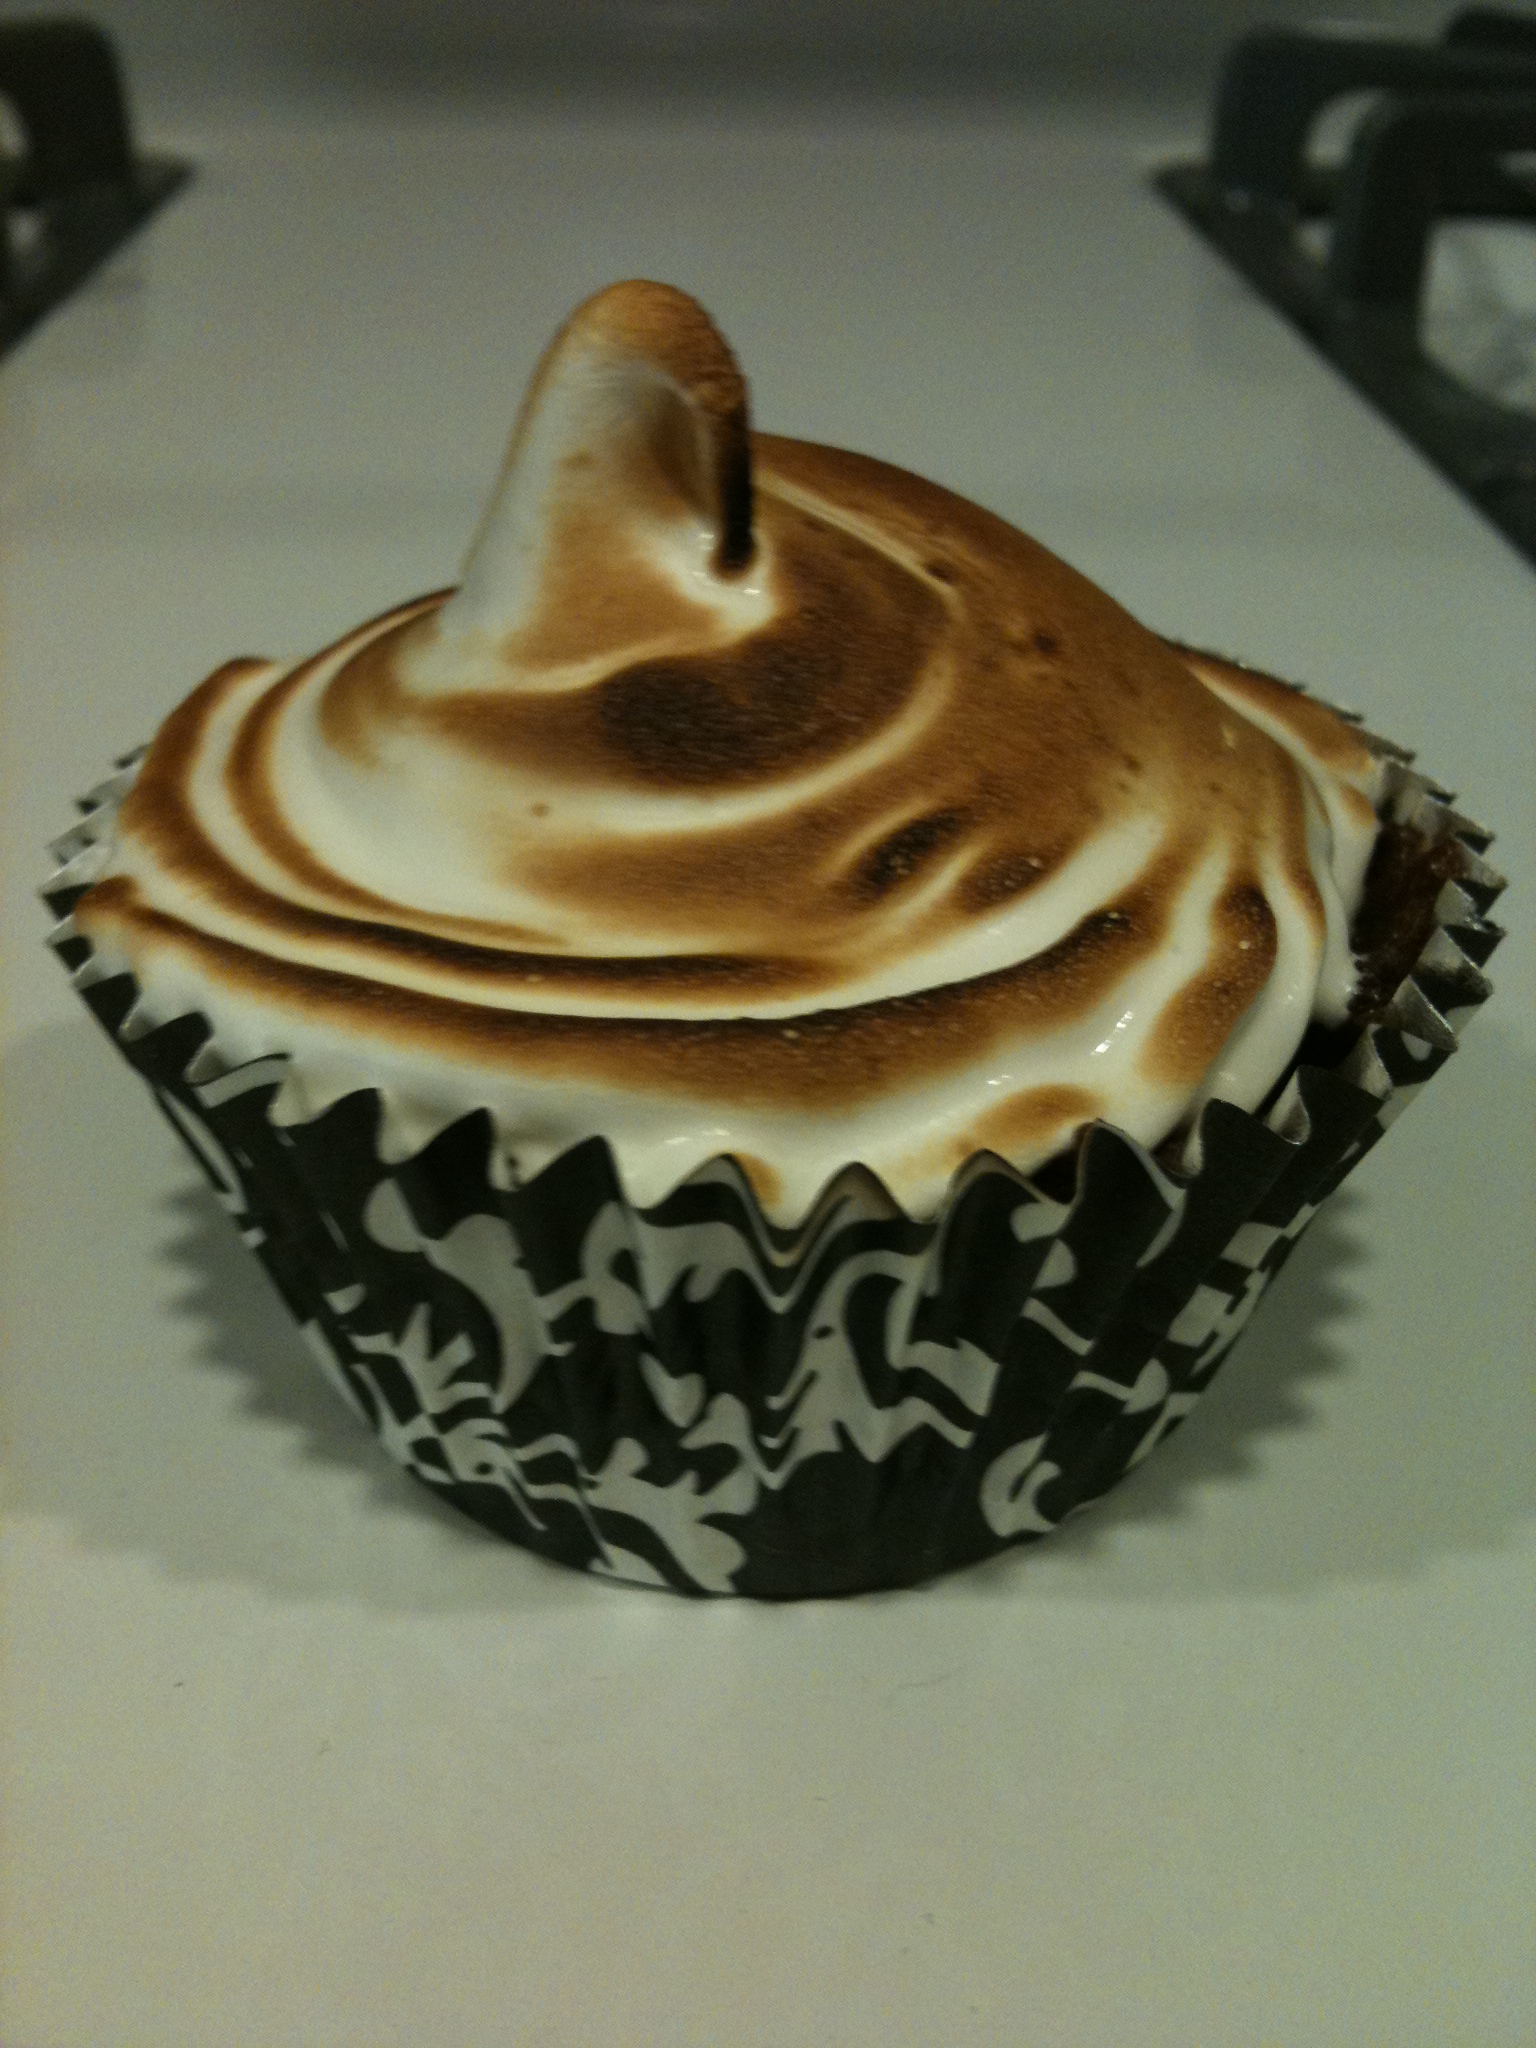
Torching: Hold the torch a few inches away and lightly toast the marshmallow fluff. This will set the “frosting” and keep it from mushing everywhere. Add a half of a Hershey’s chocolate square to each for garnish and serve!
When you bite into the cupcake you will get all layers at once, cupcake, chocolate marshmallow and graham cracker! These are a little messy to eat – but totally delicious.

They have been a hit every time. And they make me happy because I get to play with my torch! These would be great for a 4th of July or summer BBQ!
Enjoy!
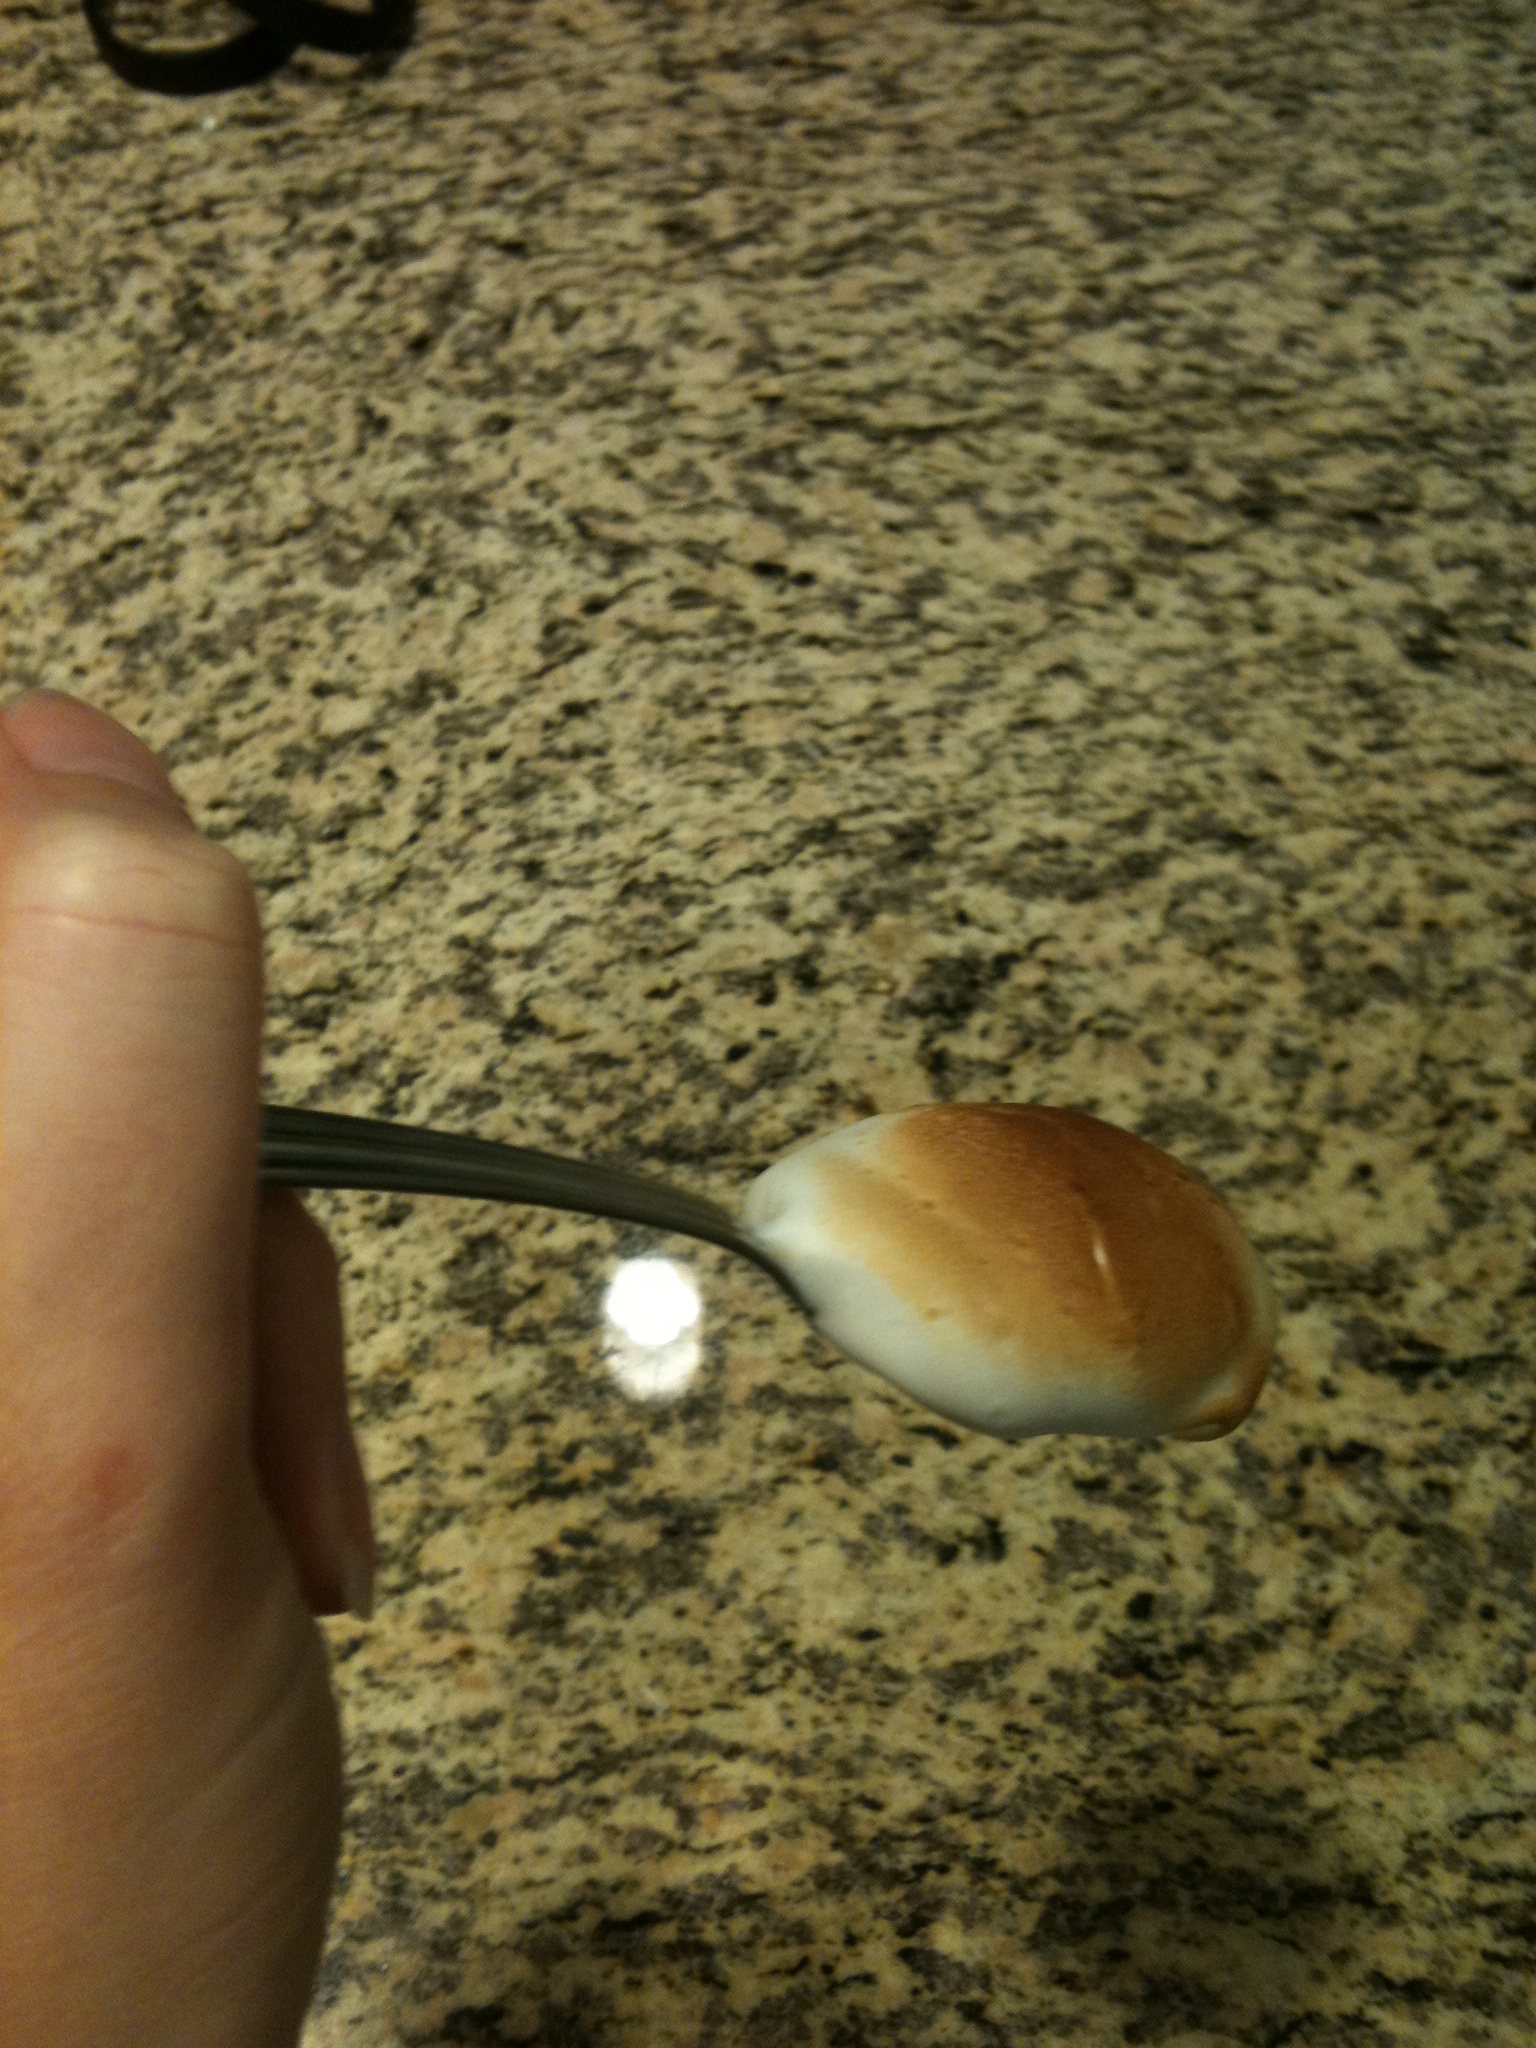
Oh, and don’t miss out on toasting some of the “frosting” on a spoon – just make sure not to eat it all!
I call this a baker’s bonus!