
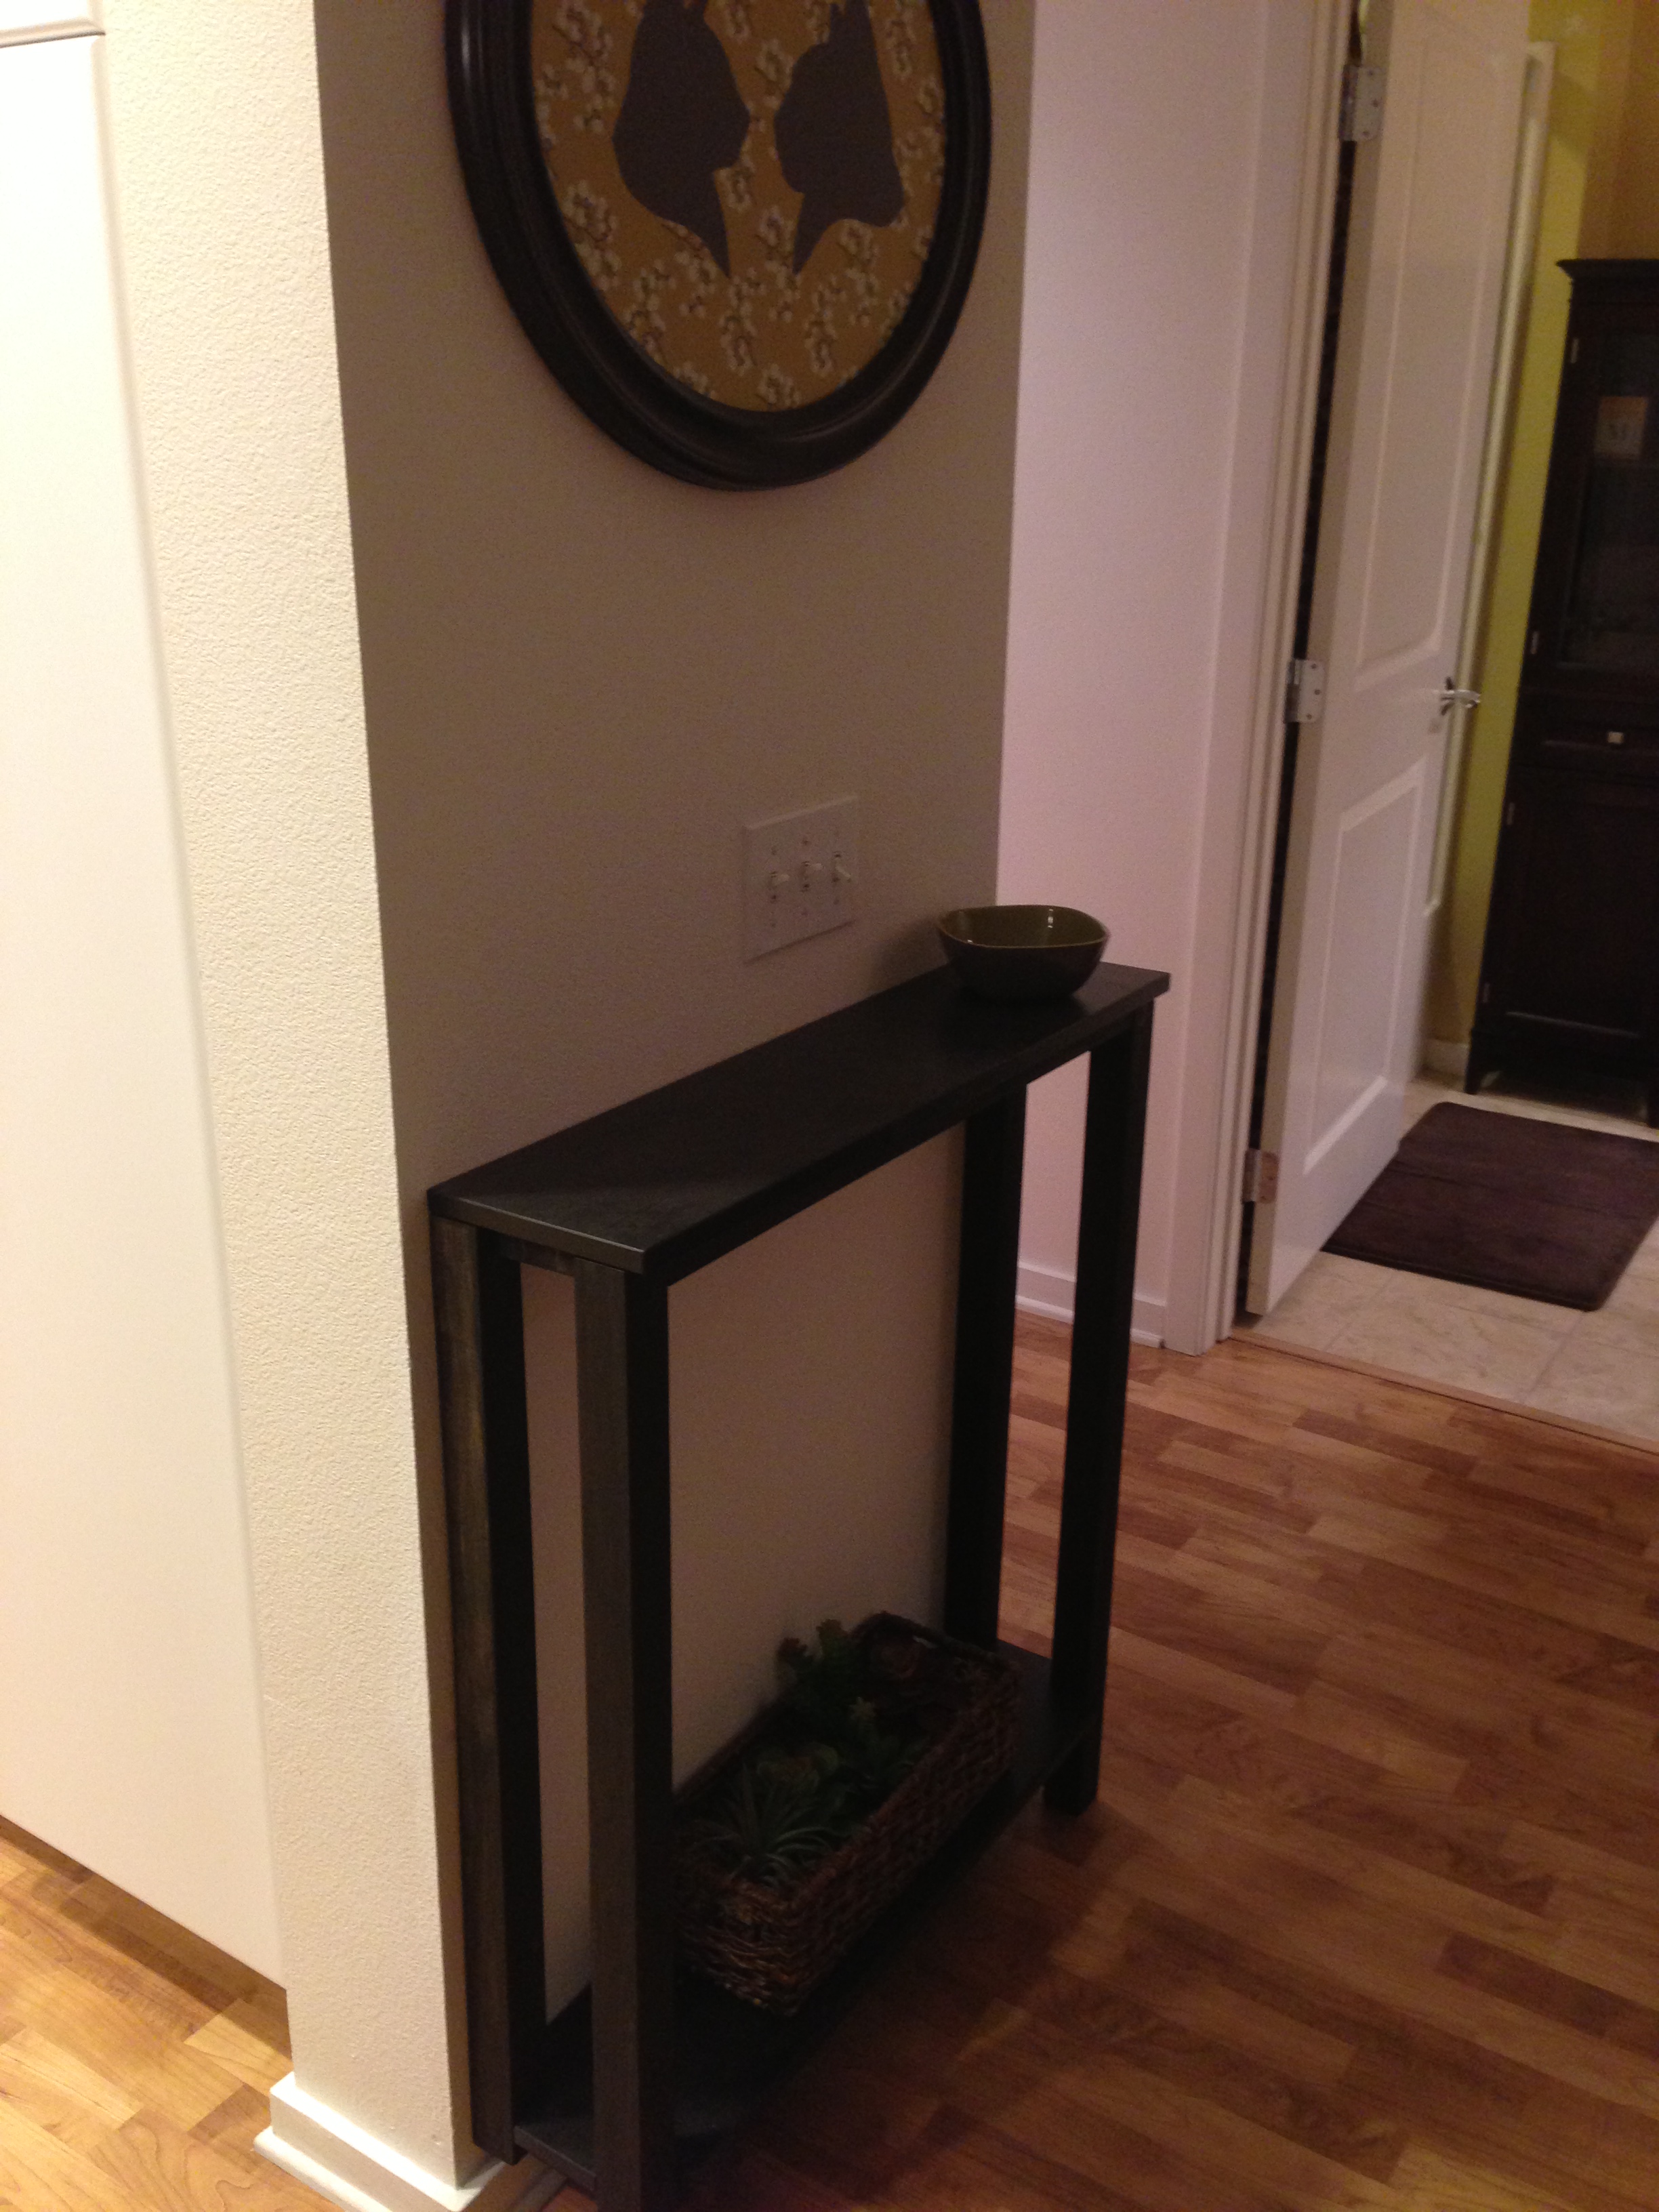
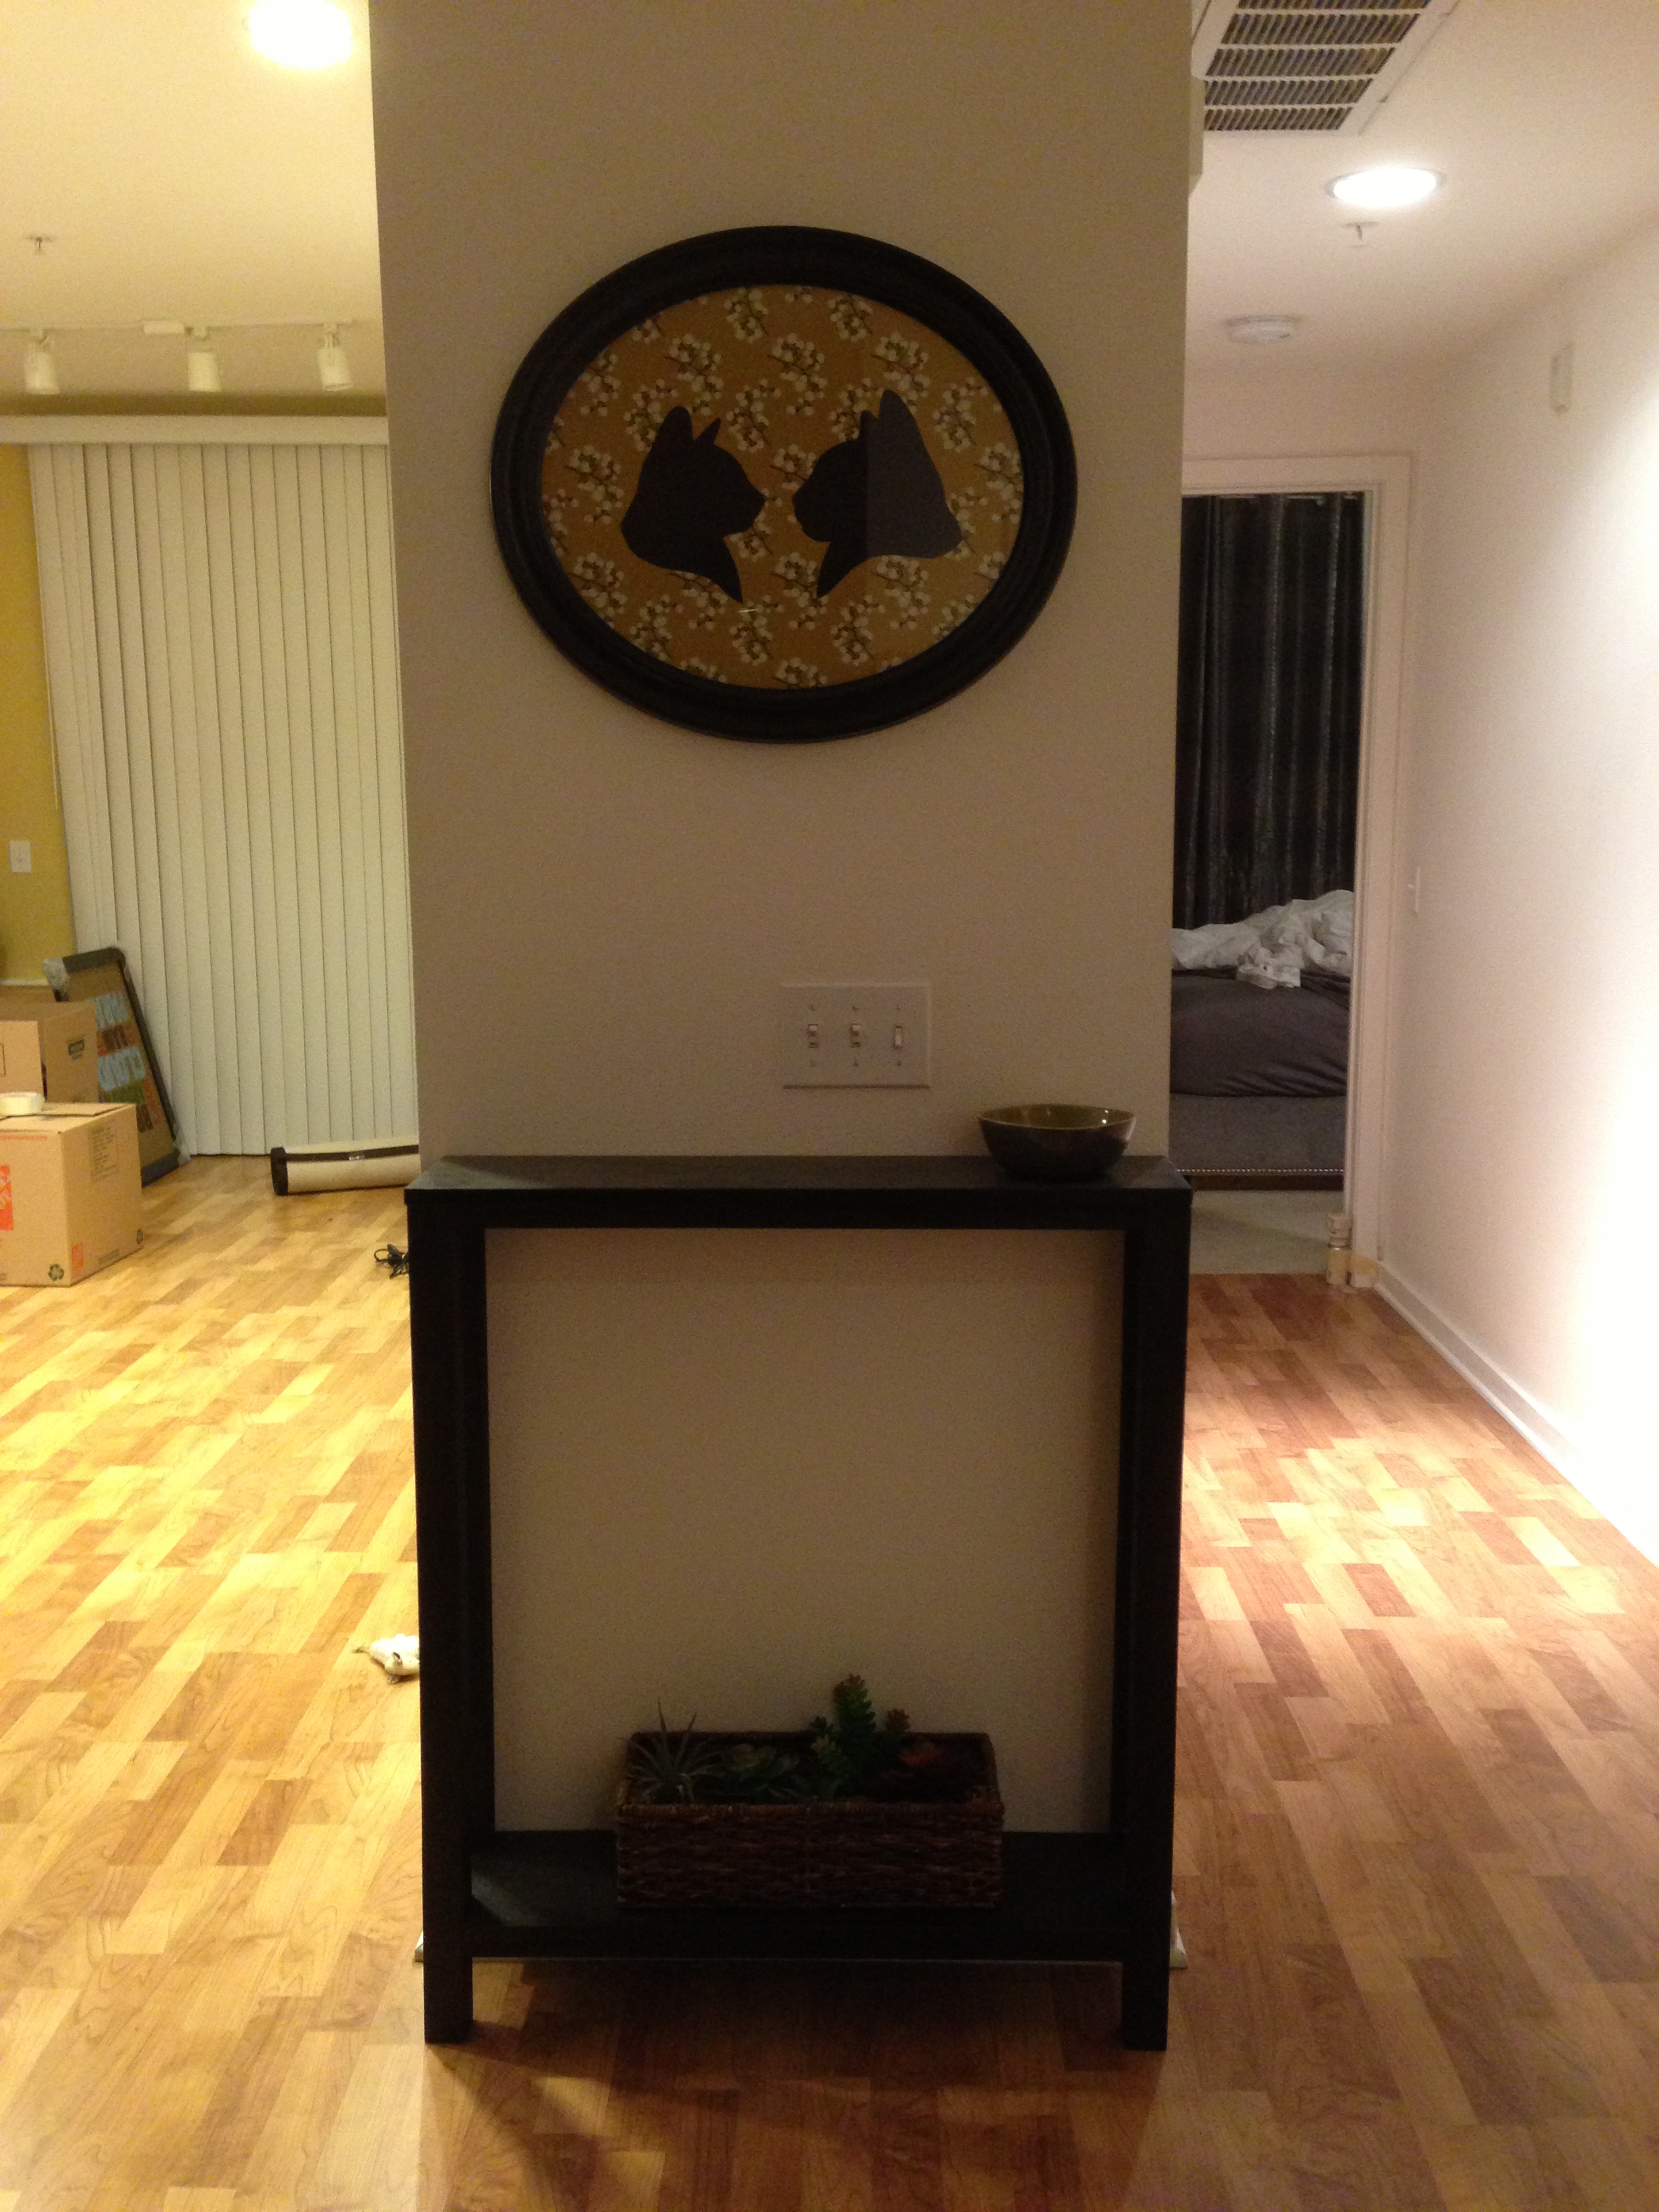
One of my favorite spaces in a home is the entry way. It’s the first thing you and your guests see when they enter a home. It’s where you throw all your stuff down at the end of a long day. It’s where you keep your keys and other important items so you don’t forget them. That’s why it’s always so important to me that there is a space in any home for an entry table.
In my apartment I had the perfect space for one, but it was in a high traffic area and the space was extremely limited. Not only that but the width of the wall was very narrow. Everything I found was too large or too deep for the space.
I scoured the internet, I sourced custom tables, I tried everything. All the solutions I found were either too big or just way too expensive. So what could I do but build my own?
On a trip to Ikea I discovered the shelf planks. These come in several lengths and are already stained to match my existing furniture – and they’re pretty shallow. What do you know, they were the perfect length and width! I bought two, as I wanted my table to have a lower shelf to hold a basket of succulents. (I don’t know where I get these things from, but I had to have a basket of succulents on a lower shelf)

Once I had the shelves, I had to come up with a support structure.
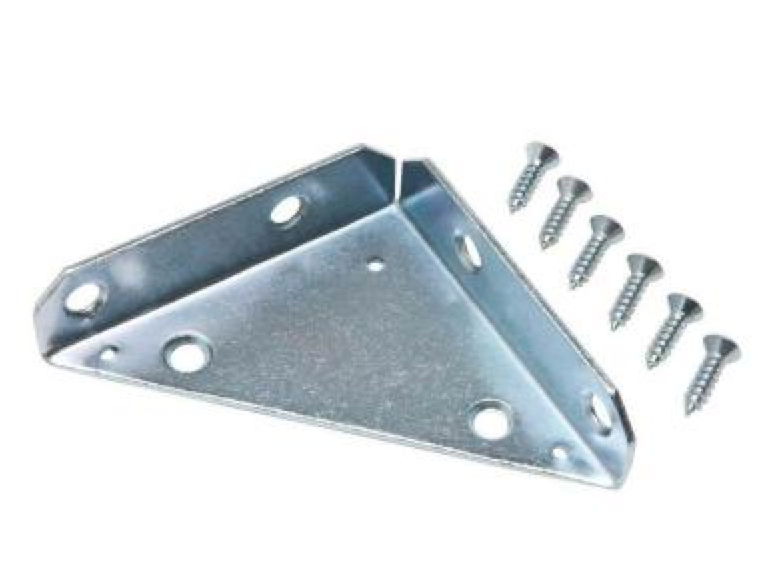
After a lengthy trip to Home Depot searching for something to make my table support out of, it came to me. I found these awesome Square pieces of wood. I bought 1” x 1” and 3/4″ x 3/4″ pieces. I also bought corner brackets to assemble the pieces together.
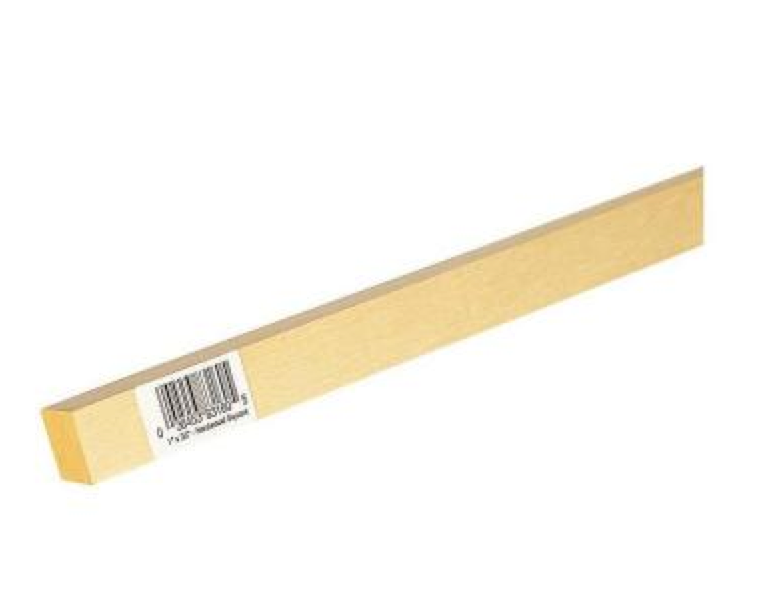
Once home I drew up my plans. I used the smaller pieces for the supports under the shelves and the larger ones for the legs. Using the larger and smaller pieces of wood and overhanging the shelf was done intentionally to match the style of other furniture in the room.
I stole the idea of making the back legs short from some of the Ikea furniture. Doing this allows you to push the furniture all the way against the wall as it clears the baseboards this way. And since this was in such a small area, I needed it to be as close to the wall as possible.
Once I had my plans all drawn out, I asked my friend to help me cut the lengths of wood to size. Once cut, I simply created the supports by screwing the pieces together using the corner brackets and screws.
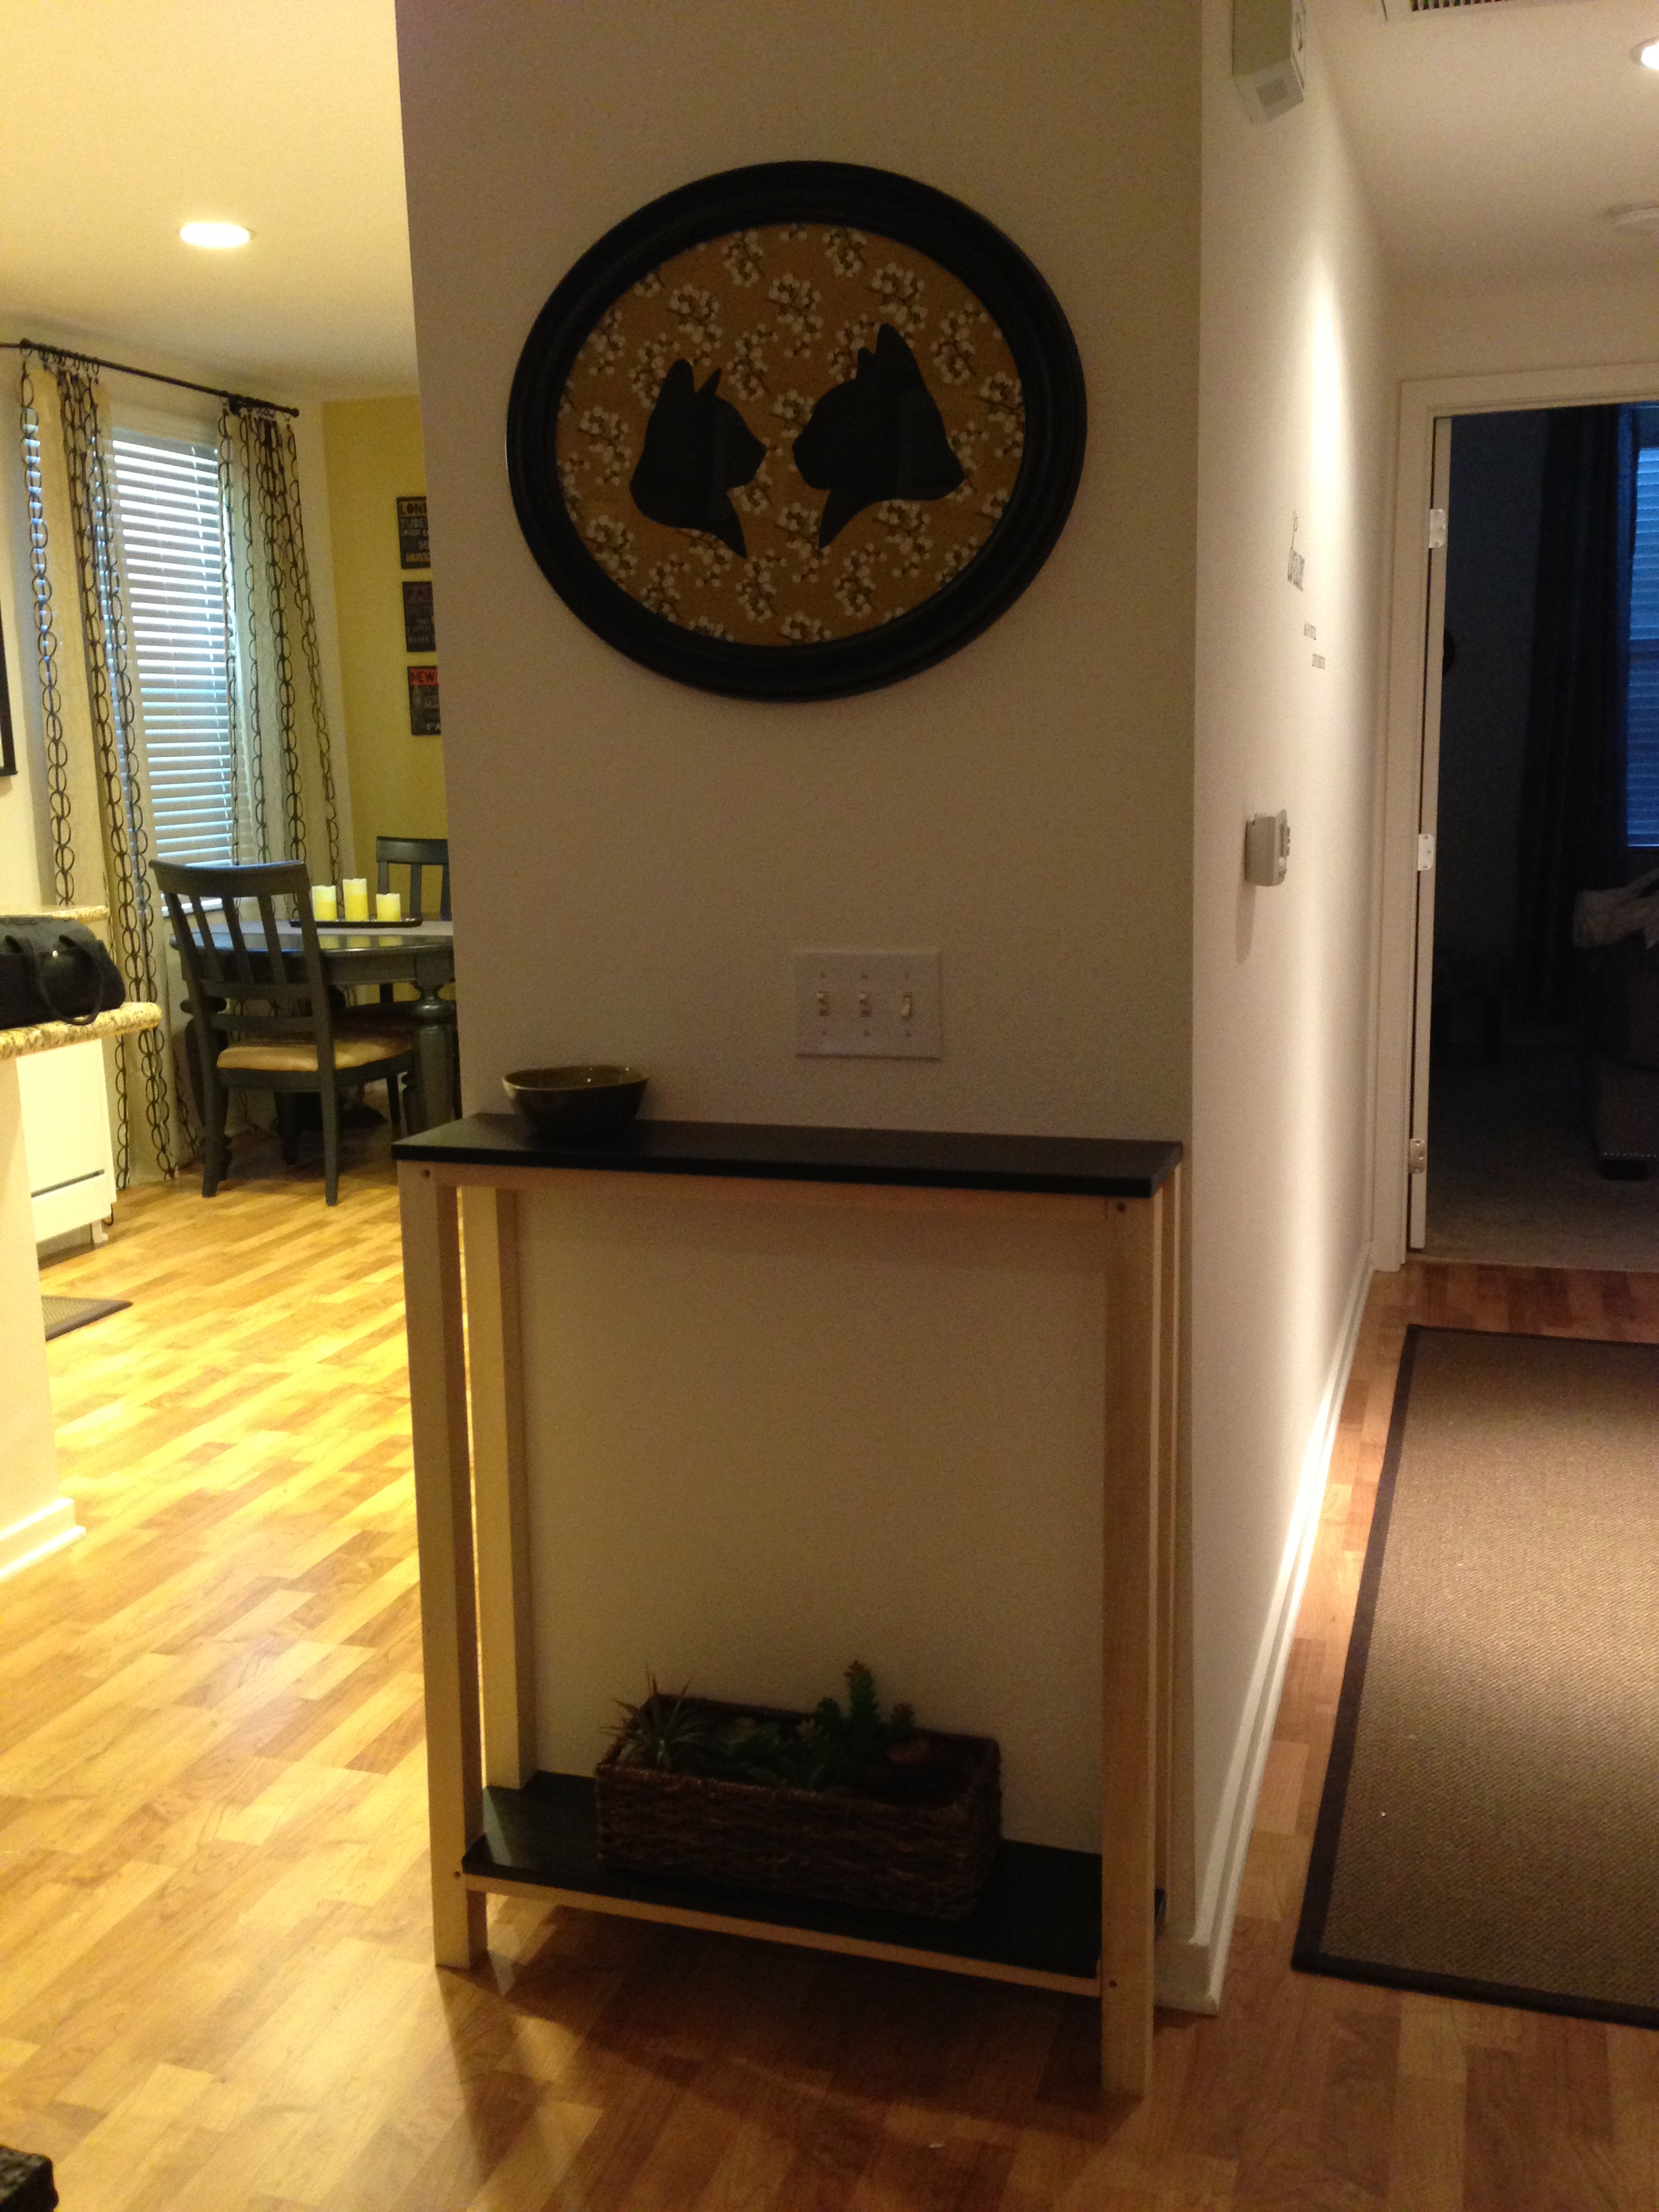
Once assembled, I filled the holes with wood filler and stained the supports with black-brown stain from Ikea to perfectly match the other furniture in the house. Once dry, I attached the top shelf.
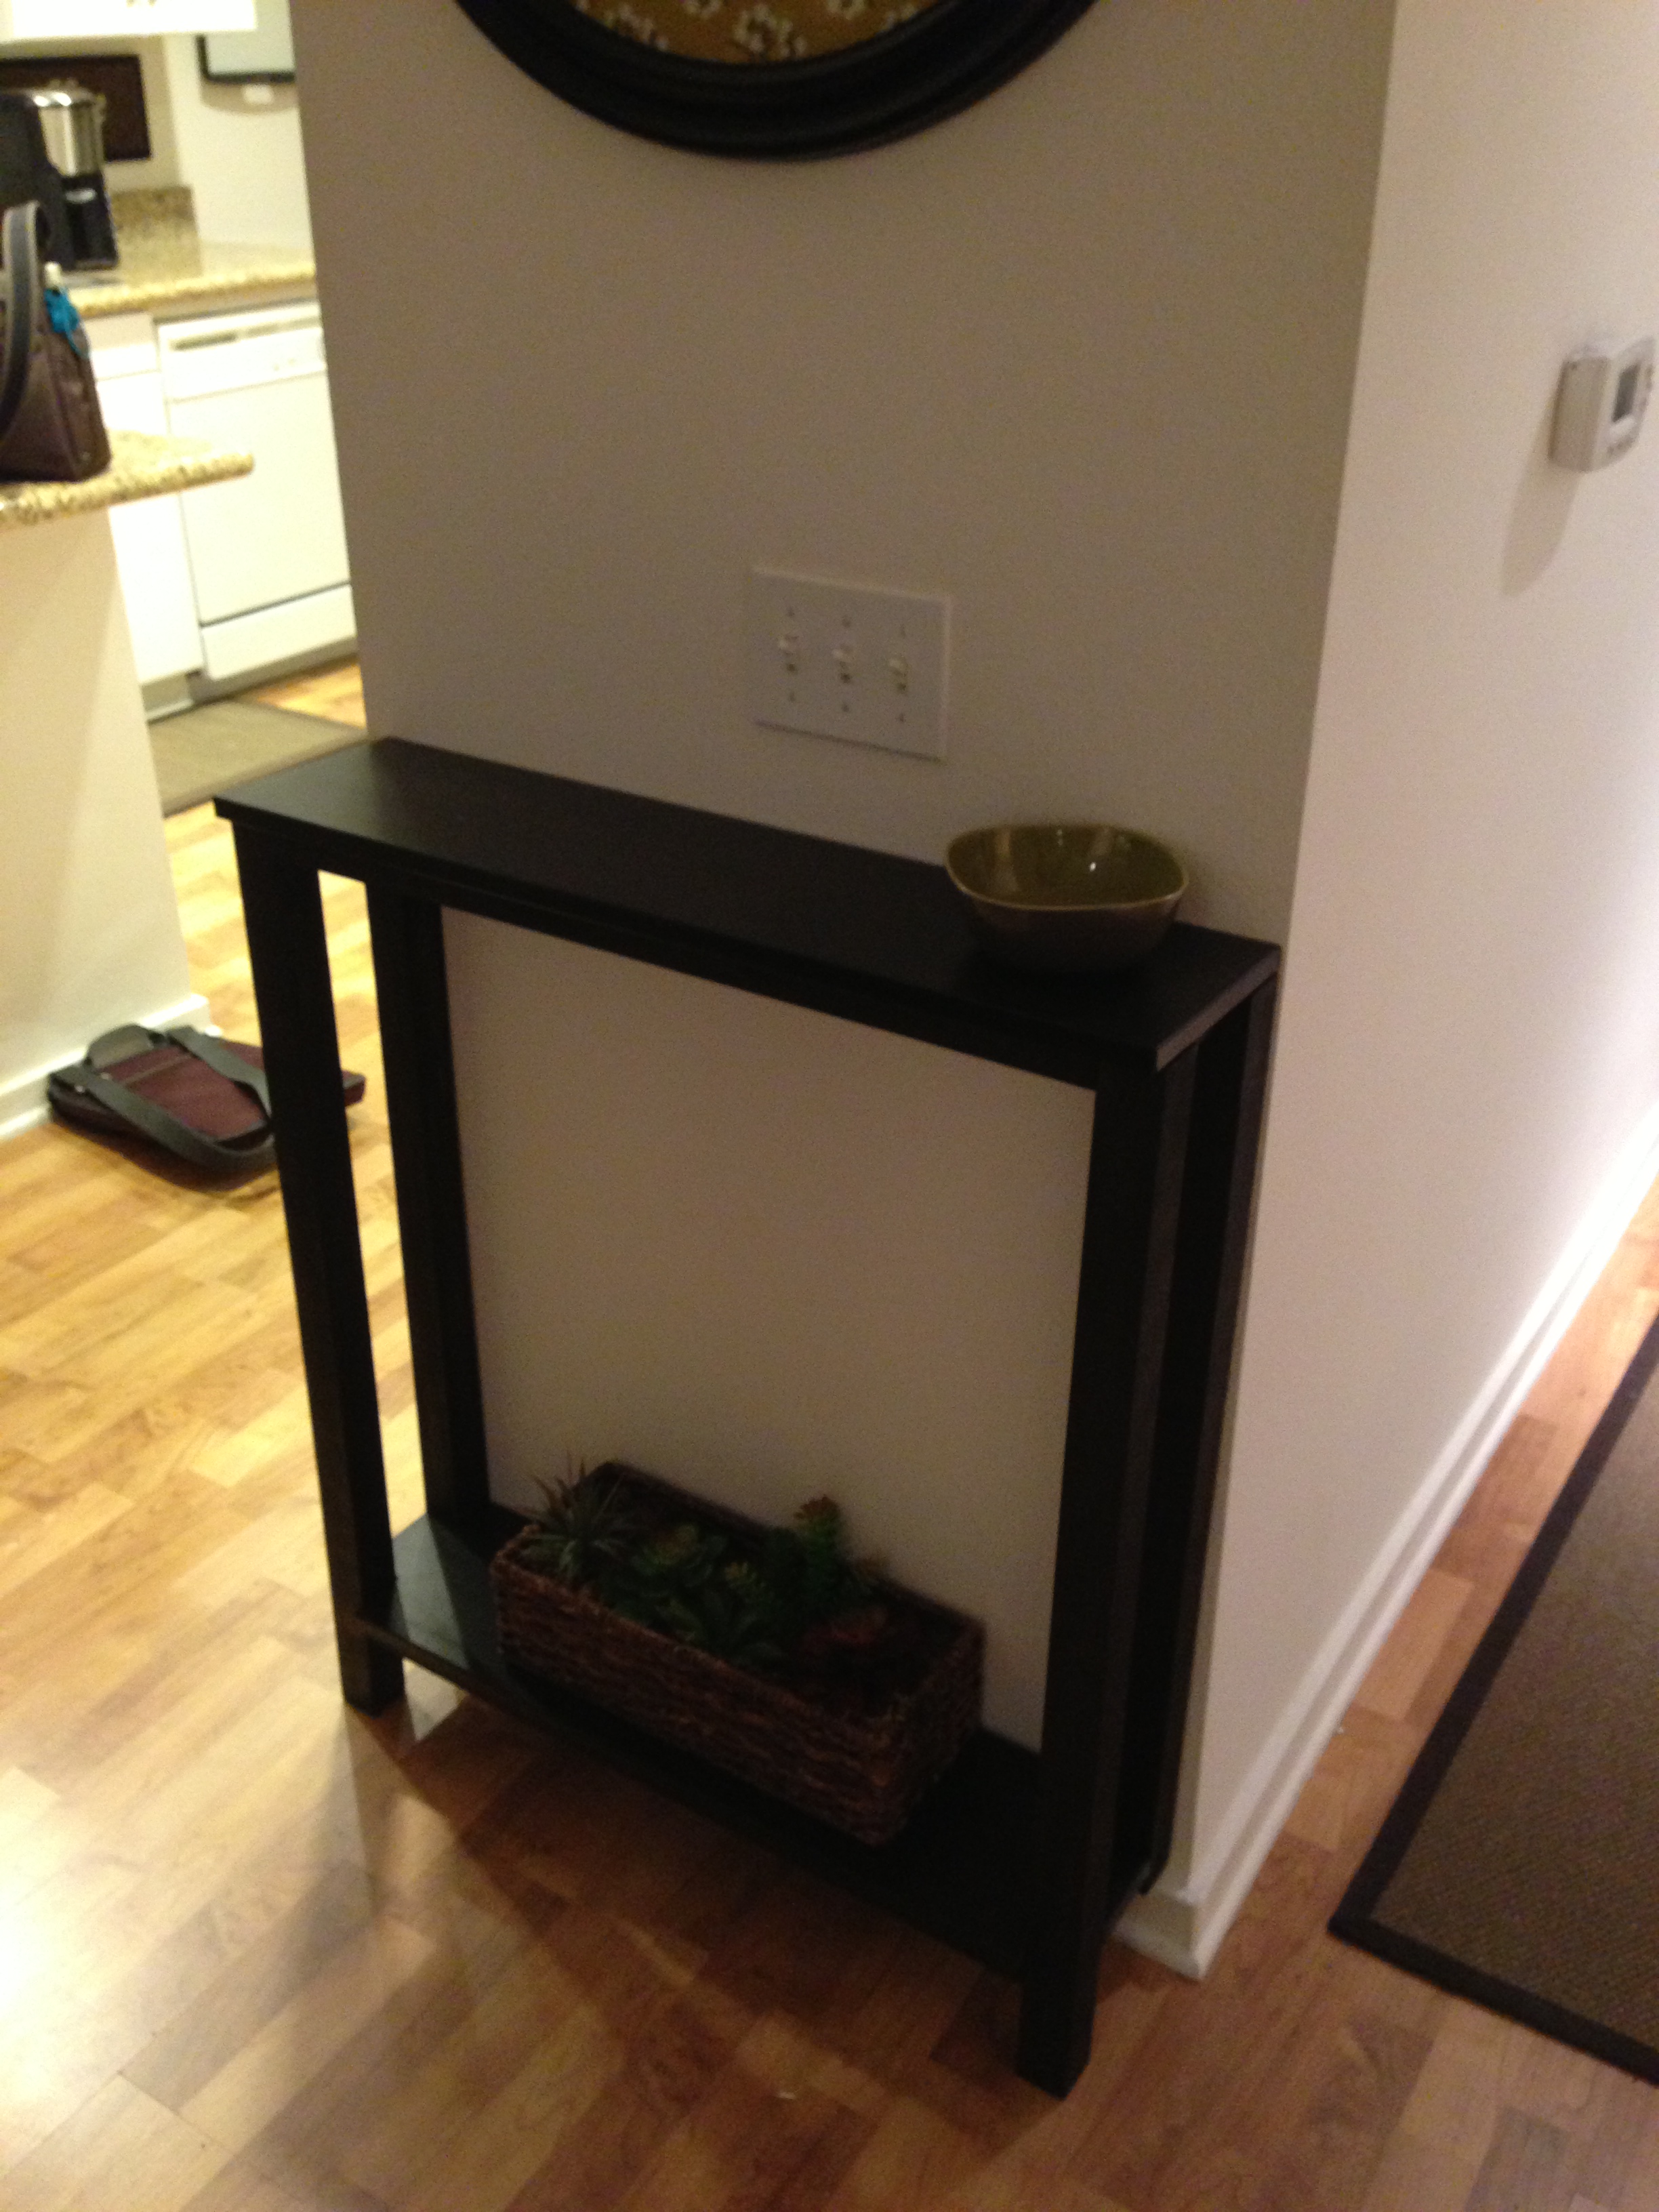
For the bottom shelf, we notched out the corners so that it would fit between the legs, and dropped it into place. It’s pretty snug on it’s own, but could be attached with the brackets as well.
All that was left was to install it into the house and secure it to the wall, since it doesn’t have back legs and all.
I added a small bowl to collect keys, etc and a basket of fake succulents to the bottom shelf. (The basket is a CD holder basket from Target – not sure you can even buy CD holders anymore…)
All that was missing was some artwork hanging above it – which I will post about next week.
It’s the perfect little shelf and the perfect size for that space. Unfortunately since then we have moved, so this piece is currently stored in the garage. But if anyone is interested I might be able to part with it.
